The Worklog Details tab allows you to configure what information is captured on manually created worklogs across all spaces or in some spaces.
No two projects track time the same way. A client engagement might need billable hours, accounts, and maybe an overtime flag. An internal initiative needs a cost center and a work location. Worklog attributes can now be configured globally and/or per space.
Worklog Description
Making the description mandatory is available only in Clockwork Pro
You can make including a description mandatory on manually created worklogs:
-
Log in as a Jira administrator and navigate to Jira Settings > Apps > Clockwork Configuration and select the Worklog Details tab.
-
Check the Make the description mandatory box.
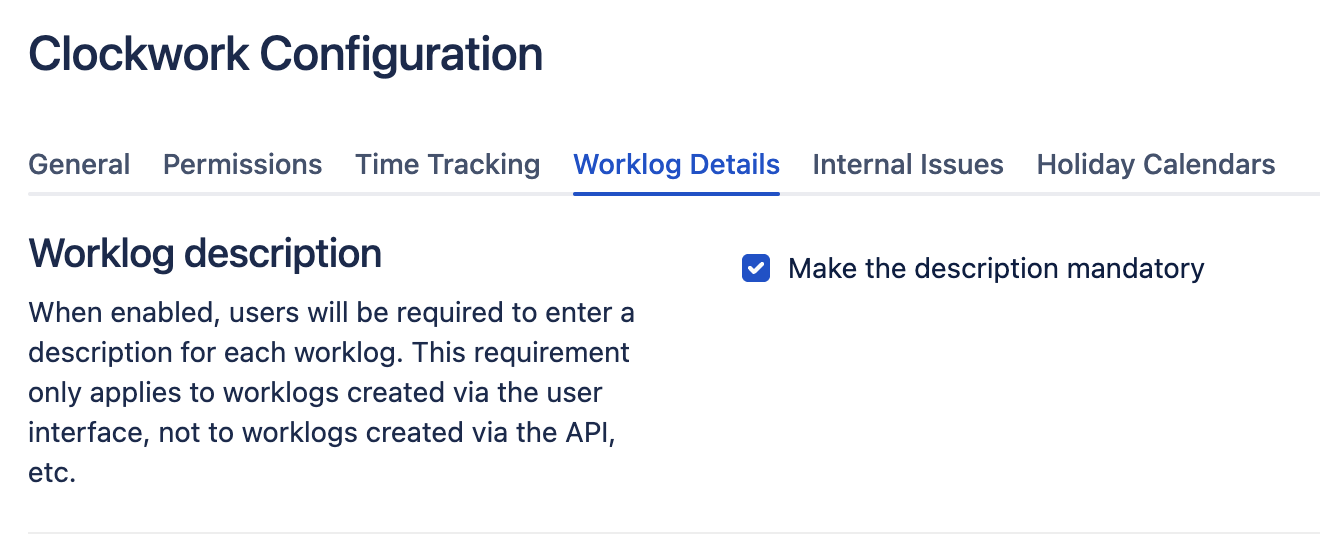
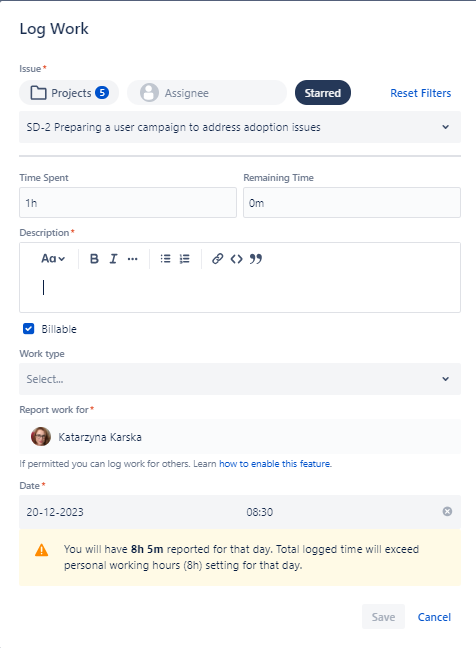
When the description is required, the Save button on manual worklogs will not become enabled until the user enters a description of their work.
Worklog Attributes
This feature is only available in Clockwork Pro.
Clockwork Pro allows you to define up to 10 additional attributes to include on your worklogs. You can use them to track your billable hours, type of activities, customers, or anything else that can be helpful to categorize your team’s time and provide important insights to your reporting.
Clockwork allows you to create three types of worklog attributes:
-
Checkboxes
-
Single select dropdown
-
Labels
Worklog attributes can be set globally but you can also configure different worklog attributes for specific spaces.
Add a global attribute to your worklogs
-
Log in as a Jira administrator and navigate to Jira Settings > Apps > Clockwork Configuration and select the Worklog Details tab.
-
Click into the Add new attribute dropdown and select the attribute type.
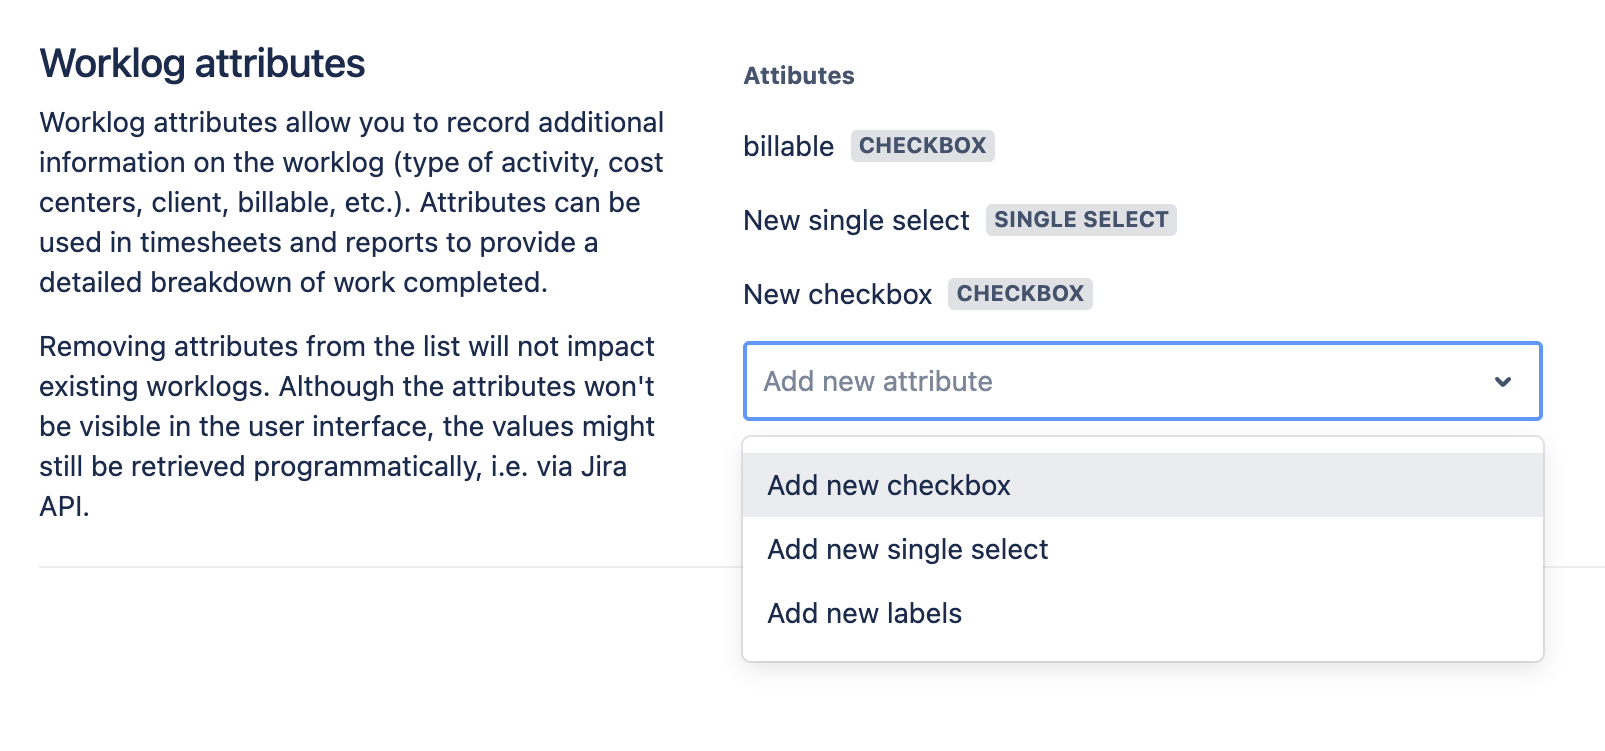
-
Complete the fields for the attribute:
-
Checkboxes – Name, default value
-
Single select dropdown – Name, mandatory or not, permission to create new options, options
-
Labels – Name, mandatory or not, permission to create new options, options
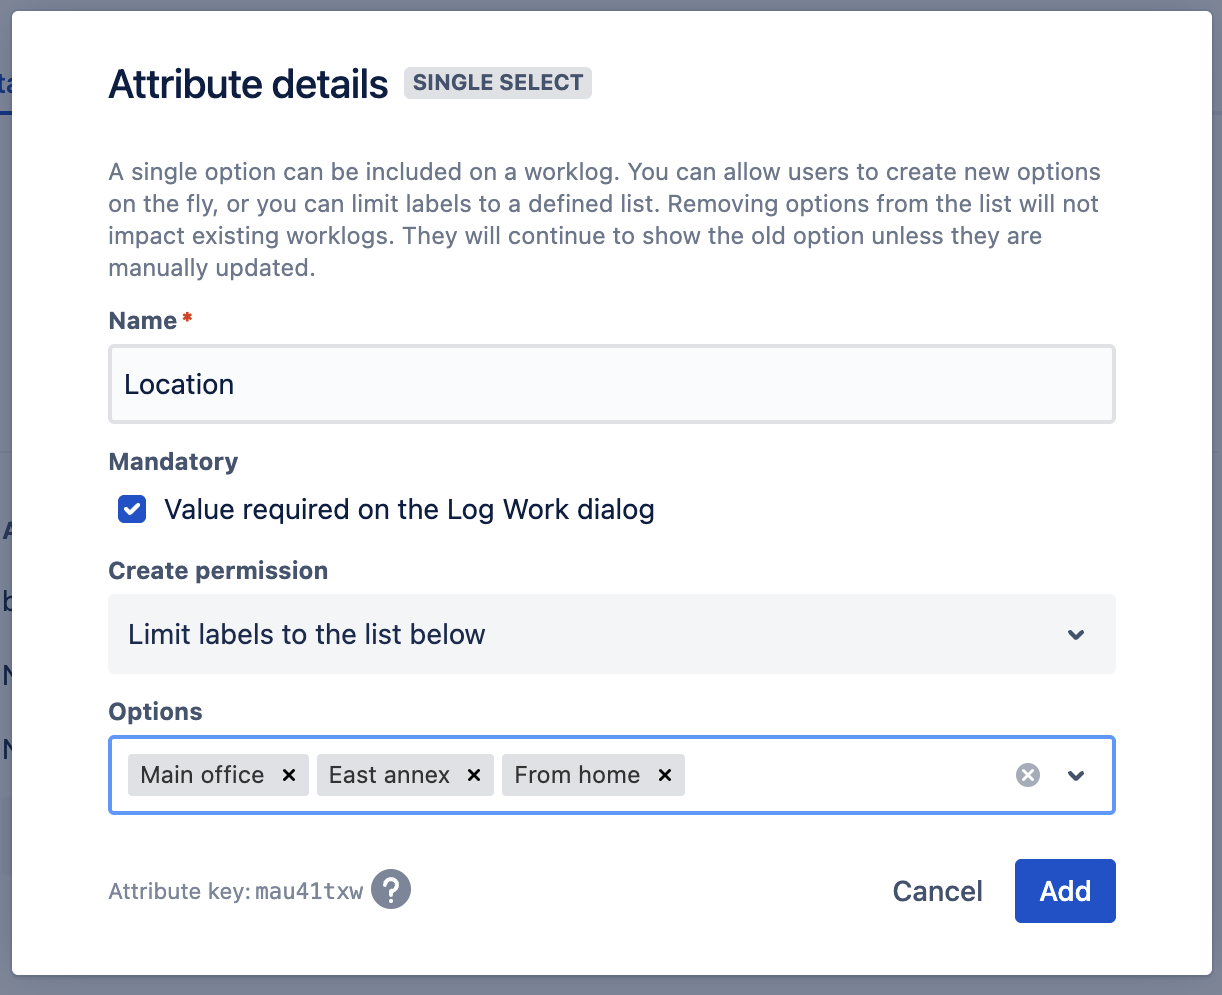
-
-
Click Add.
Once you have created and saved the attributes, they will be included in the worklog dialog for all spaces.
Add or overwrite worklog attributes for a specifc space
-
Navigate to your Space settings from the menu on the left.
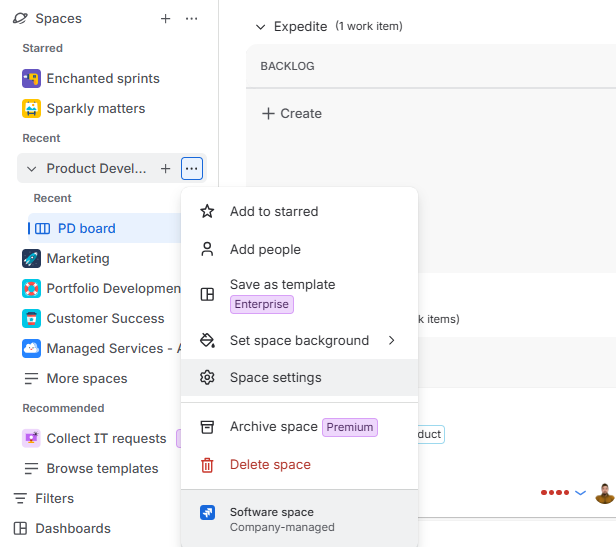
-
Select Apps → Clockwork Pro.
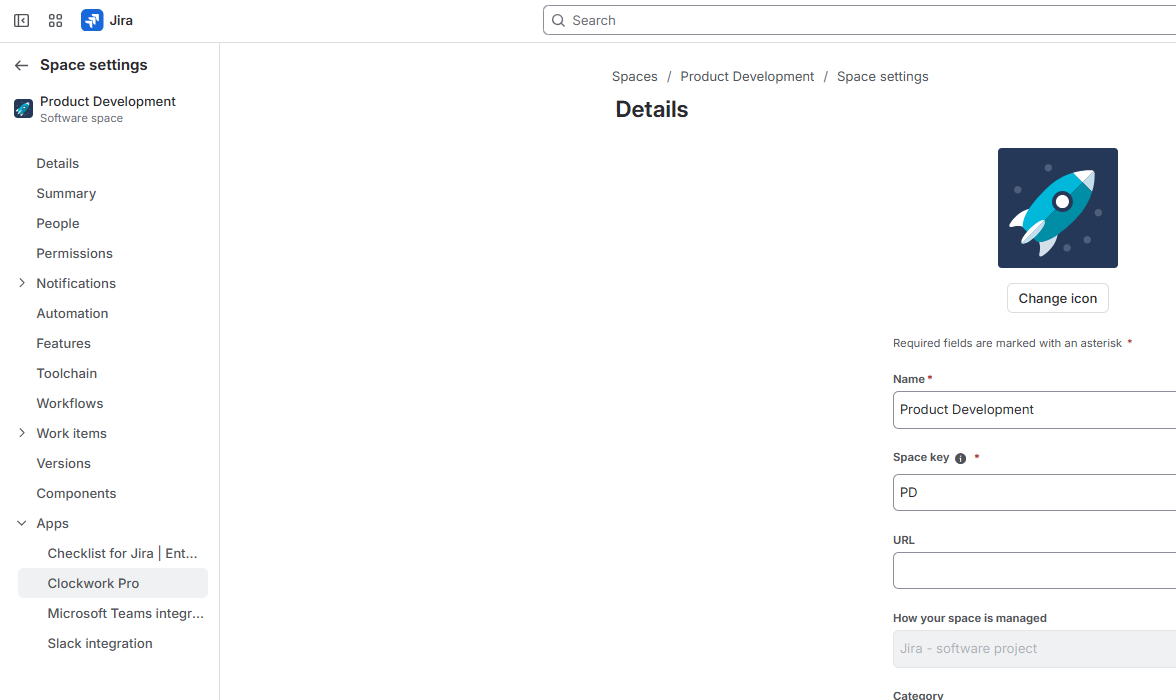
-
Open the Worklog Details tab.
-
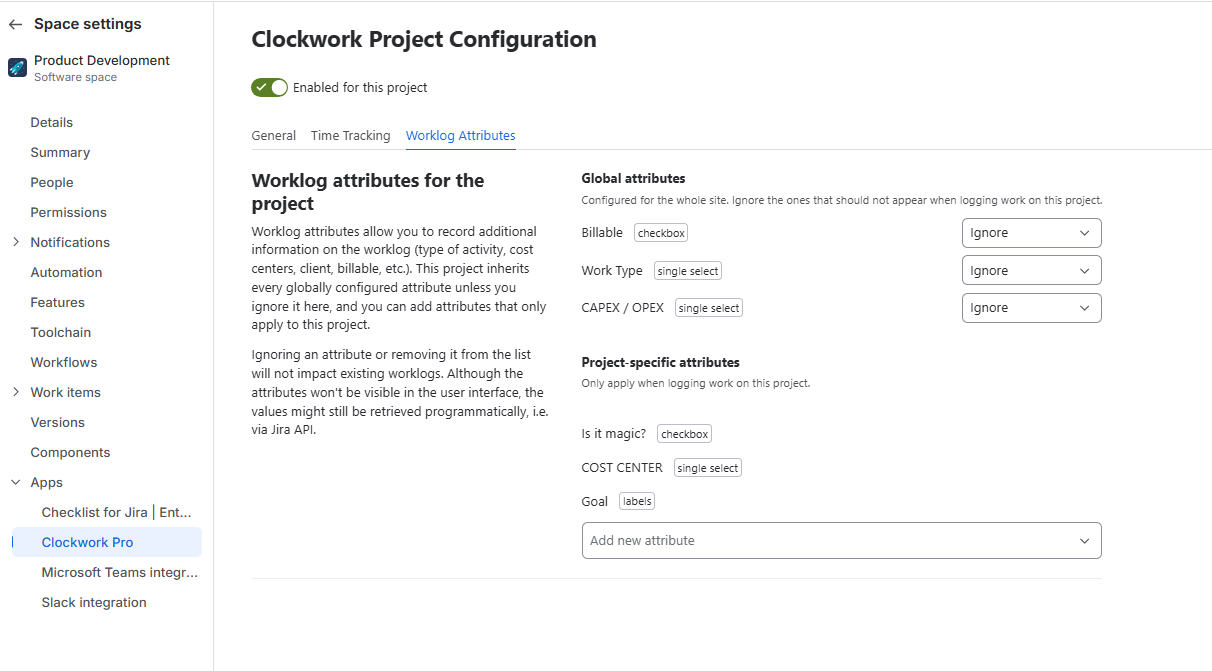
On the list of Global attributes select which you want to inherit or ignore in your space.
-
Add project-specific attributes. Similarly to global ones, these can be checkboxes, single-selects or labels.
-
Single-select and labels can be configured to be mandatory while checkbox worklog attribute can have a default value set up
-
Single-select and labels can be limited to the options configured in settings or you can let users create their own value while logging time
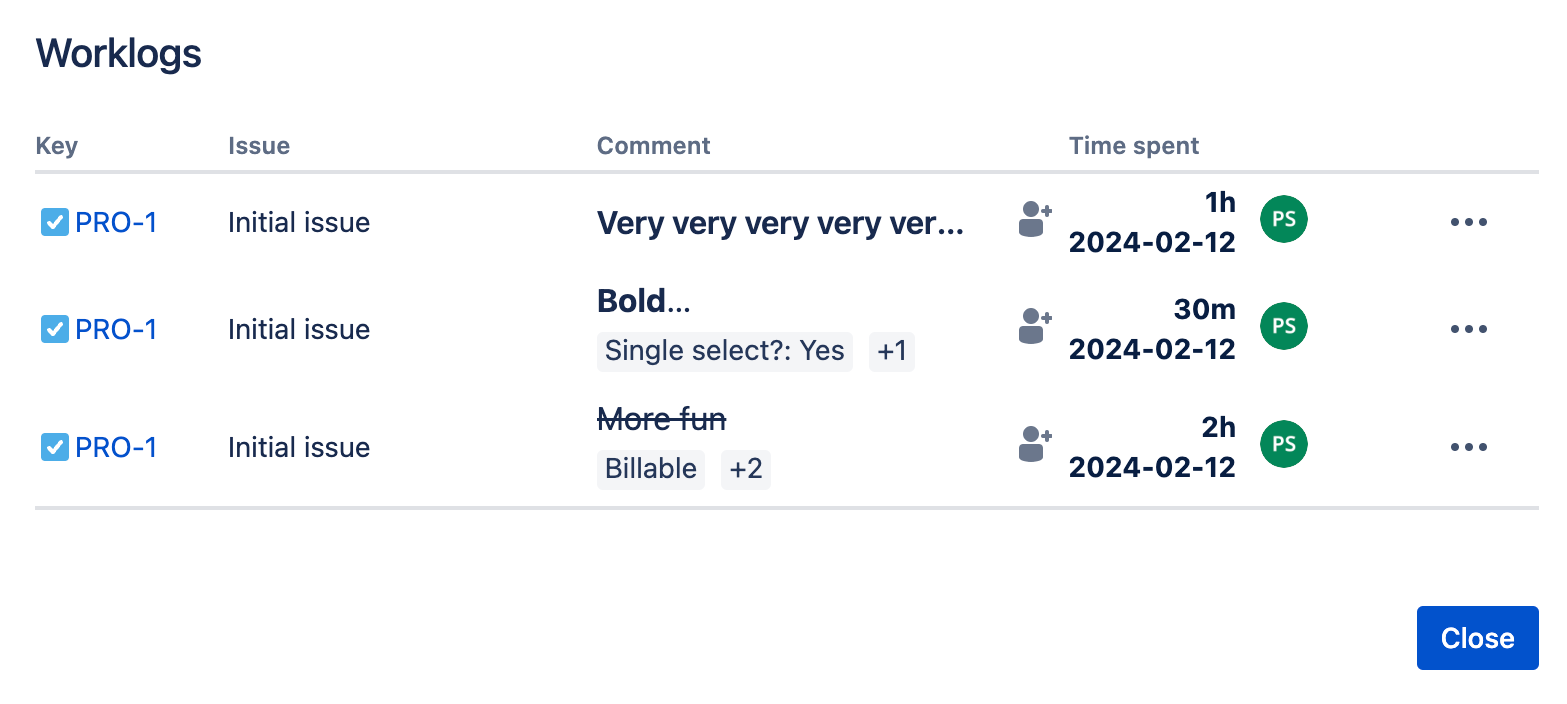
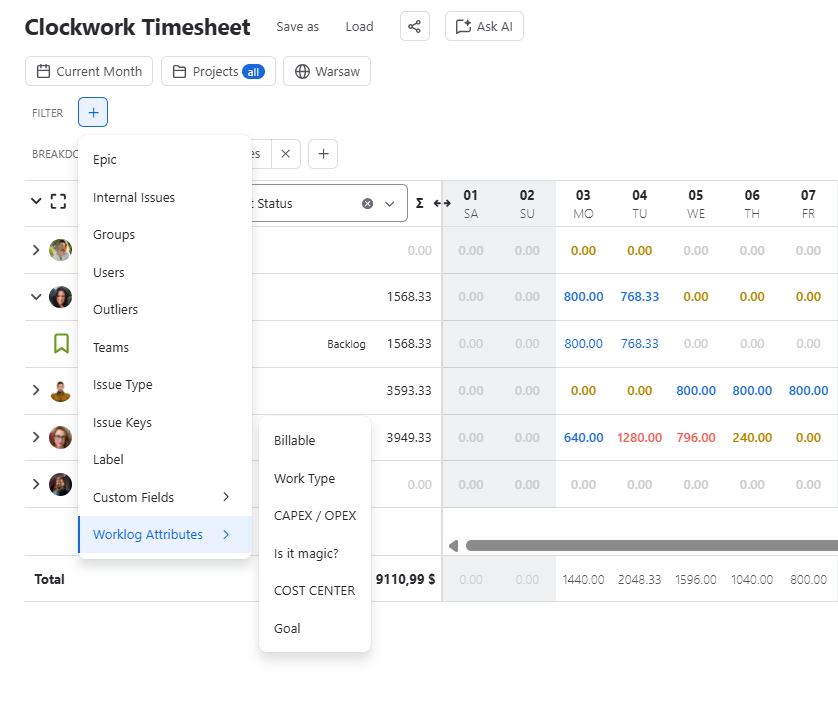
You can preview worklog attributes in the Work item view, the Timesheets' worklogs list when you click on time in the timesheet, and the Calendar view. You can also filter and group by worklog attributes when you configure a timesheet.