
Changing the Checklist Name
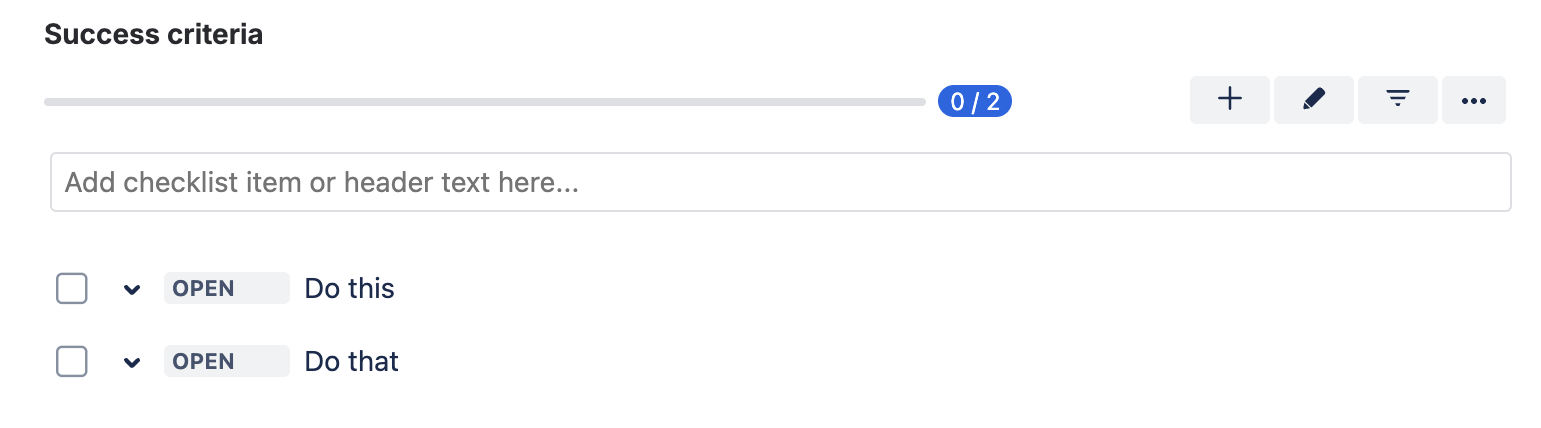
Checklists for Jira PRO and enterprise allow you to change the name of the checklist panel:
-
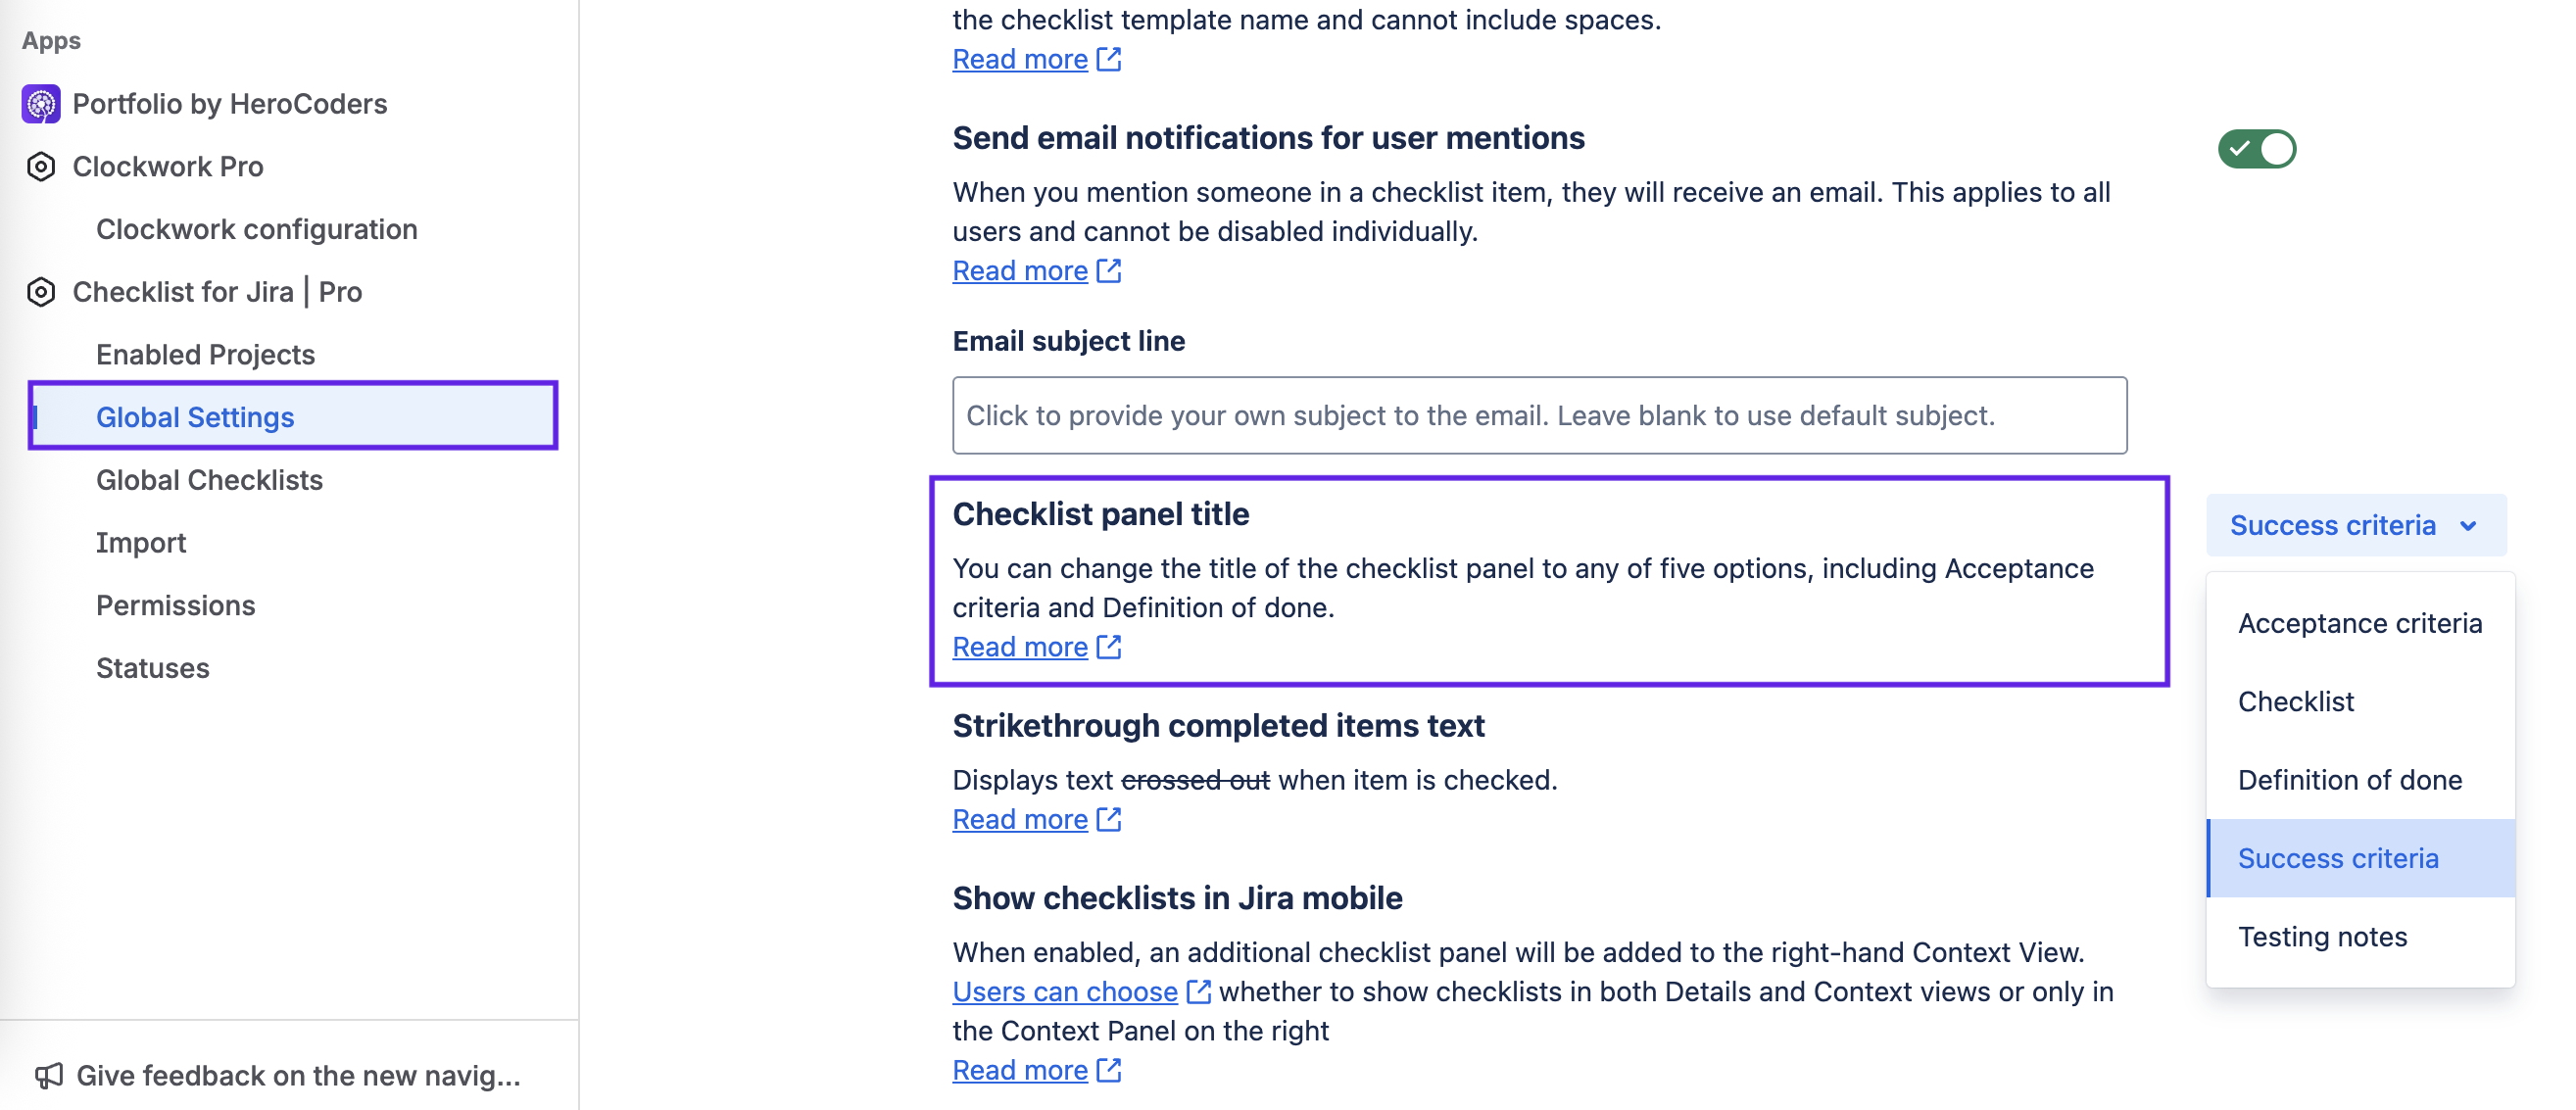
Navigate to Jira settings > Apps and select Global Settings under the Checklist for Jira heading.
-
Use the Main title dropdown to select the appropriate name. Options are:
-
Acceptance criteria
-
Checklist
-
Definition of done
-
Success criteria
-
Testing notes
Headers/Separators
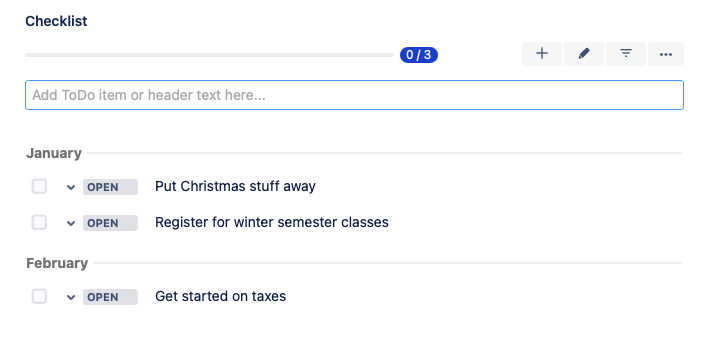
Headers/Separators can be used to divide a checklist into parts. To create a header:
-
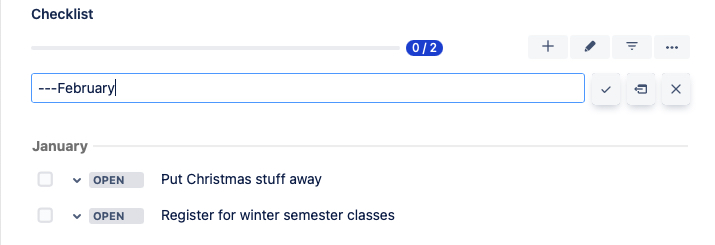
Type the header text into the checklist input field and then click on the header icon.

-
Alternatively, you can create a header by typing the header text, proceeded by three dashes --- into the checklist input field.
If you are using Checklists for Jira free a separator will count towards the limit of 100 items. As a work around, you can create multiple checklists as described below.
Multiple Checklists
You can create multiple checklists, each with its own name and progress bar, on a single work item.
To create additional checklists on a work item:
-
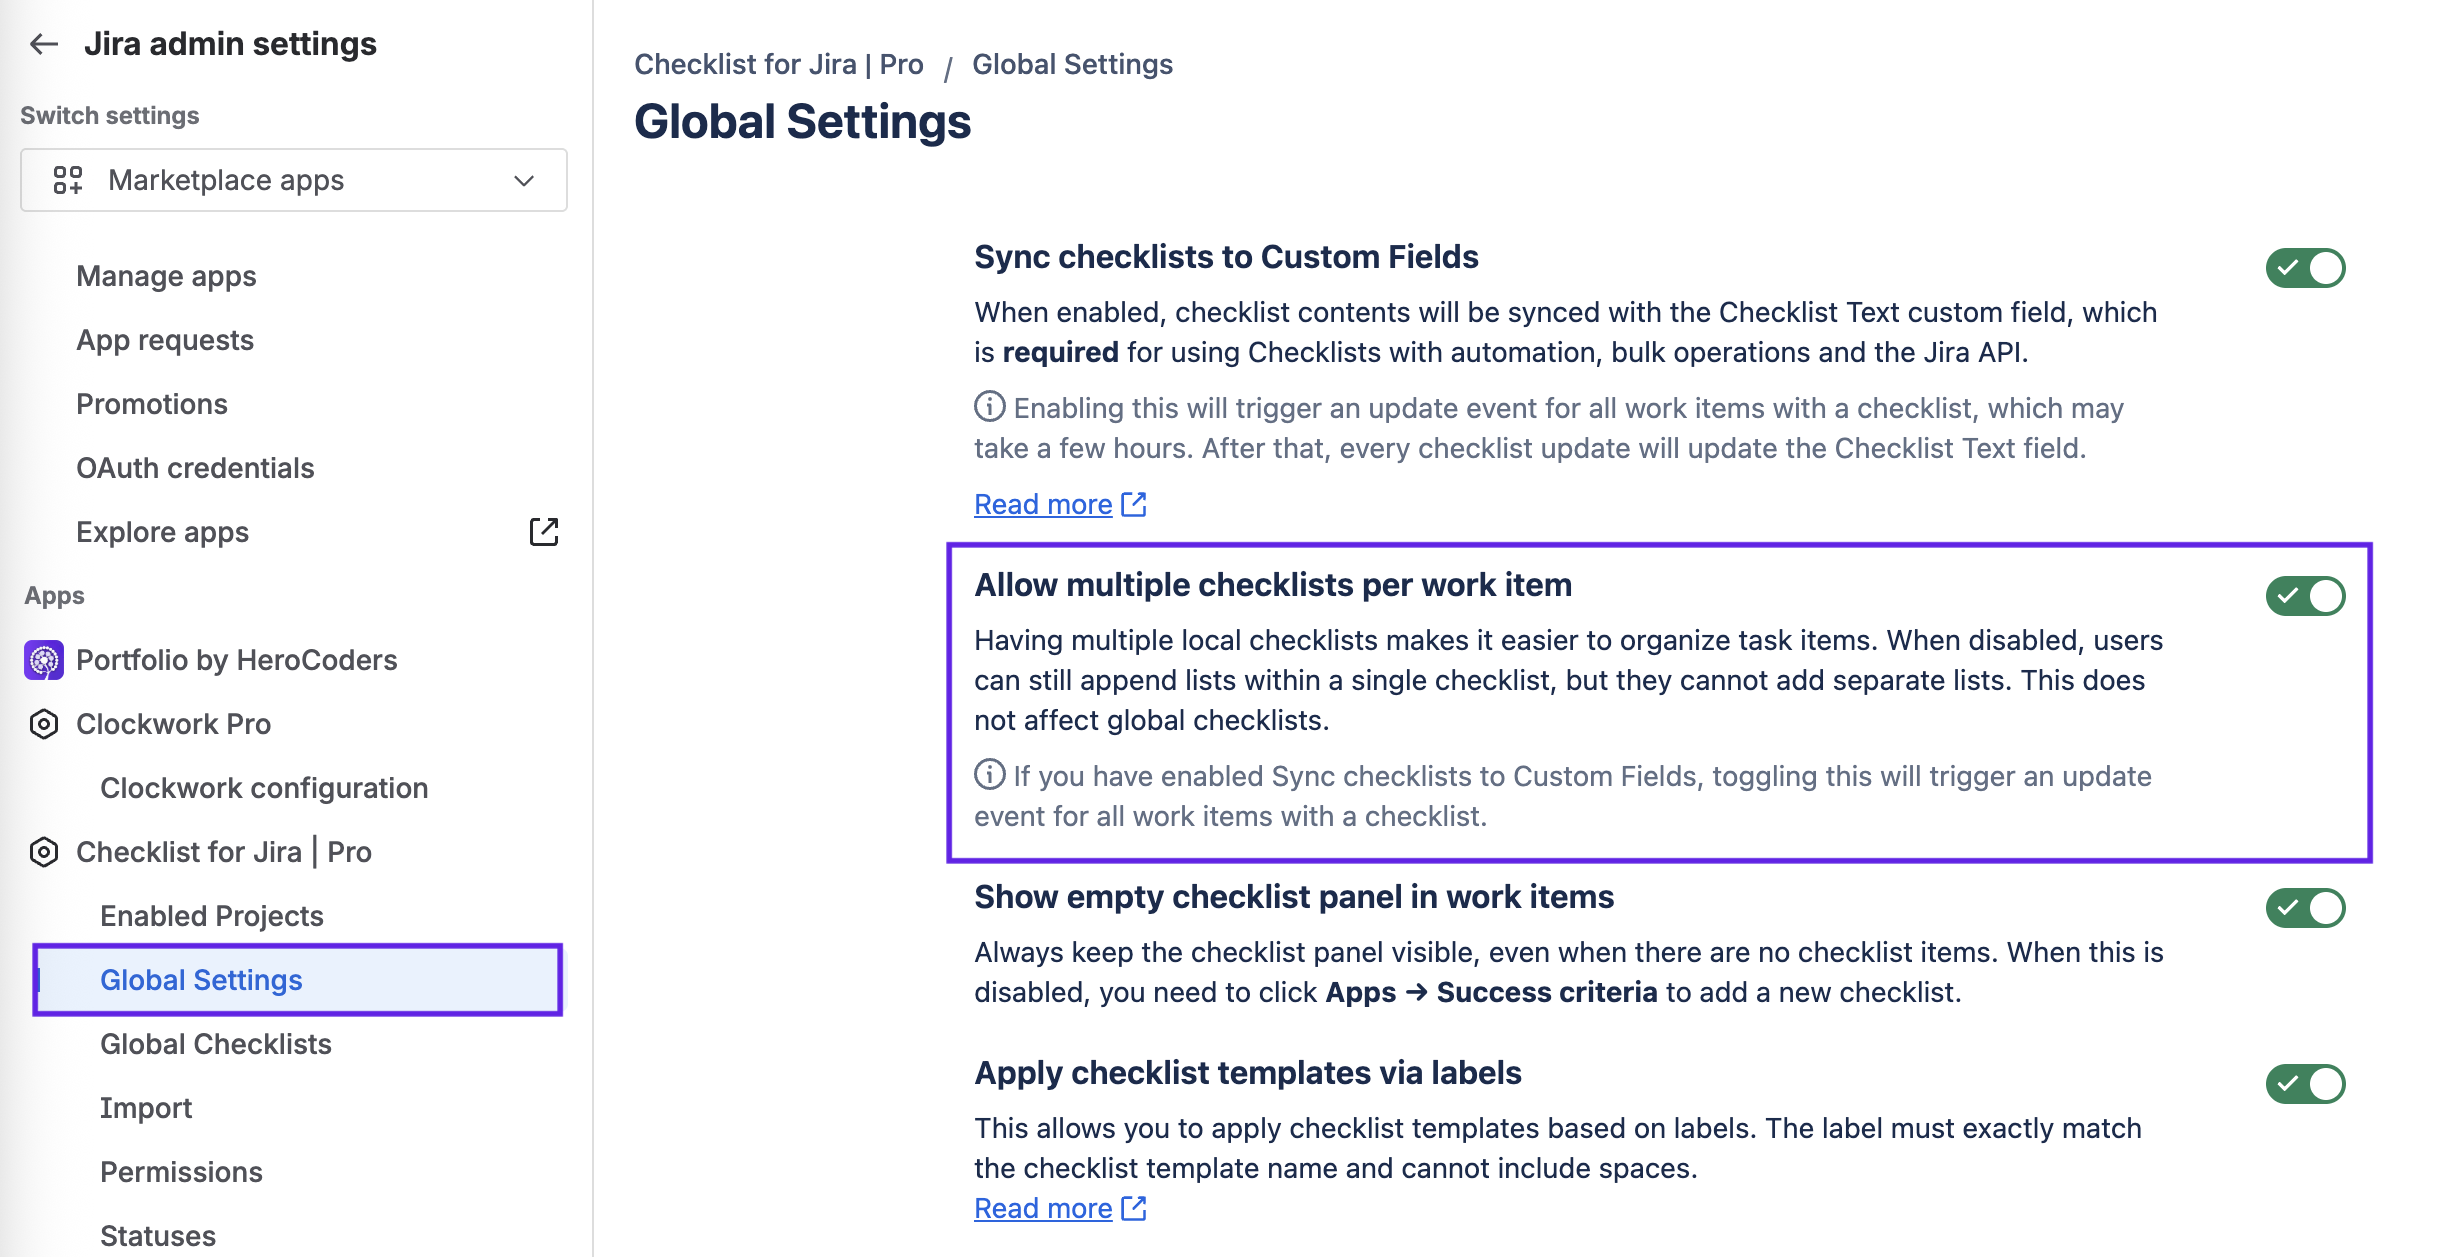
Navigate to Jira settings > Marketplace apps and select Global Settings under the Checklists for Jira heading.
-
Ensure the Allow multiple checklists per work item toggle is enabled.
-
Go to the Jira work item and click on the + button on the checklist panel to add another checklist.
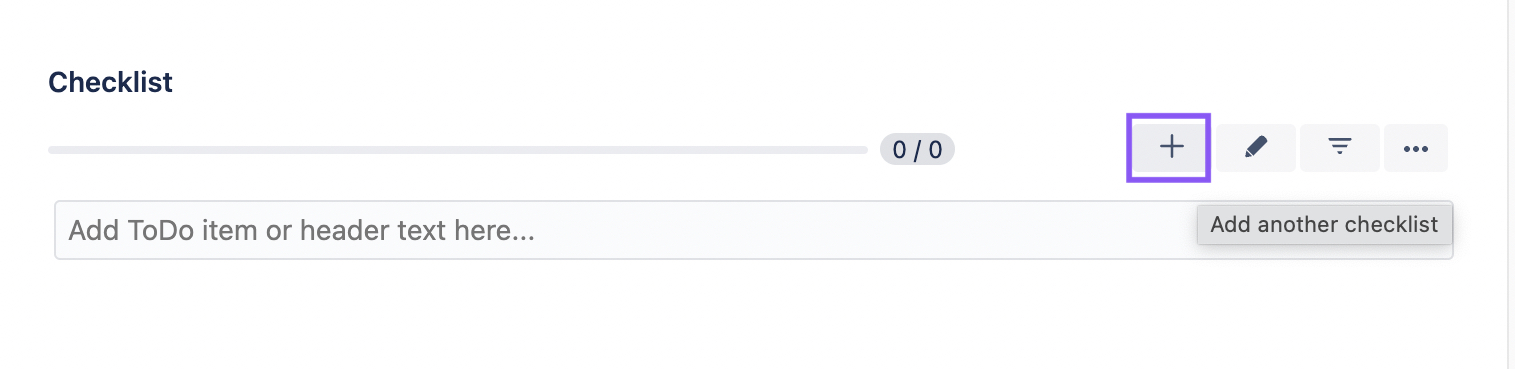
By default, the additional checklists will be named Checklist #2, Checklist #3, etc. Clicking on the name will open the field so you can rename the list. Once additional checklists have been added you can also rename the default checklist.
Limits of Checklists for Jira Free
Checklist for Jira Free has a limit to the total number of checklist items per Jira work item (as explained here). The limit applies to the total number of items in the work item, regardless of how the items are distributed across multiple checklists.