Custom checklist permissions are not available in Checklists for Jira (Free)
If the View Checklist custom permission is in use, and a user does not have this permission, they can still see assigned checklist items on Assigned checklist items page.
If the Sync checklists to Custom Fields setting is enabled and the Checklist Text field is included on Jira screens, then the checklist content will be visible to users regardless of whether or not they have permission to view the list.
If the Custom View permission is enabled, but no permissions are configured…
-
In company-managed projects the View checklist permission will be assigned based on the Browse projects permission (users with Browse projects permission will be able to view the checklist). If Checklist permissions have been configured, only users granted the custom view checklist permission will be able to see the checklist.
-
In team-managed projects all checklists will be invisible until Project permissions have been configured.
Who Can View Checklists by Default
By default, checklists are visible to anyone who can view the Jira work item. In Company-managed projects this is anyone with the Browse Projects permission. In Team-managed projects anyone in a Viewer, Member, Agent or Administrator role can view the Checklists.
How to Limit Who Can View Checklists in Company-Managed Projects
-
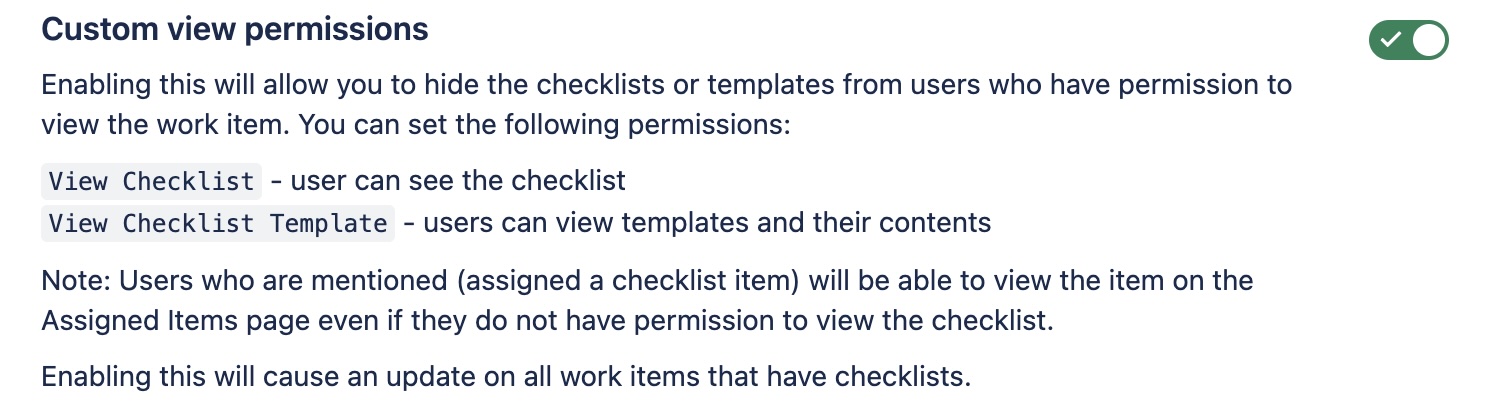
Navigate to Jira Settings > Apps and select Permissions under the Checklists for Jira heading. Use the toggle to enable custom Custom view permissions.
-
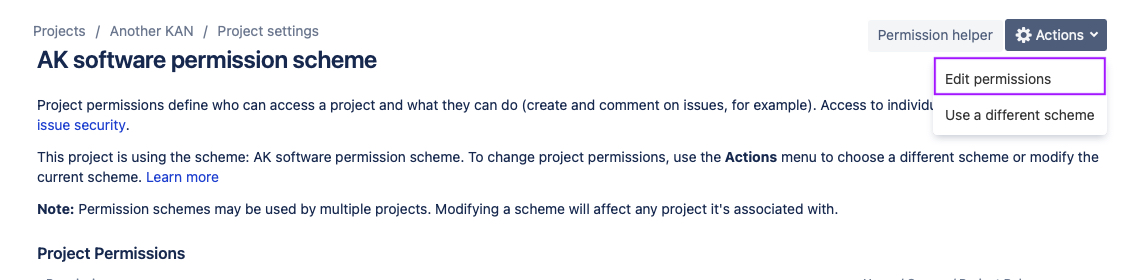
Navigate to Project Settings > Permissions.
-
Click Edit Permissions under the Actions menu.
-
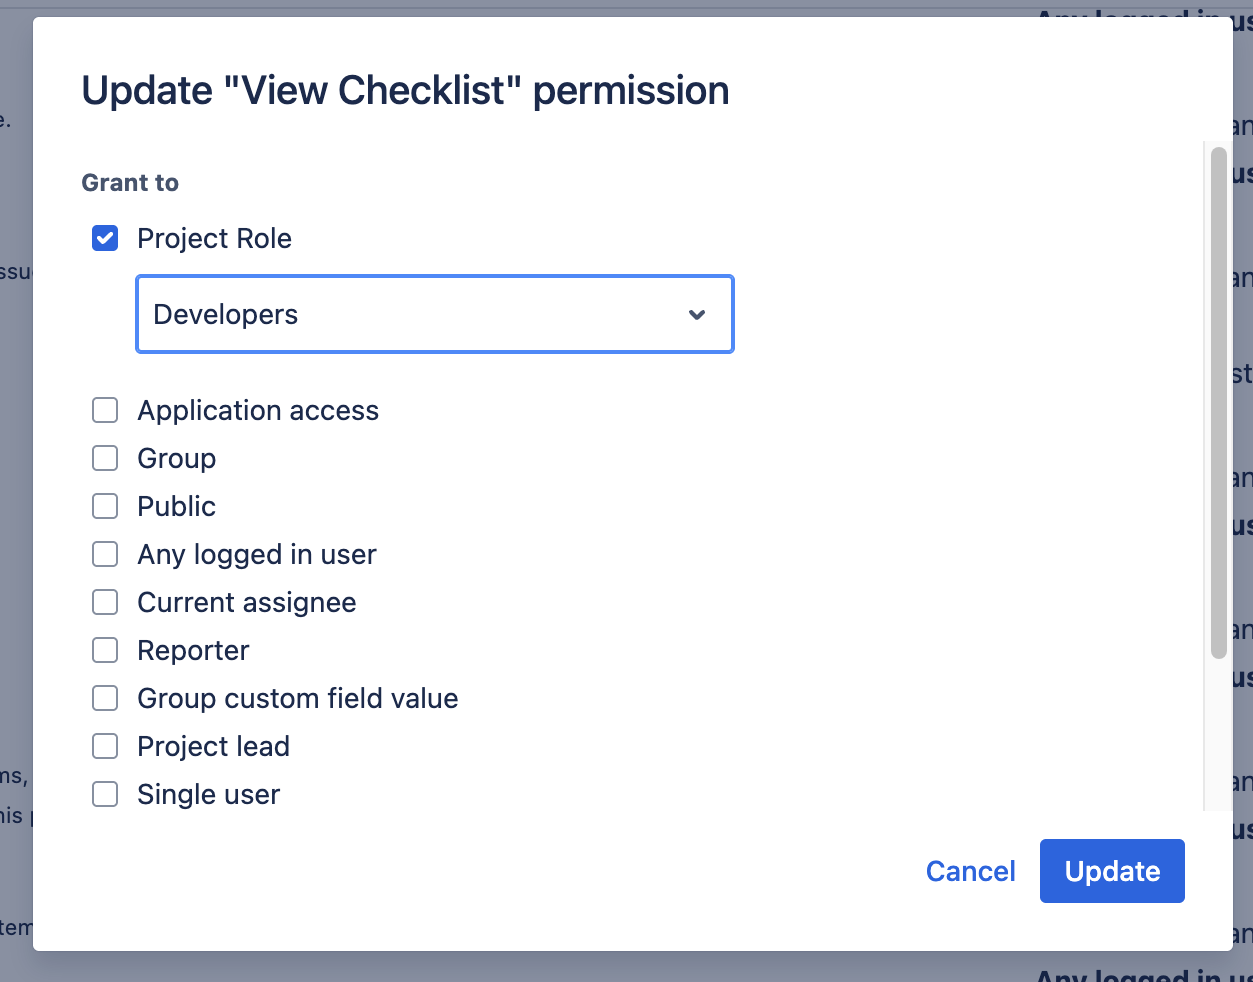
Navigate to the View Checklist permission (under issue / work item permissions) and click Update.

-
Use the checkboxes to indicate who you want to grant the permission to.
-
Click Update.
How to Limit Who Can View Checklists in Team-Managed Projects
-
Navigate to Jira Settings > Apps and select Permissions under the Checklists for Jira heading. Use the toggle to enable custom Custom view permissions.

-
For team-managed projects:
-
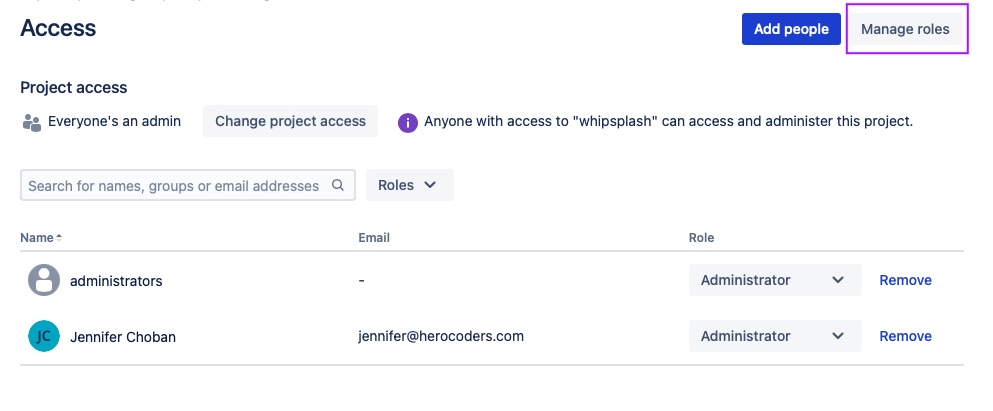
Navigate to Project Settings > Access.
-
Click the Manage roles button (top right).
-
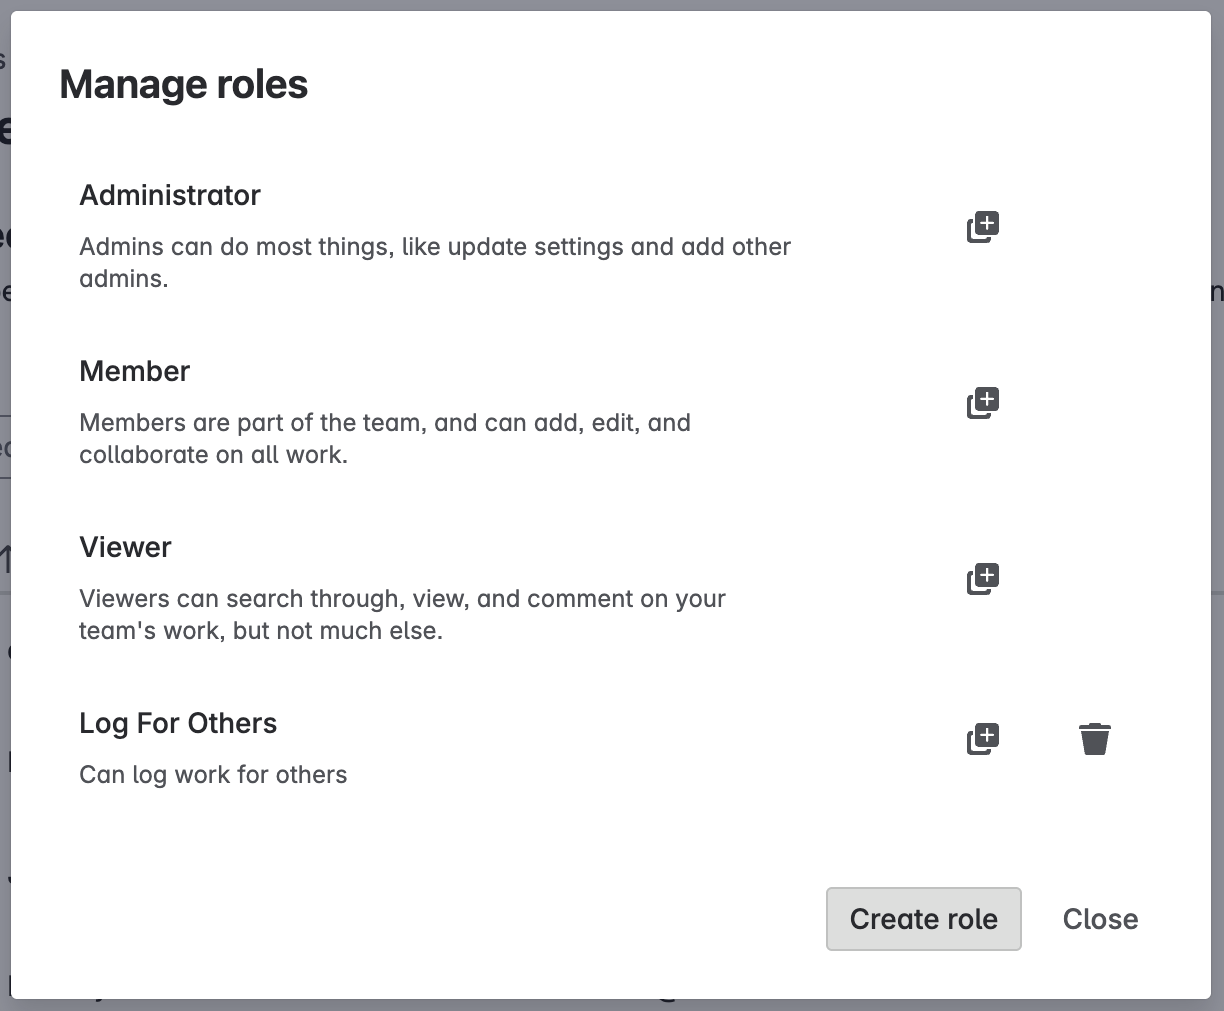
Click Create role.
-
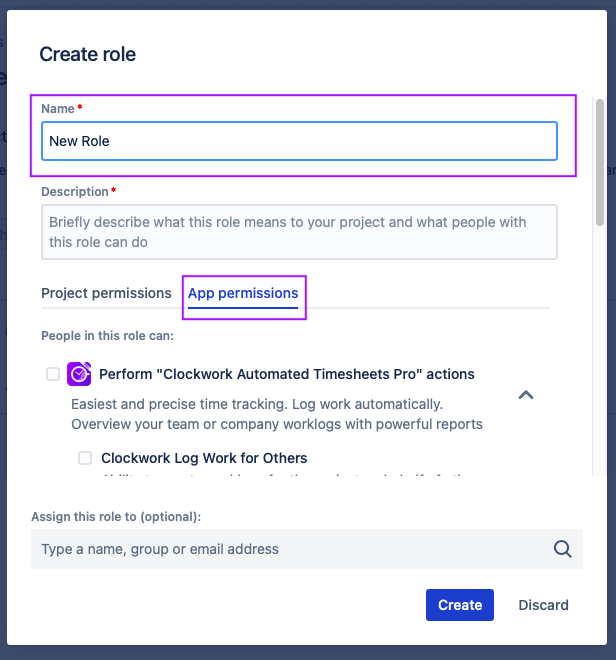
Name the role and select the App permissions tab.
-
Select the View Checklist permission.

-
Select the users/groups who will be added to the role.

-
Click Create.
How to Allow JSM Customers to View a Read-only Checklist on the Portal
-
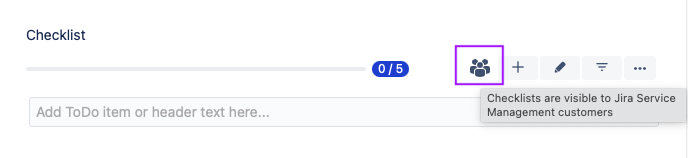
To show a read-only copy of the Checklist on the JSM Portal navigate to Project settings > Apps > Checklist for Jira. Use the toggle to make a read-only copy of the checklist visible on the JSM portal.

-
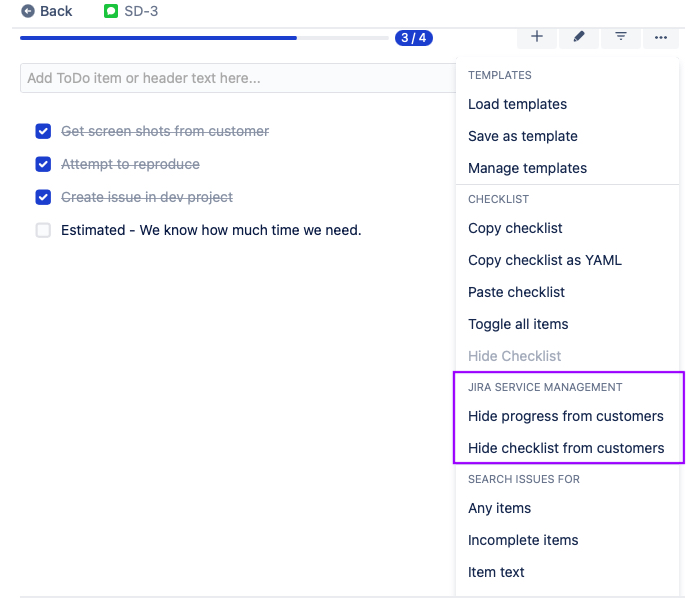
Note that when this feature is enabled a people icon will be displayed on the agent view to alert agents that information in the checklist is visible to customers. (The checklist panel is not visible for an empty checklist.)
-
The checklist menu gives agents the option to override this setting on individual JSM requests.