
This page describes how to use Atlassian’s Cloud Migration tool to migrate between two Cloud sites that have Checklists for Jira.
Note that there are multiple options for performing migrations.
-
See this page to compare Atlassian’s cloud to cloud migration methods
-
This page provides alternative options for migrations with checklists.
Requirements
-
You must be an organization admin on both the source and the destination site to perform the migration. See this page for more information on the required permissions.
-
Ensure that you have the same Jira apps (Jira, Jira Service Management) on both sites.
-
Make sure Checklists for Jira is installed on both sites.
-
Make sure the Sync checklists to Custom Fields global setting is enabled on both sites.
Limitations
Atlassian Cloud to Cloud migration is in Beta. Jira Service Management spaces and Team-managed spaces cannot currently be migrated. See this page for a full list of elements that are and are not migrated. If you need to migrate JSM and Team-managed spaces, please see this page for other migration options.
Performing the Migration
-
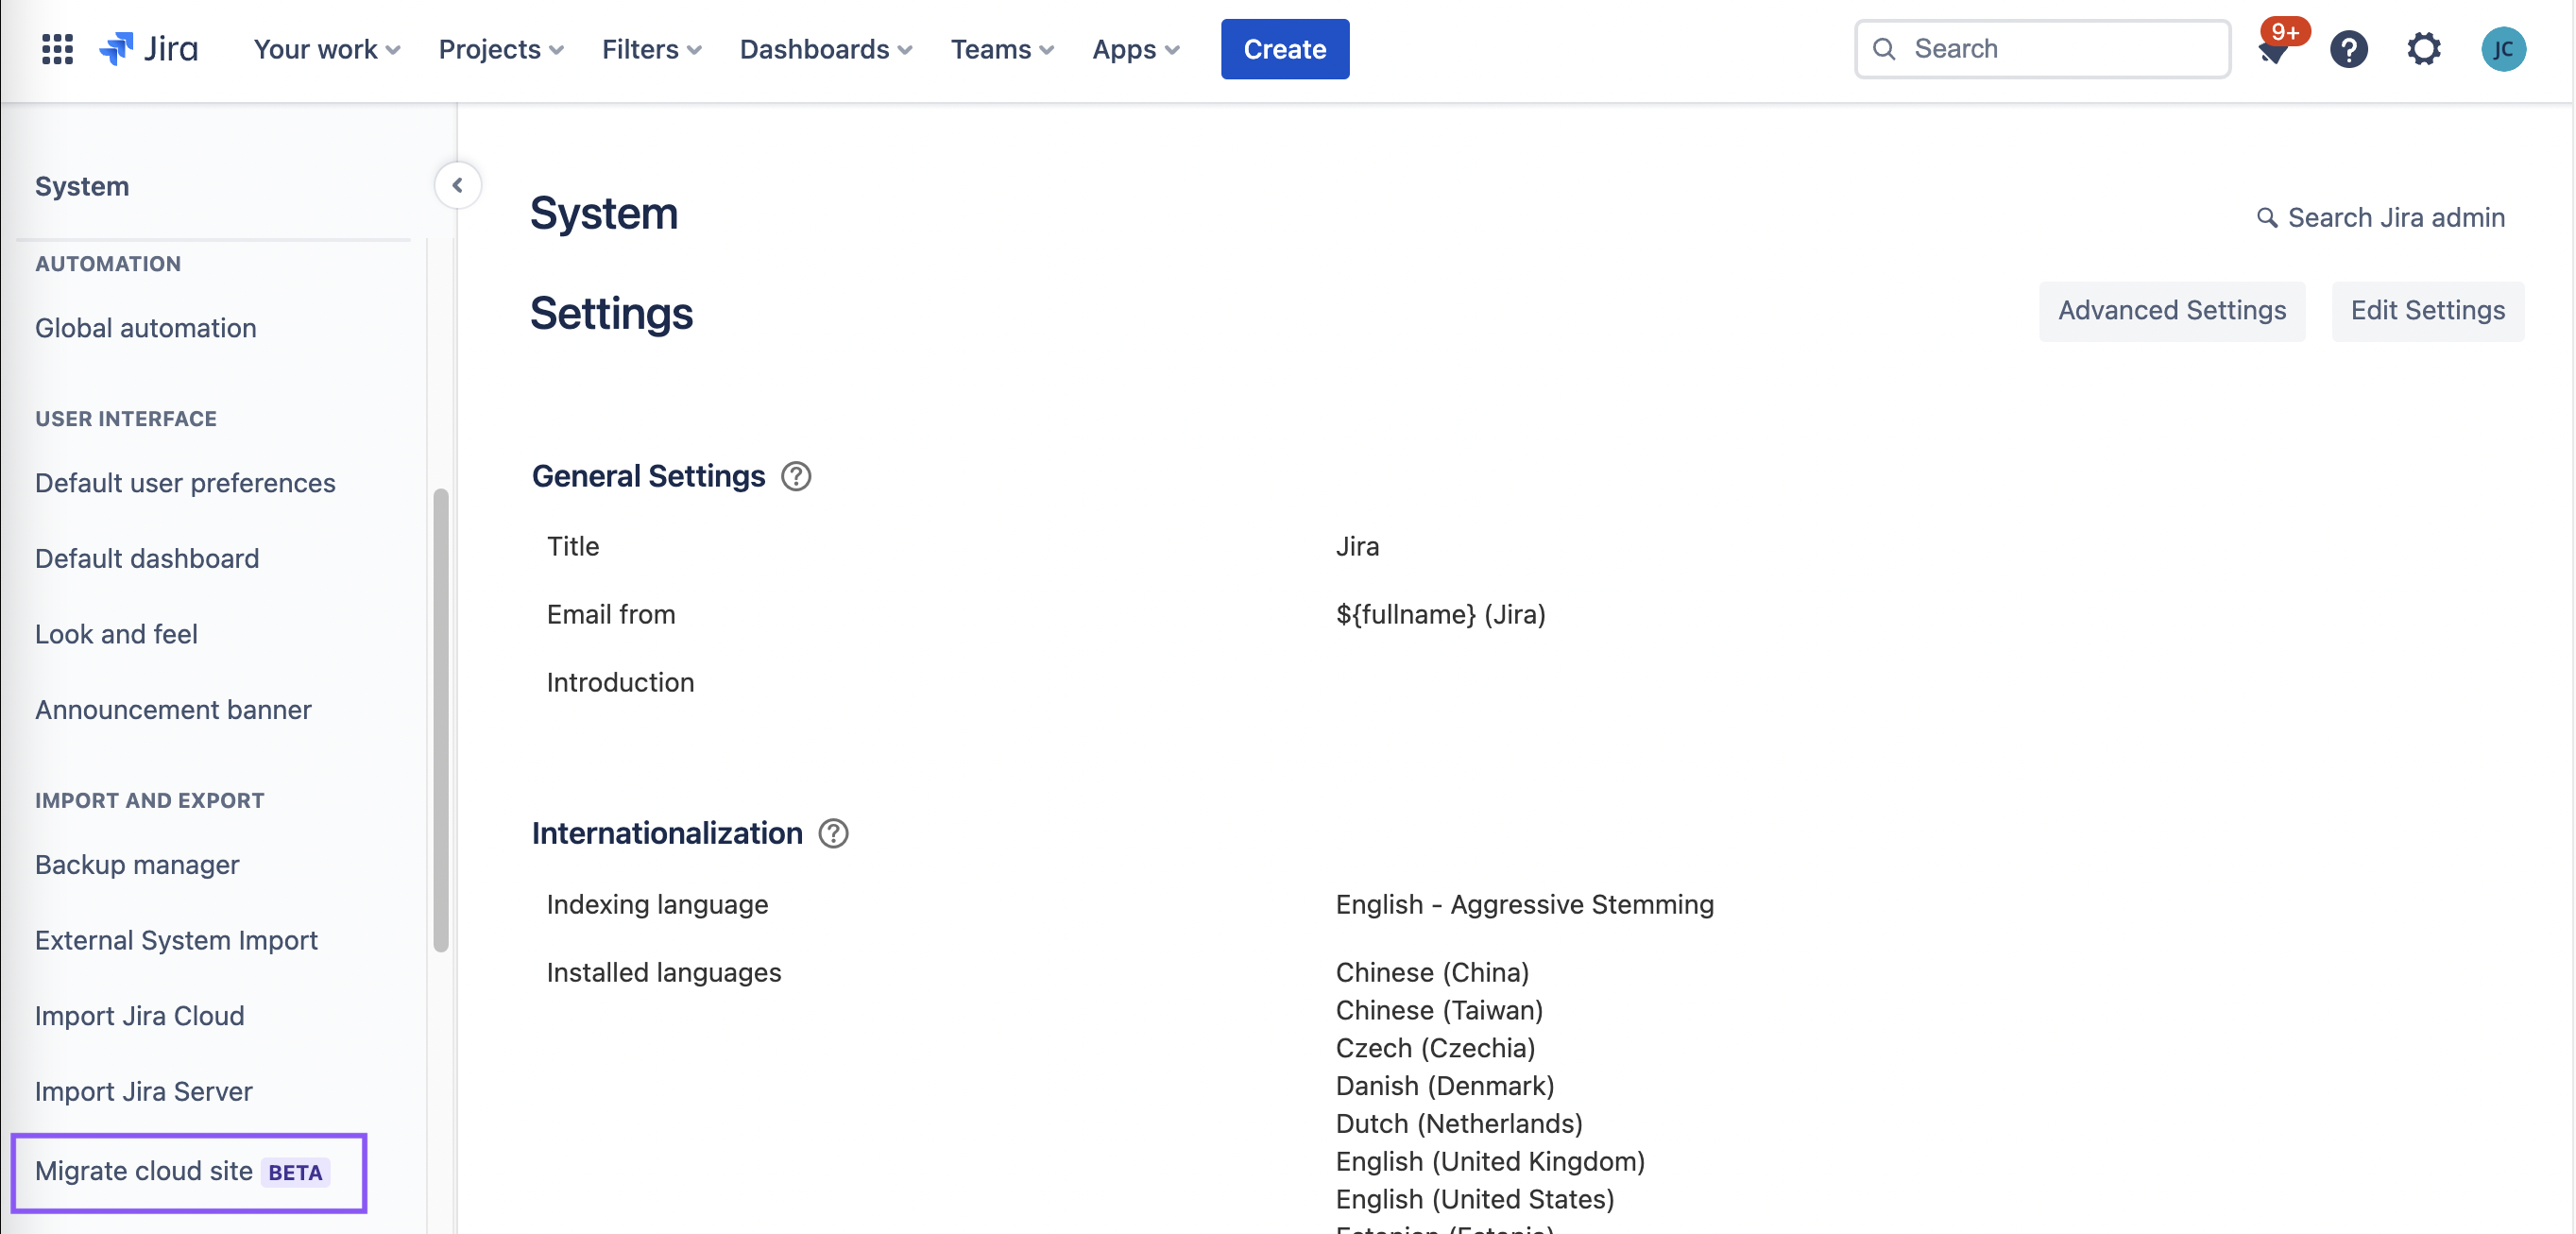
Navigate to Jira Settings > System and select Migrate cloud site from the left navigation menu.
-
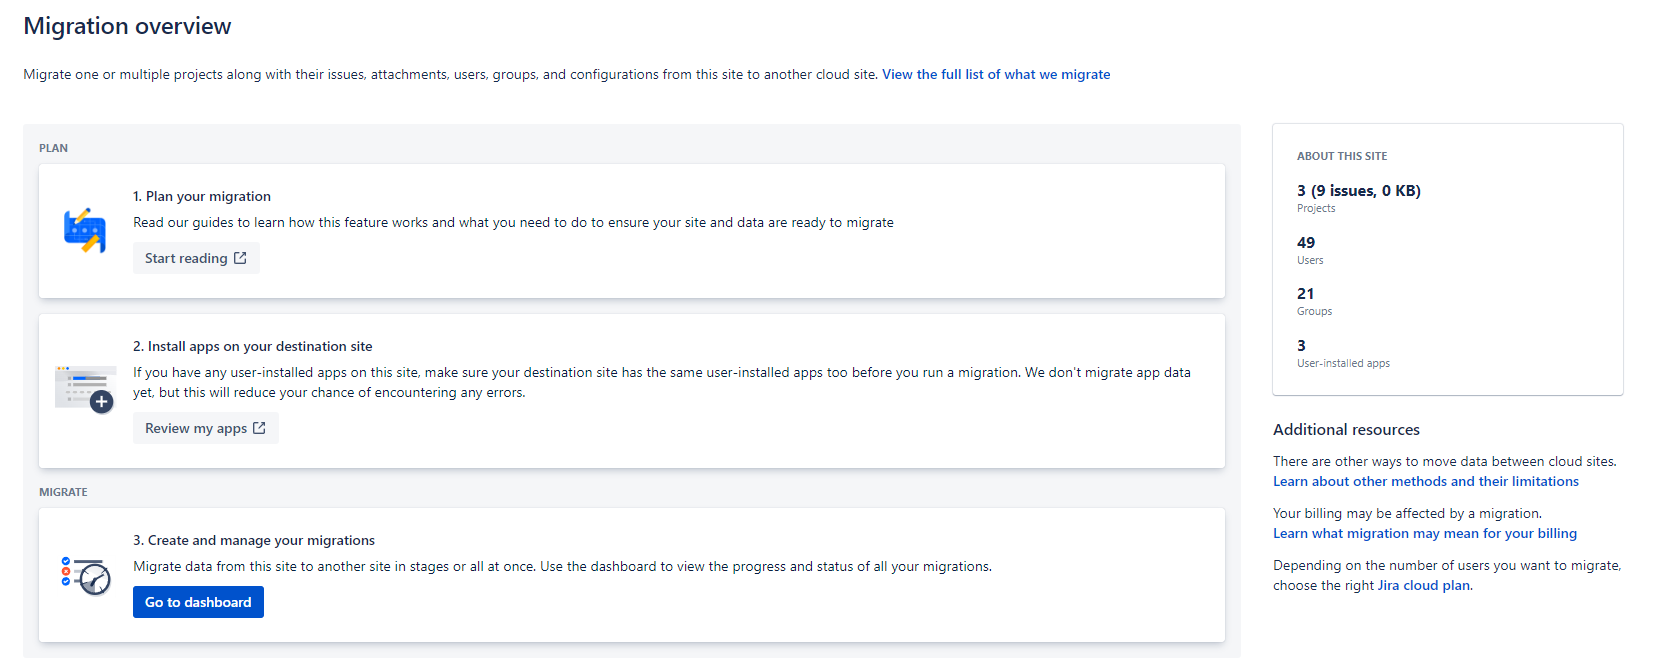
You will be taken to an overview page with more information about the migration process.
-
When you are ready to proceed, click on Migration dashboard.

-
Click Create new migration.
-
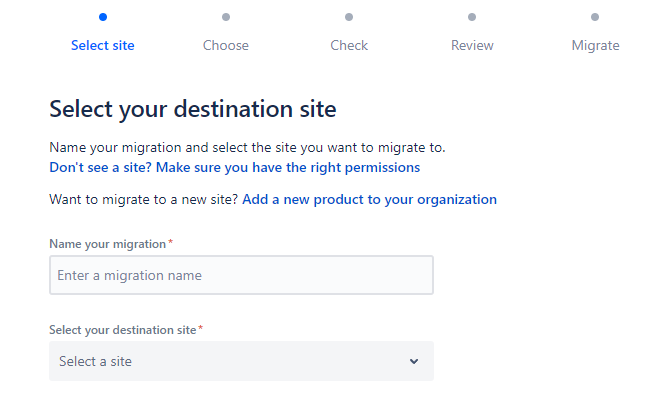
Name the migration and select the destination site.
-
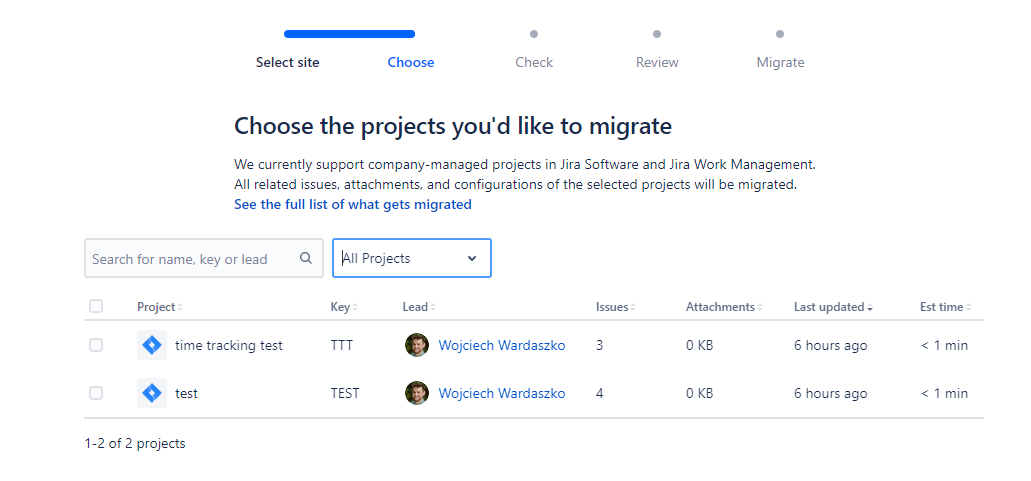
Select the spaces to migrate. Note that JSM and Team-managed spaces cannot be migrated with this tool. For other migration options, please see this page.
-
Migrate users and groups. The tool give you the option to do this in one step or separately.

-
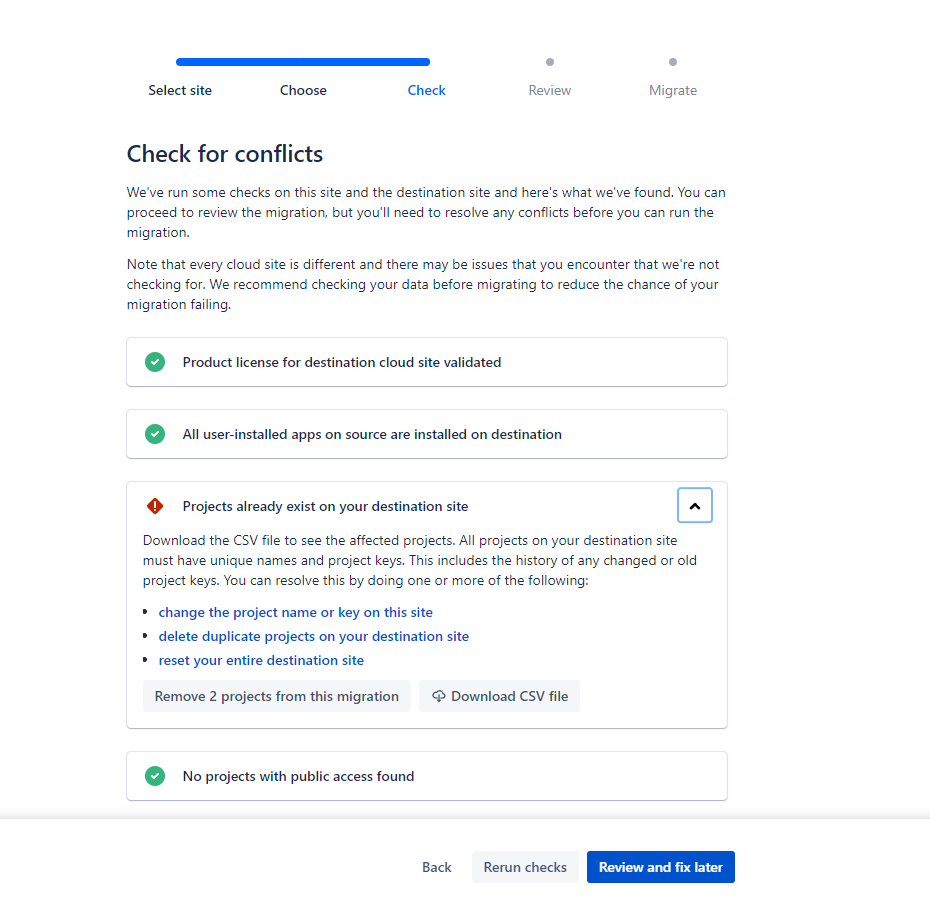
Do a final check to ensure there are no duplicate spaces.
-
Perform the migration.

Consolidate Checklist Custom Fields
Once the migration is complete, you will have duplicated copies of the Checklist custom fields on the destination site:
-
Checklist Completed
-
Checklist Content YAML
-
Checklist Progress
-
Checklist Progress %
-
Checklist Template
-
Checklist Text
-
Checklist Text (view-only)
-
Checklist Completed (migrated)
-
Checklist Content YAML (migrated)
-
Checklist Progress (migrated)
-
Checklist Progress % (migrated)
-
Checklist Template (migrated)
-
Checklist Text (migrated)
-
Checklist Text (view-only) (migrated)
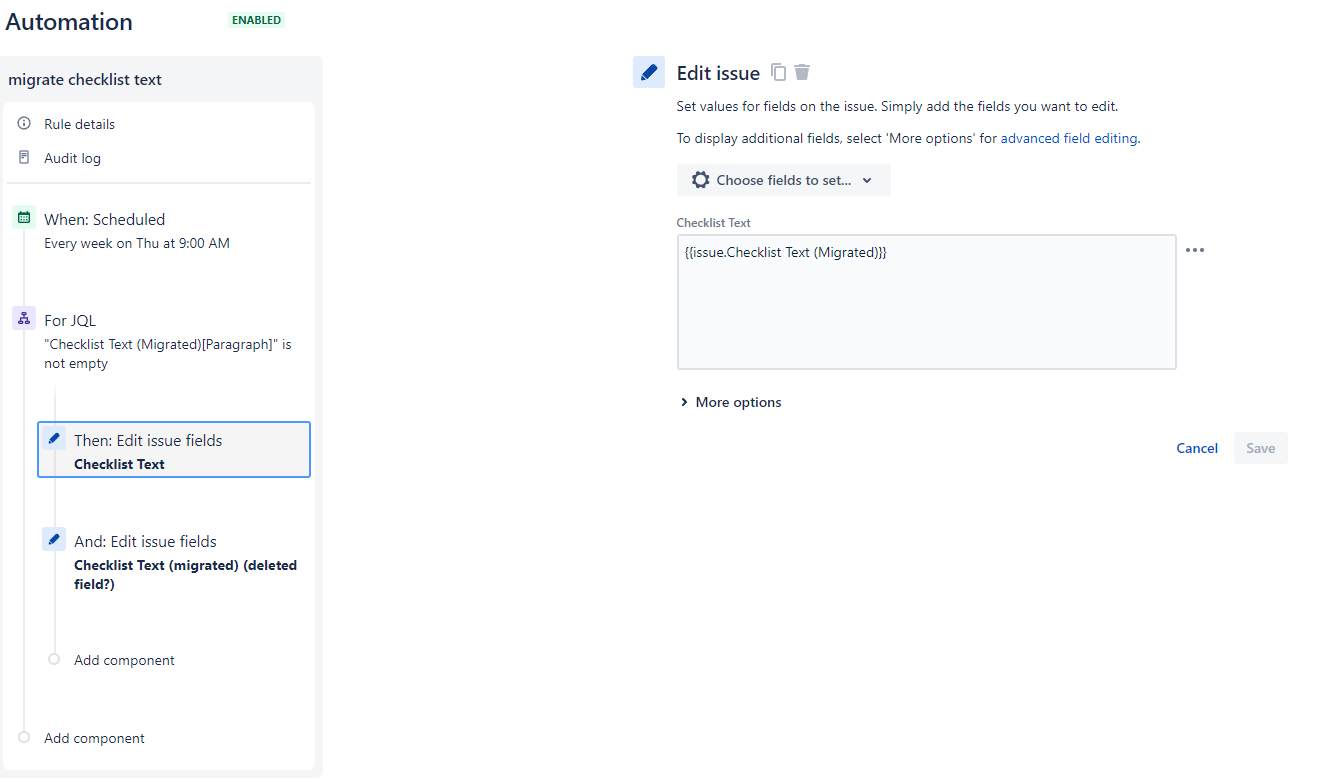
At this point the checklist data is stored in the Checklist Text (migrated) custom field. Use the automation rule below to move the data into the Checklist Text field:
-
Navigate to Space settings > Automation (or Jira Settings > System > Automation rules).
-
Click Create rule.
-
Select the Scheduled trigger. The date and time will not matter. You can execute the rule from the automation interface.
-
Click Save.
-
Select New branch.
-
Select Branch rule/related work items.
-
Select JQL in the Type of related work items dropdown.
-
In the JQL text field, enter
“Checklist Text (Migrated)[Paragraph]" is not empty. -
Click Save.
-
Add a New action under the new branch.
-
Select Edit work item as the action and Checklist Text as the field to be edited.
-
Type
{{work item.Checklist Text (Migrated)}}in the text box. -
Click Save.
-
Name the rule and Turn it on.
-
Click Run rule.
If atlassian-addons-project-access does not have the appropriate permissions, you may need to change the Actor on the rule.
Atlassian has announced that they will be deprecating the atlassian-addons-project-access role in the upcoming months and that it will be included in space permission schemes and all work item security levels by default. Learn more.
Once the automation rule has moved the checklist data from the Checklist Text (migrated) field to the Checklist Text field, you can safely delete all of the migrated checklist fields from the destination instance.