Checklist templates allow you to reuse a defined checklist on multiple Jira work items. There are several ways to create checklist templates.
From the Templates Page
Templates can be created and managed from the Templates page:
-
Click on the More button in the upper nav bar.
-
Select Checklist from the list.
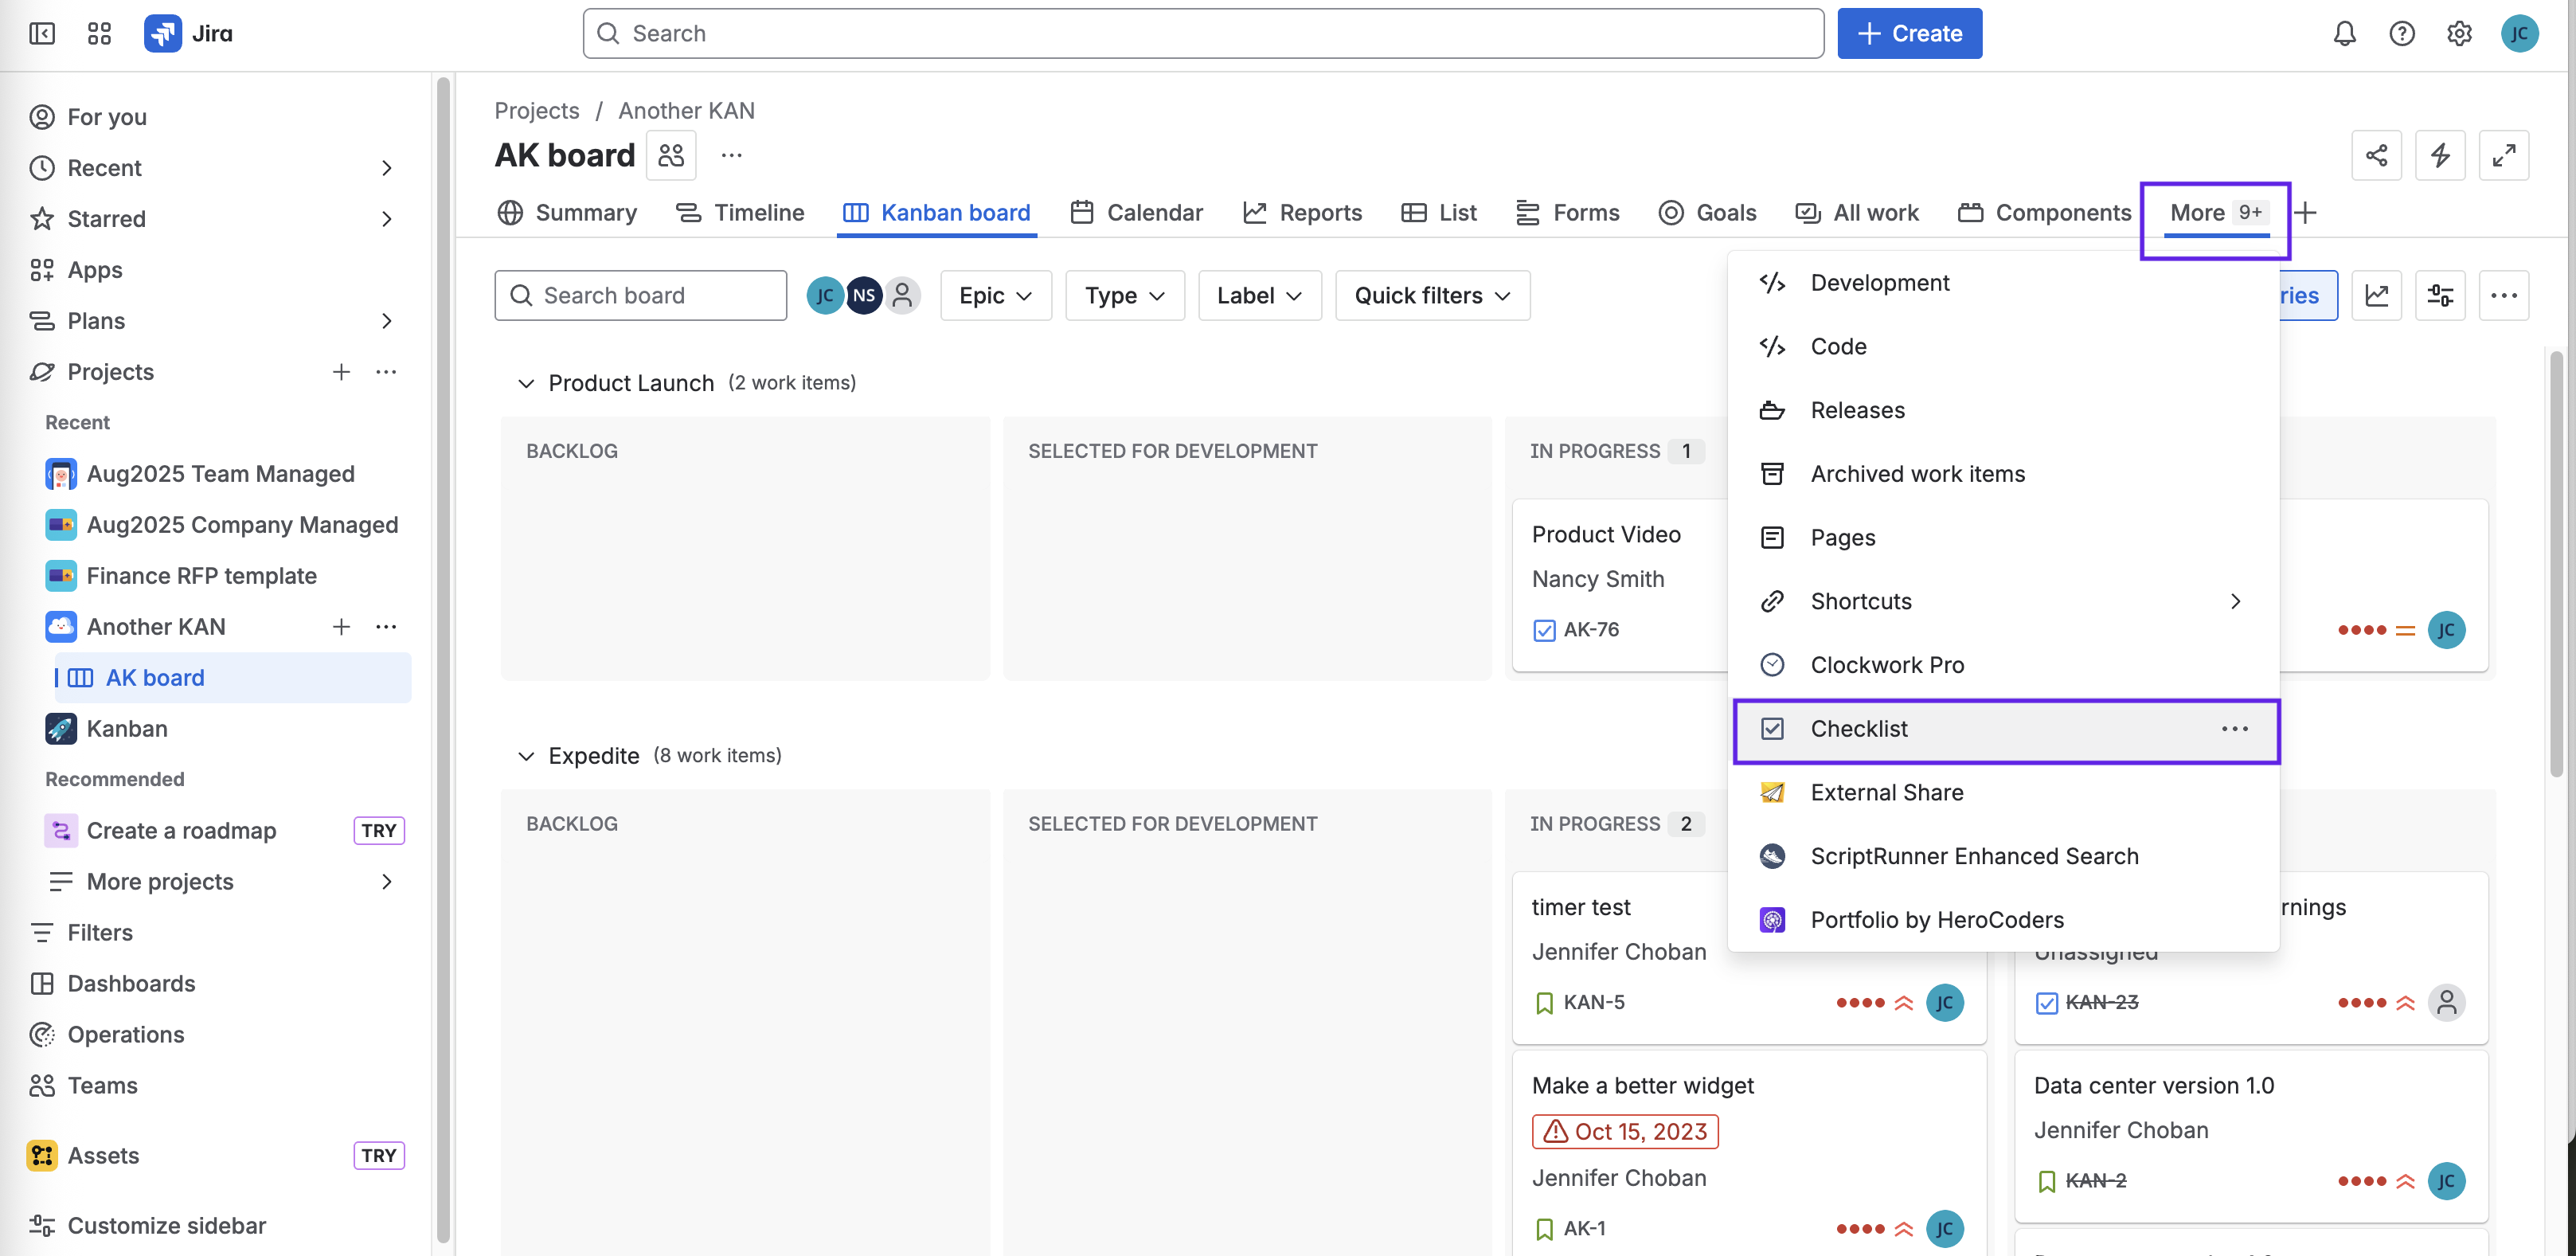
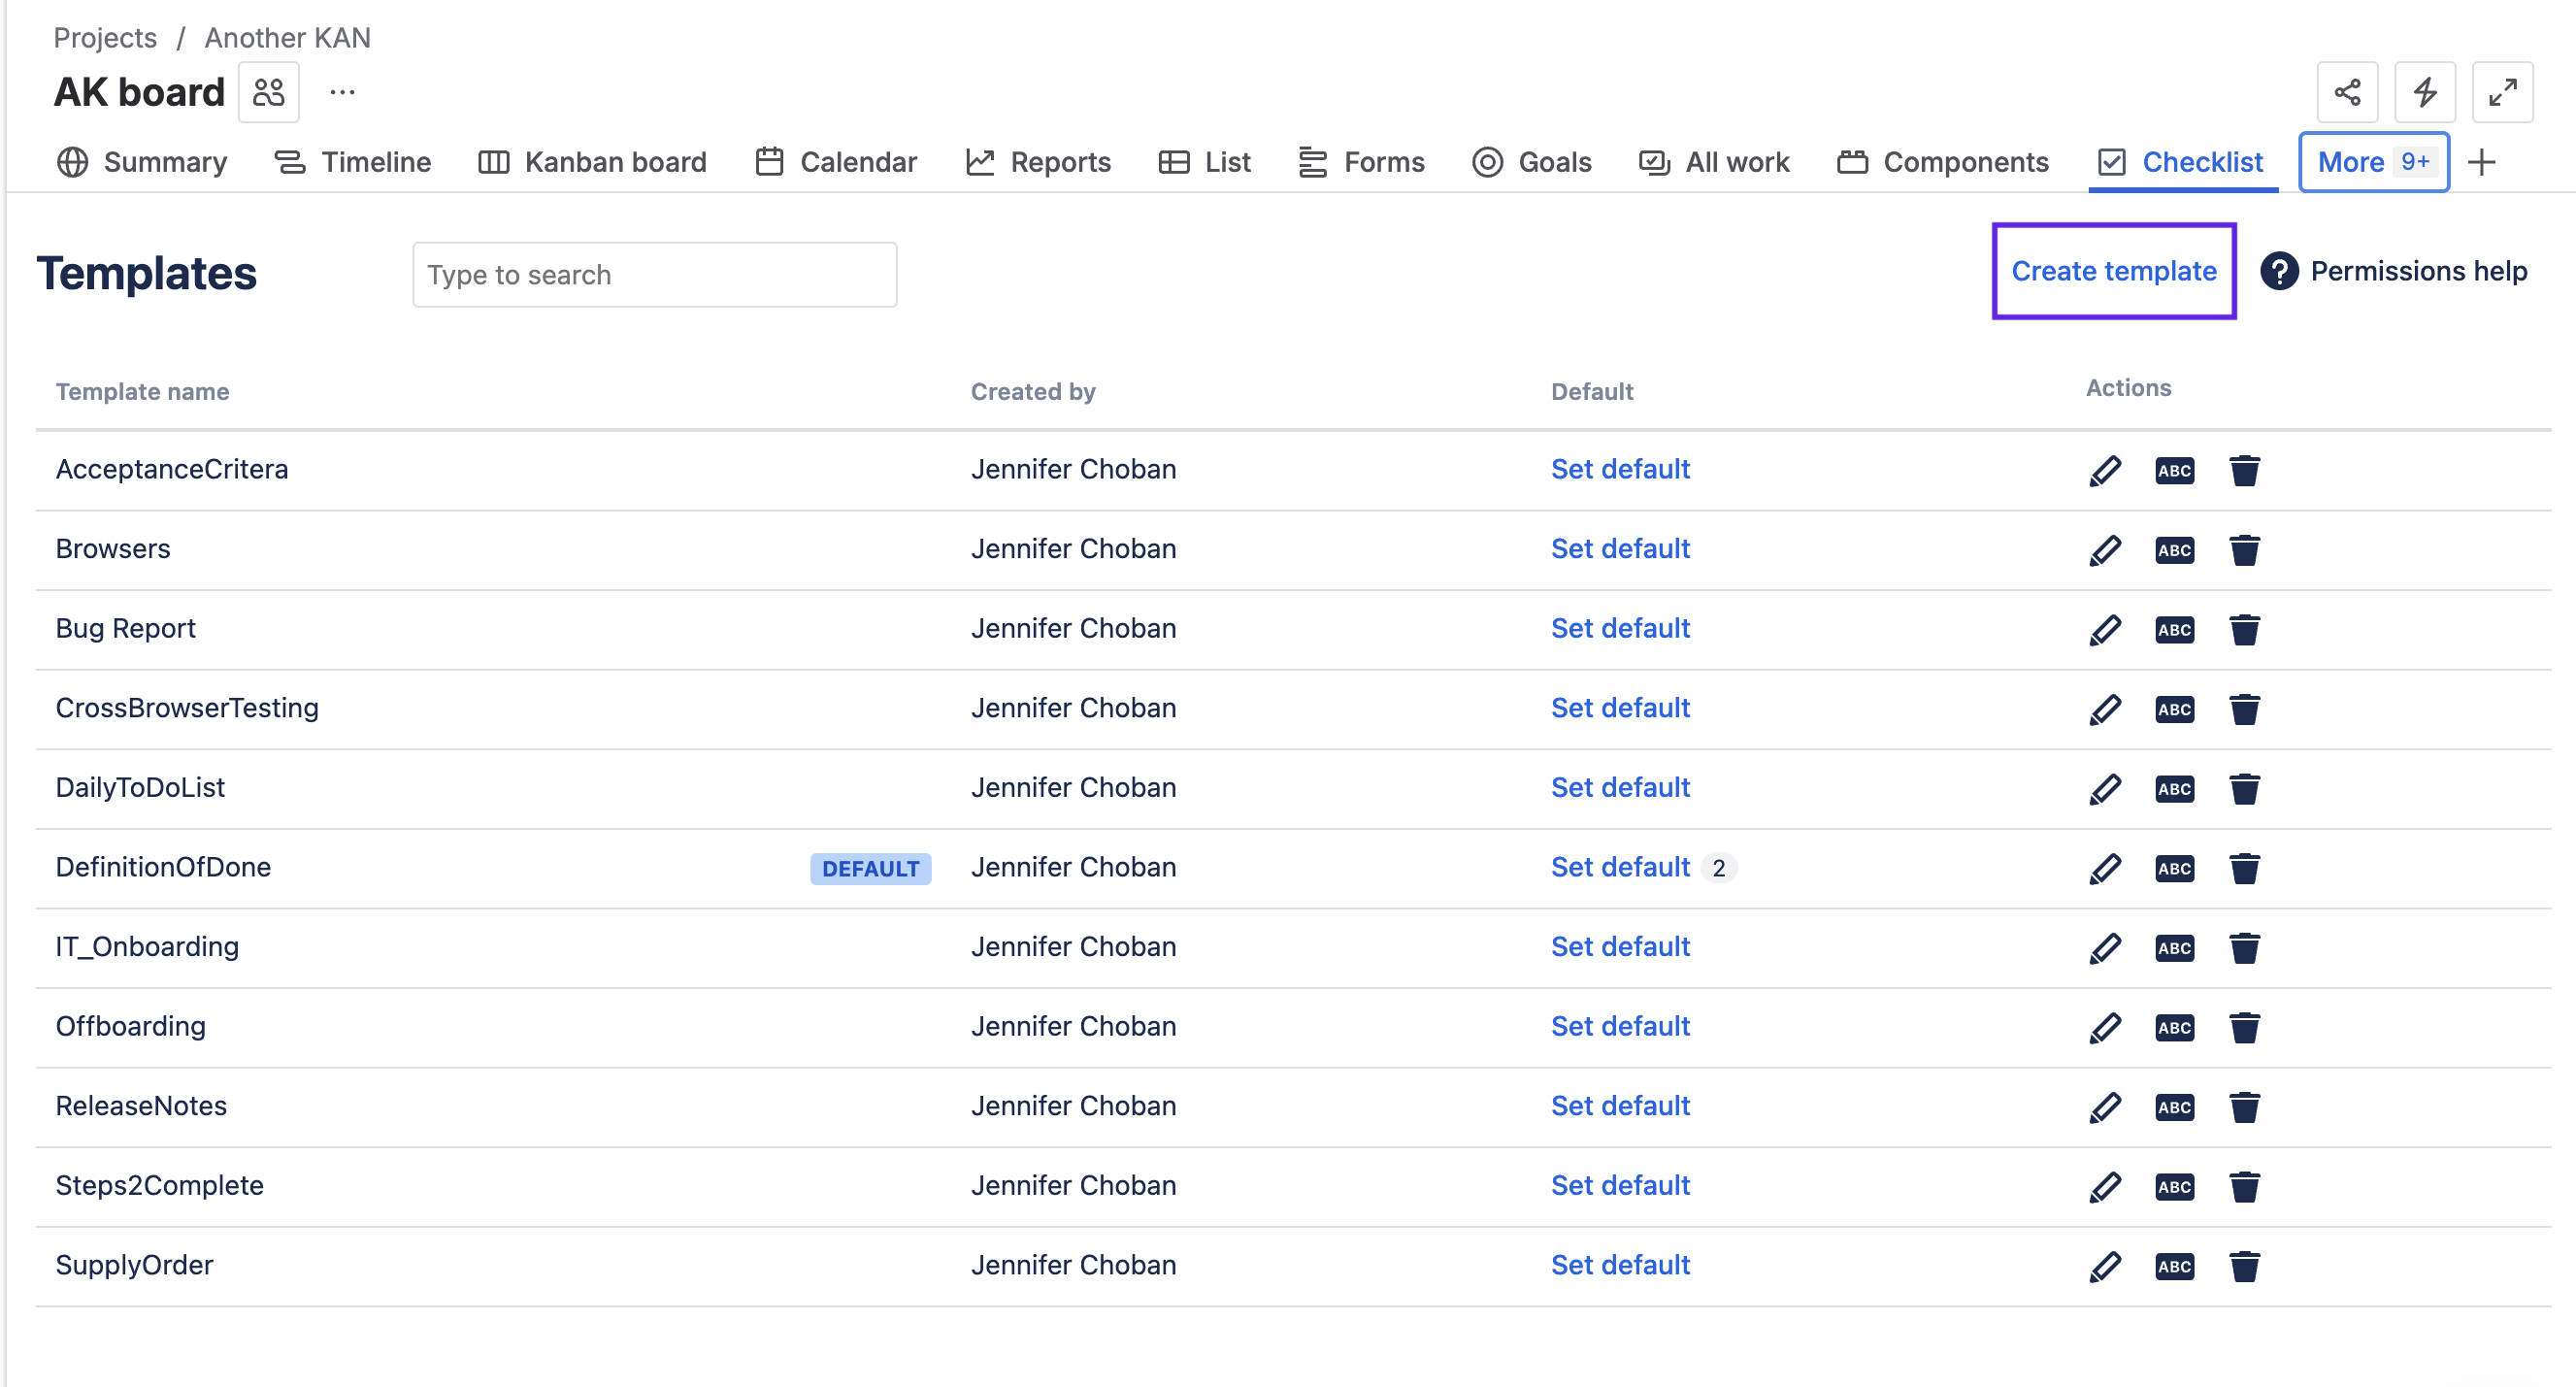
-
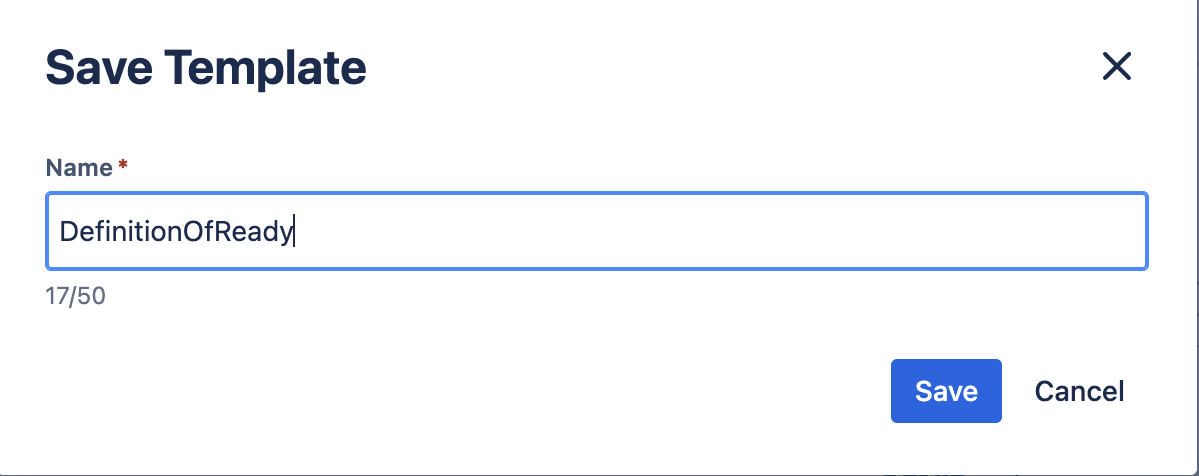
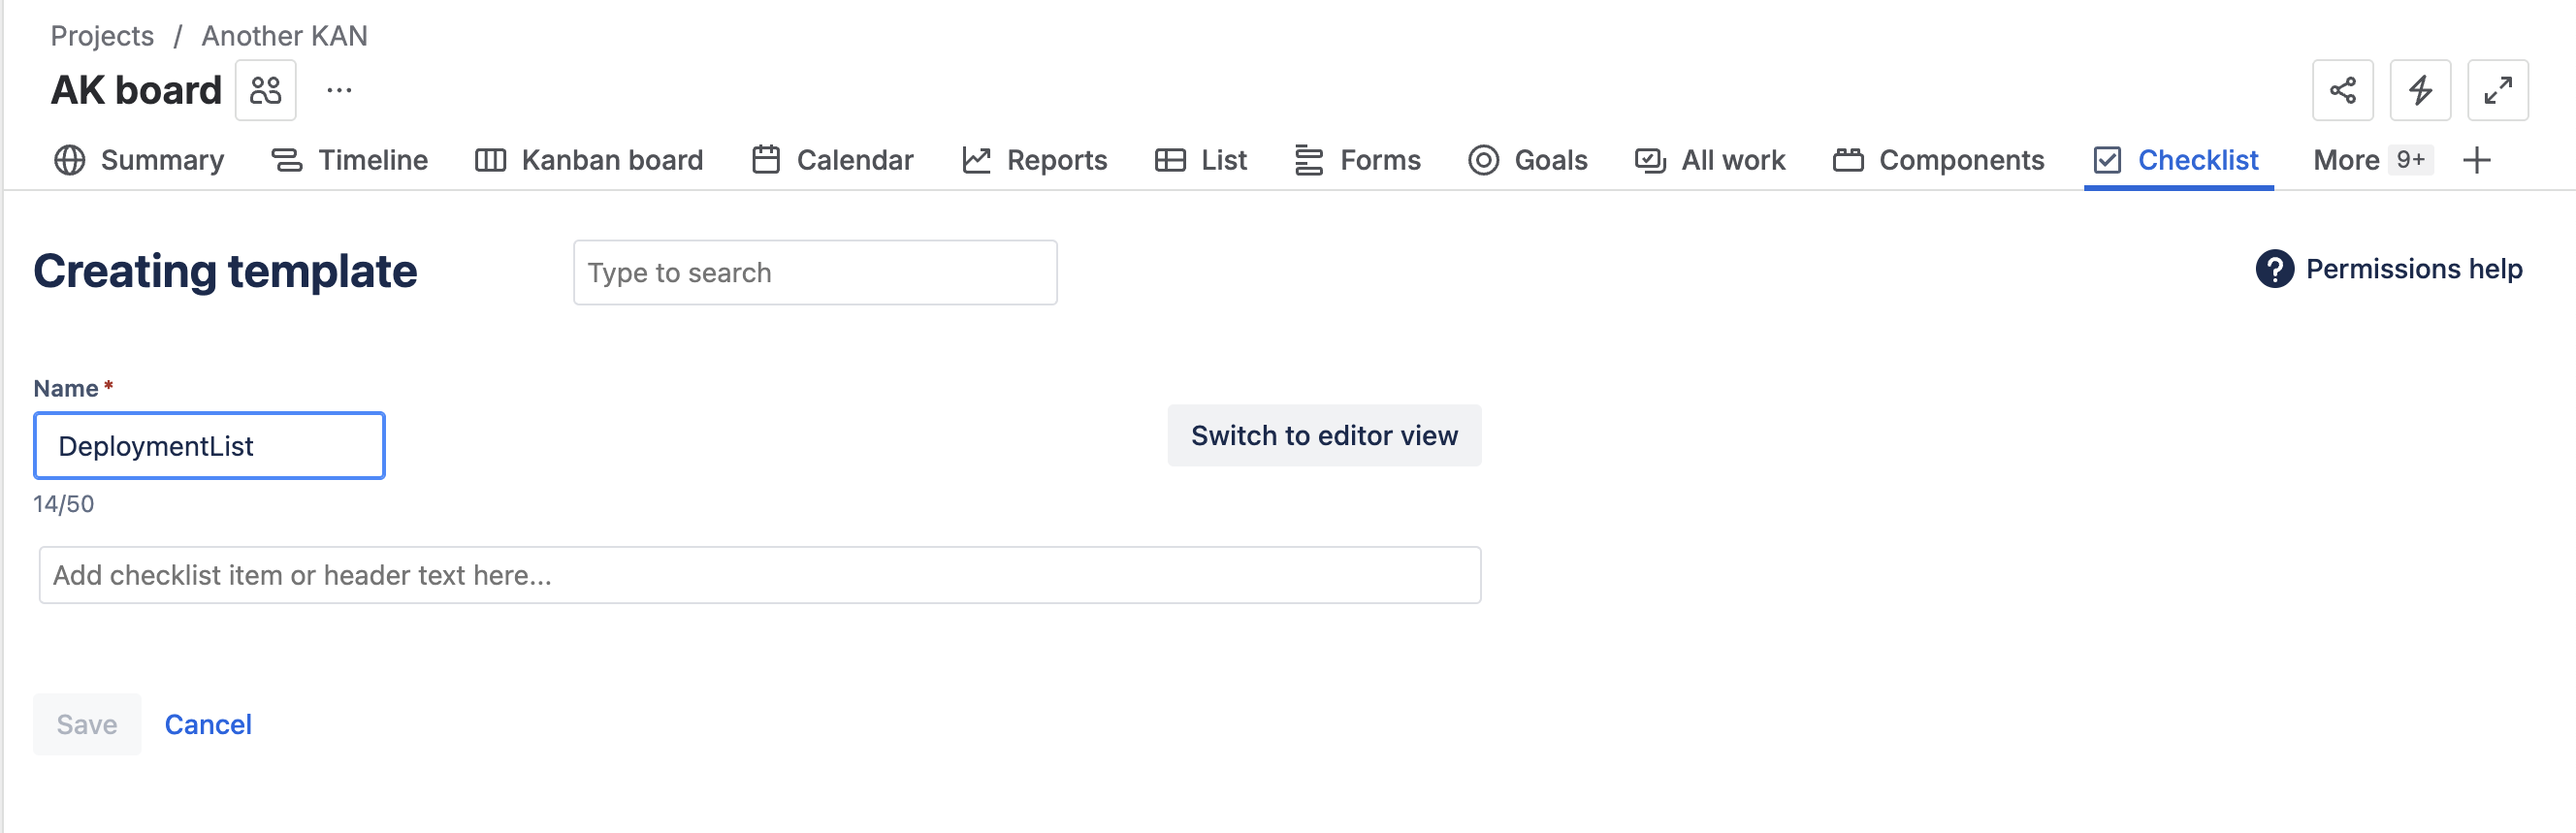
Click Create template.
-
Enter a unique name that does not include spaces.

-
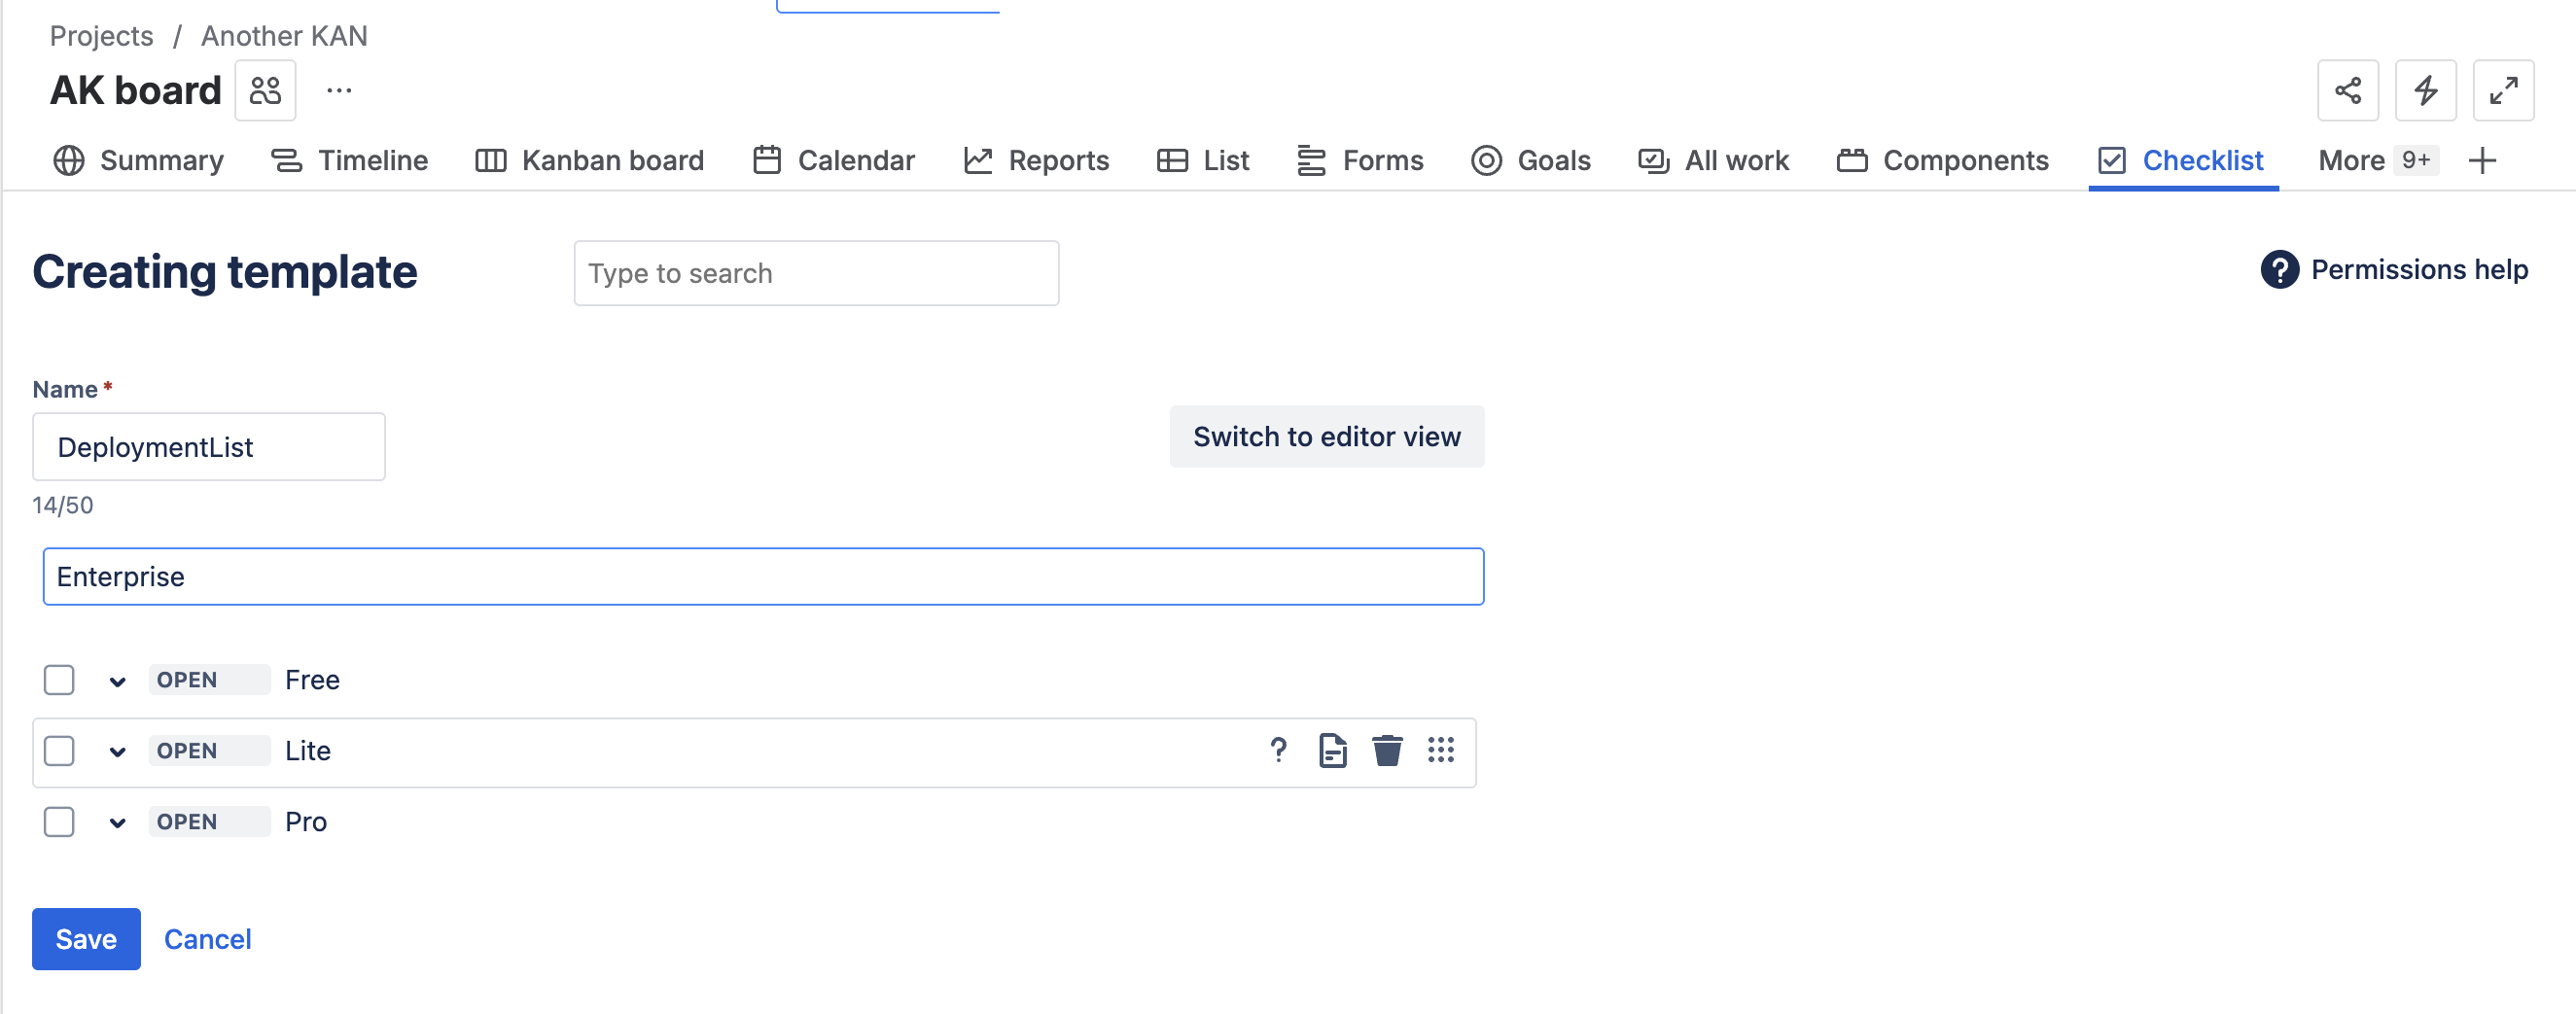
Use the text box to add list items. You can type in individual items; or you can paste an entire list into the text field (when you hit enter the items will be formatted as a list).

-
Click Save.
From a Work Item
You can also access the Templates page from a work item:
-
Click on … menu for the Checklist.
-
Select Manage templates.
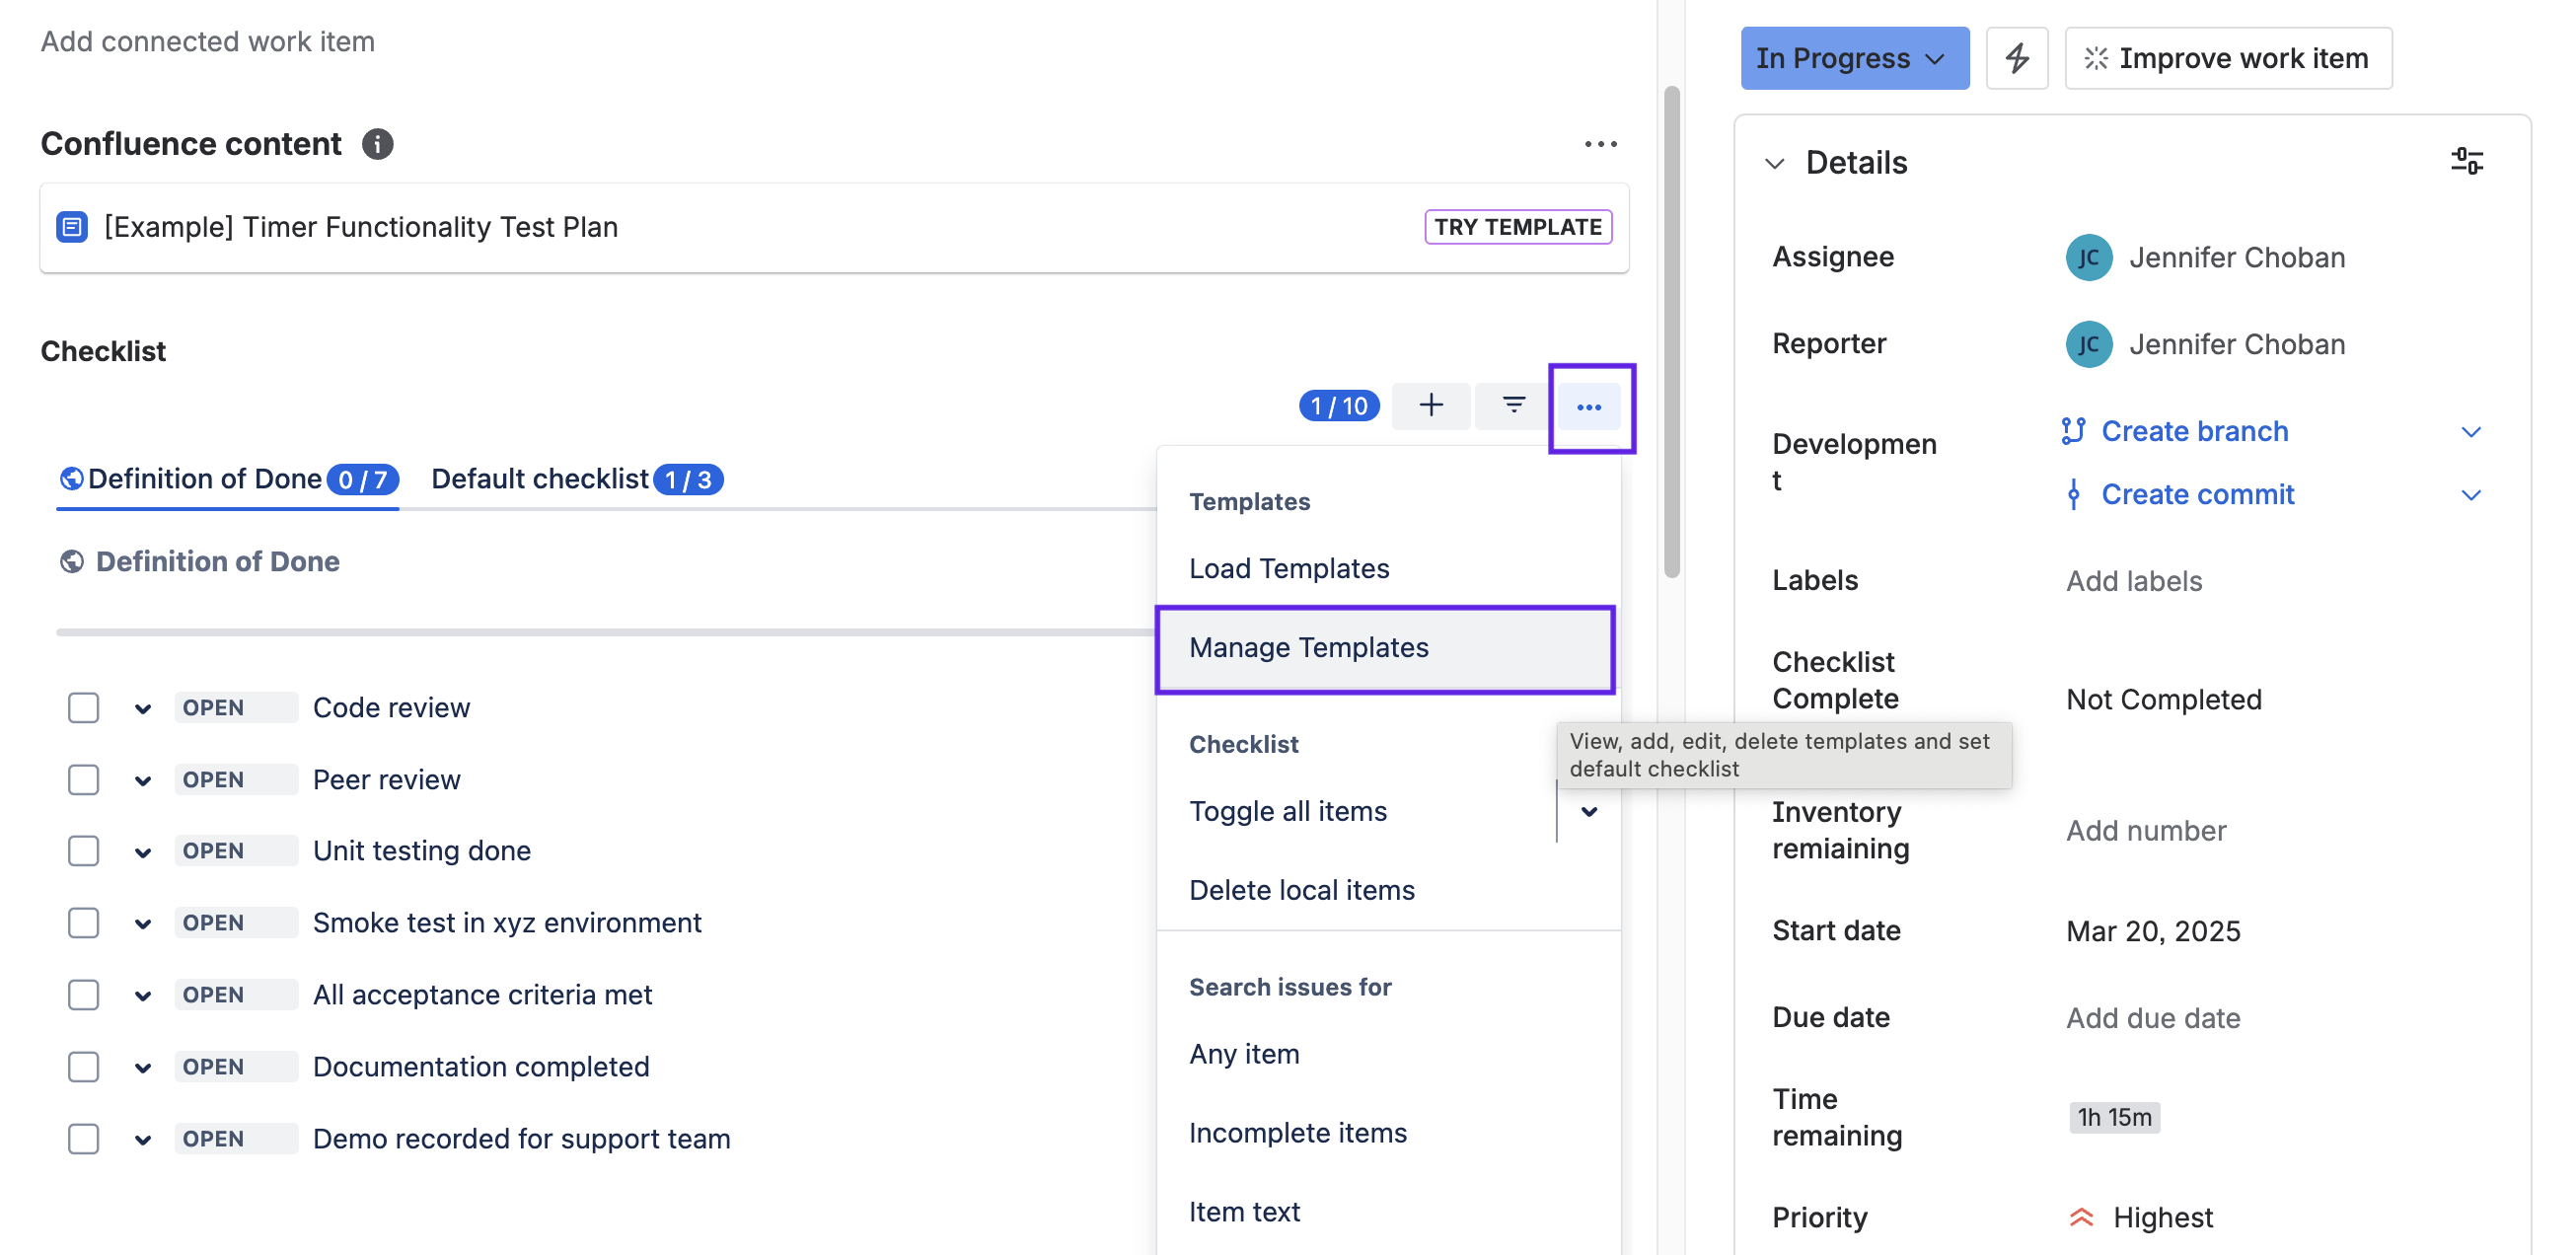
-
Click Create template.

-
Enter a unique name that does not include spaces.
-
Use the text box to add list items.
-
Click Save.
From the Checklist Editor
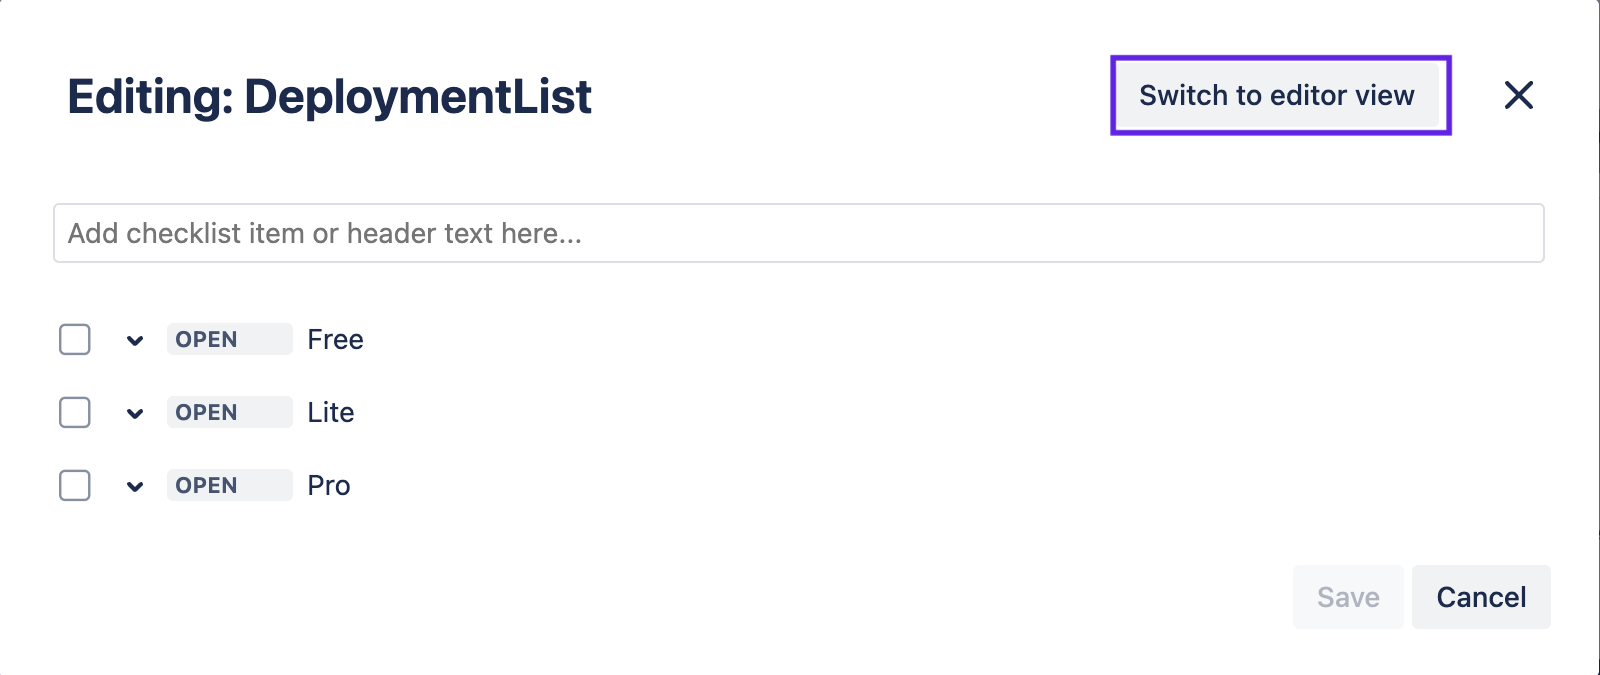
When creating templates, you also have the option to Switch to editor view. The editor which makes it easy to use markdown formatting and is also useful for copying and pasting checklists. You can switch between the checklist UI and the editor view at any time without losing data.

From an Existing Checklist
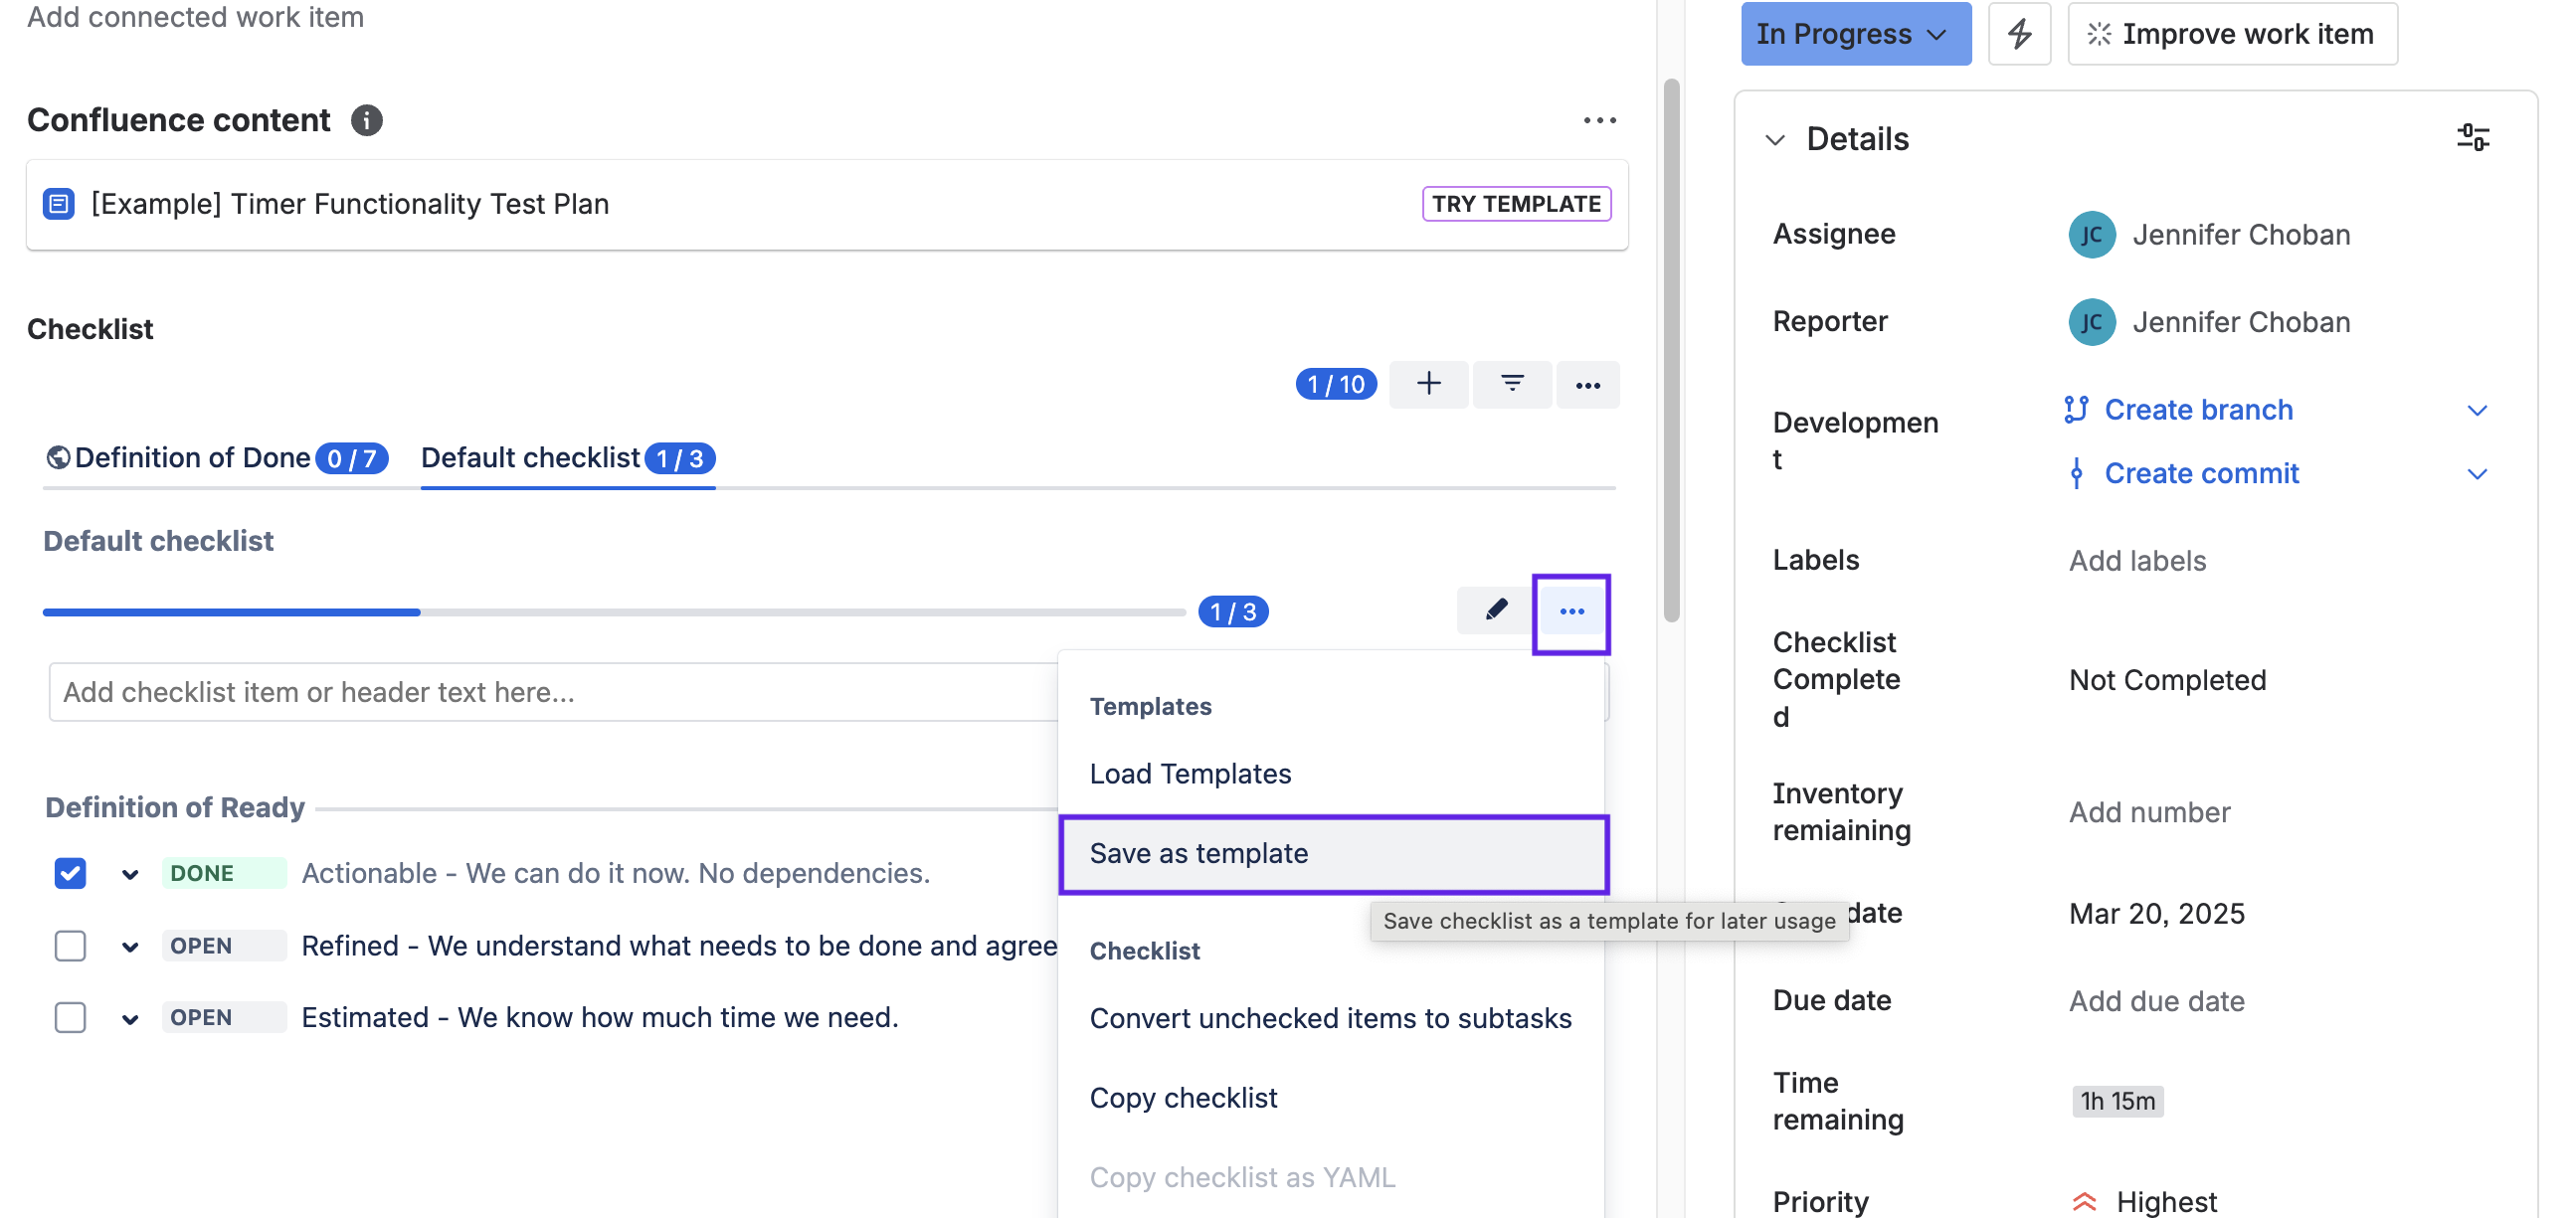
Any checklist on a work item can be saved as a template:
-
Navigate to a work item that has the indicated checklist.
-
Click on … menu for the Checklist.
-
Select Save as template.
-
Enter a unique name that does not include spaces and click Save.