
This page has instructions for importing checklists from Smart Checklist for Jira.
If you are importing from Checklists for Jira Cloud please see the instructions for migrating here.
If you use Checklists for Jira on-prem, please see the migration instructions here.
Importing from Smart Checklist for Jira
The Import global setting page is used for importing checklists from other apps. See this page for information about importing checklists from custom fields or other Jira instances.
This import process reads all checklist items created by the Smart Checklist app (stored in your Jira Cloud) and copies them to Checklists for Jira (Enterprise) as local checklists. If you want to migrate from Smart Checklist Data Center, you must migrate your data to Jira Cloud first.
Note that currently we can only match to our default statuses - Open, In Progress, Done, and Skipped during the import. If custom statuses have been configured, the import will mark all of the not matched statuses as either Open (for unchecked items) or Done (for checked items).
-
Navigate to Jira Settings > Apps and select Import under the Checklist for Jira heading.
-
Select the Smart Checklist tab.
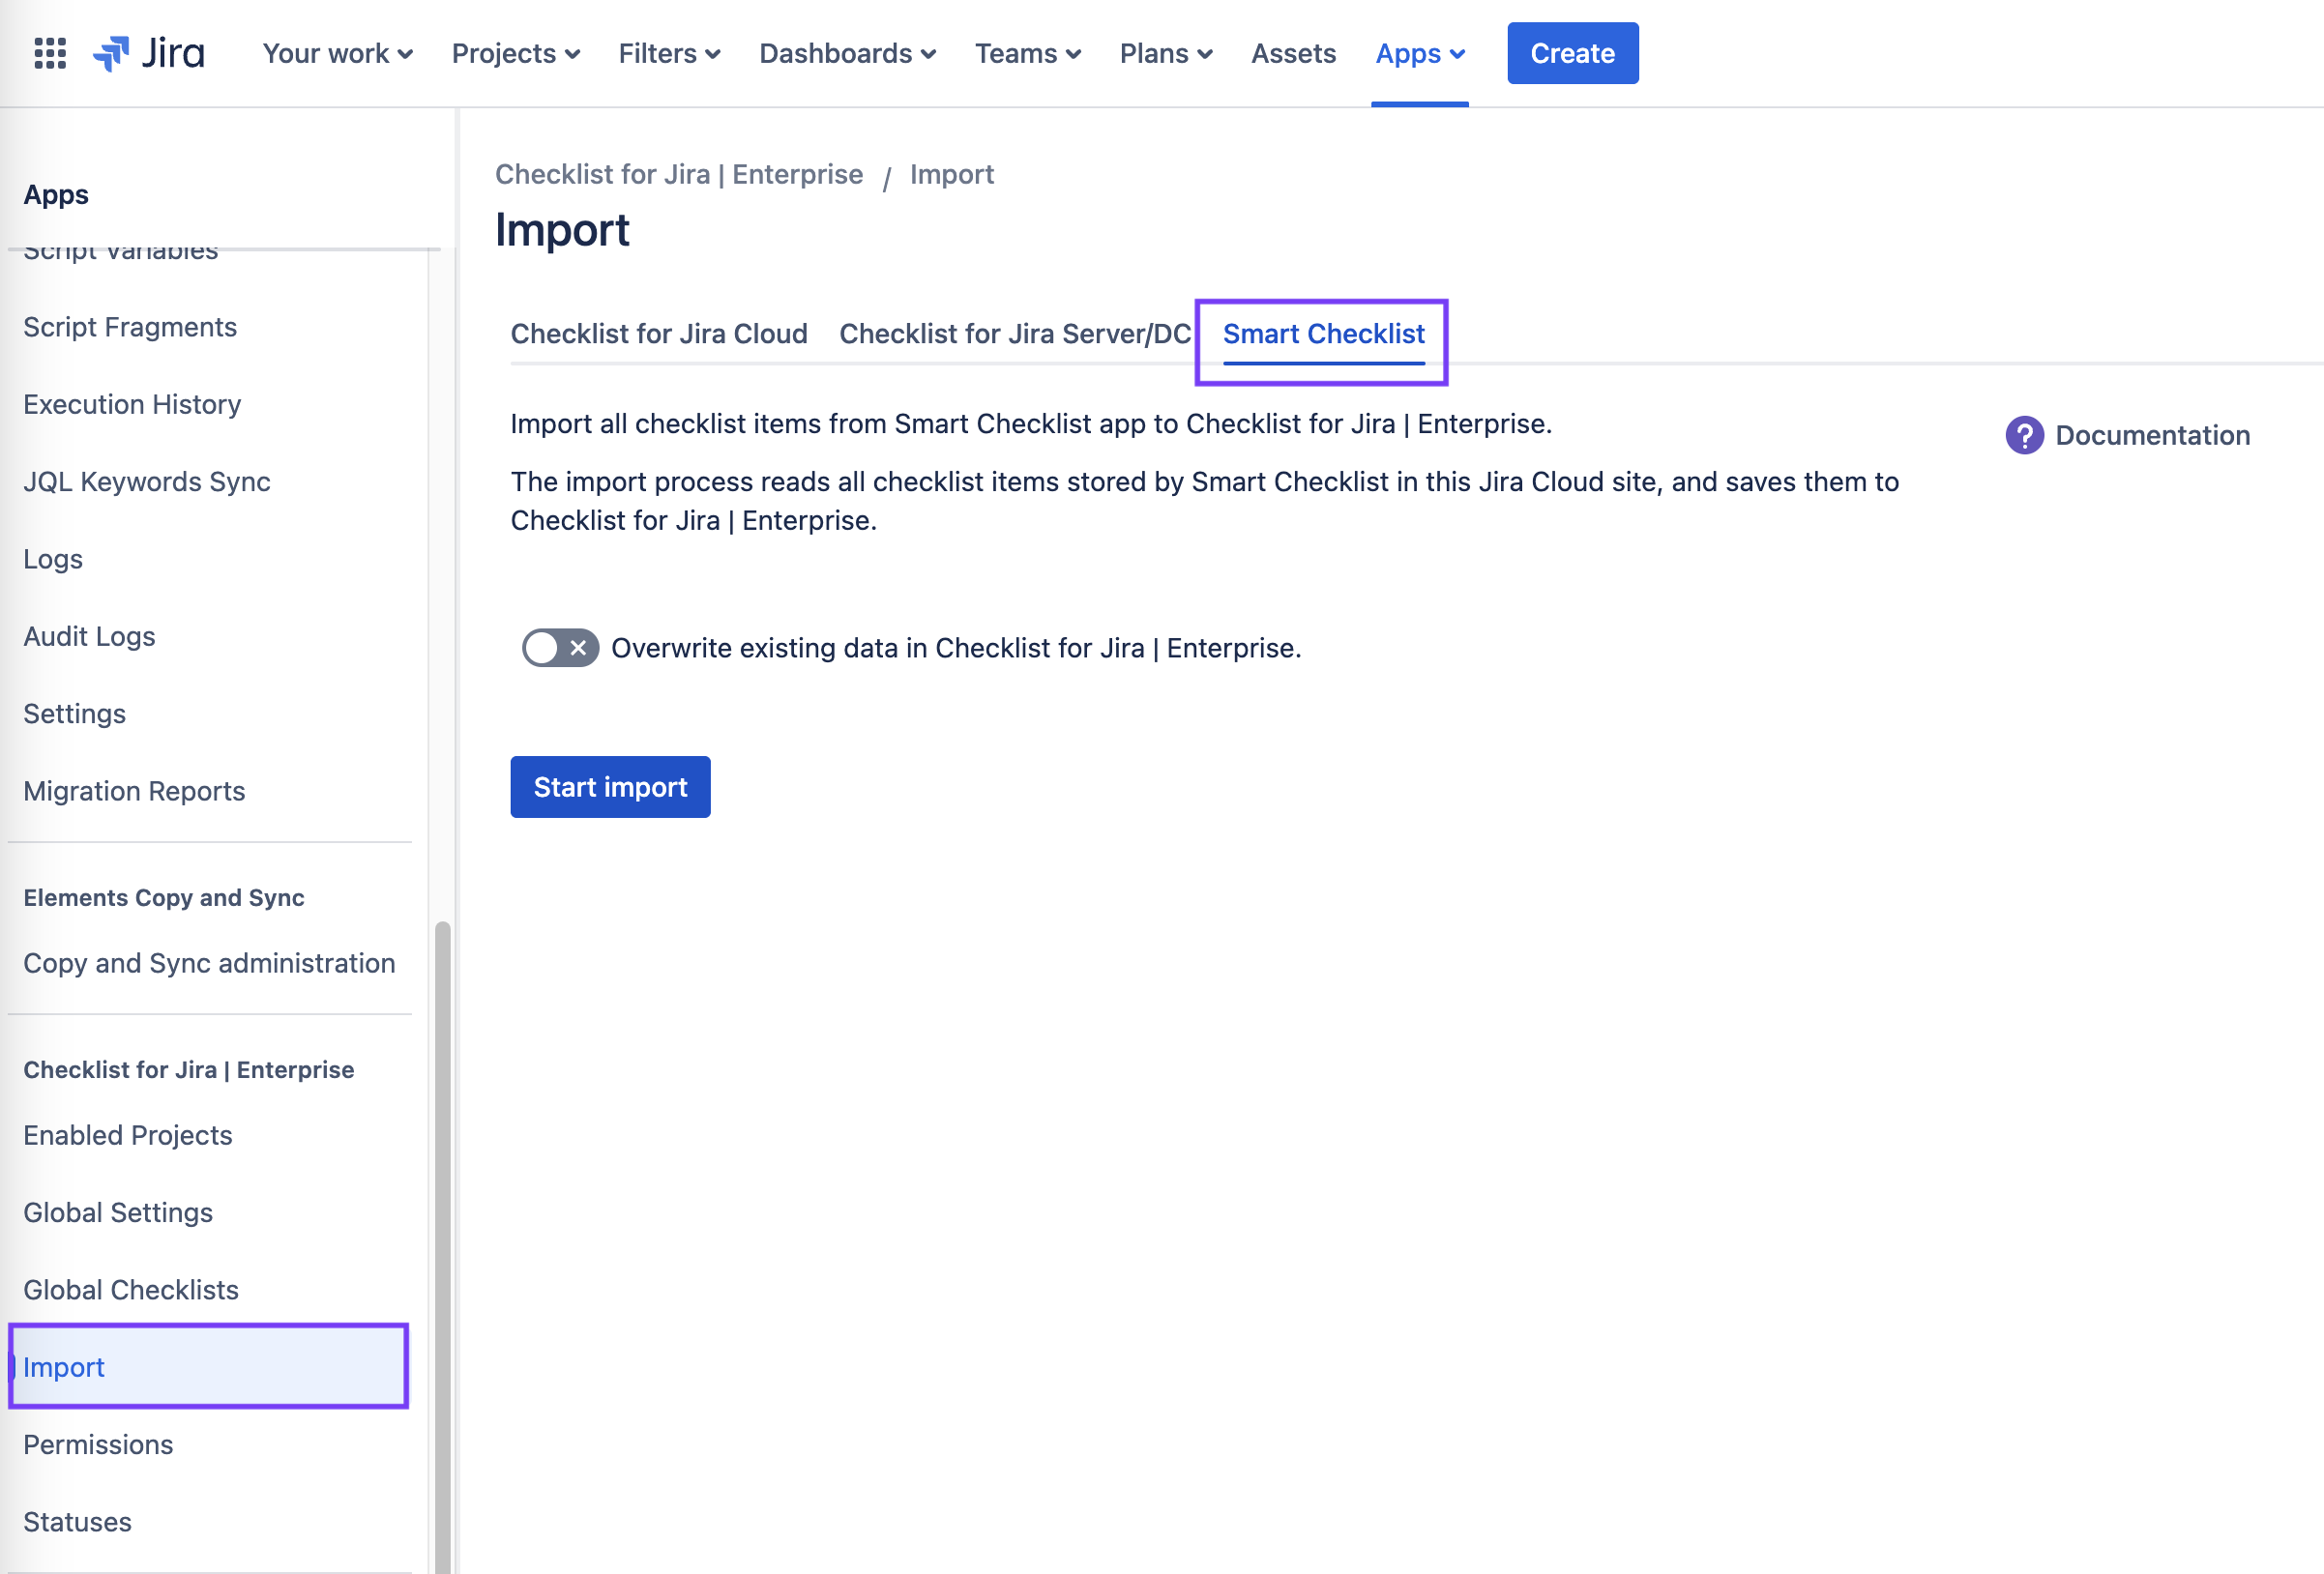
-
Determine if you want to overwrite or append to existing checklists. The import process is designed to allow for incremental imports, and does not prevent duplicates. If you perform an import without enabling Overwrite existing items, any previously imported items may appear as duplicates in subsequent imports.
Use the Overwrite existing items in Checklists for Jira Enterprise toggle to indicate if you want to:
-
Overwrite existing data (Toggle enabled)
If the toggle is enabled, the import process will replace any existing checklists (in Checklists for Jira Enterprise) with the data being imported from Smart Checklist. In cases where there is an existing checklist in Checklists for Jira Enterprise, and the corresponding work item does not have a checklist in Smart Checklist for Jira, the existing checklist in Checklists for Jira Enterprise will be preserved. It is recommended that you enable the toggle if you attempt to perform an import more than once. -
Append imported checklist items to already existing checklists (Toggle disabled)
Imported checklist items will be appended to the existing checklists on the work item.
-
-
Click Start import. The import will be scheduled and a gray panel will show the import status.
Click on the Refresh icon to update the status.
-
The Import status will change when the background import process is launched. Once the process begins, the import cannot be canceled.

-
When the import is complete, the status panel will turn green and will display the number of checklist items and work items/work items impacted.
