
This rule add a checklist depending on the value of a custom field.
Limitations
If you are using Checklists for Jira ENTERPRISE , note that this rule cannot add/modify a Global Checklist. Global Checklists are added to work items via their context.
Notes
If you are using this rule to add checklist in a team-managed space, you first need to add the Checklist Text custom field to the space. To add a field to a space:
-
Navigate to Space settings > Fields.
-
Click Add field.
-
Select the Checklist Text.
-
Click Add 1 field.
Modifications
-
These examples show how to add a checklist when the work item is created. You can modify the automation rule to work on another trigger, such as Work item transitioned. Do not use the generic Work item updated trigger because when the checklist template is added to the work item, a “Work item updated” event is sent by Jira which may make the automation rule run repeatedly.
-
You can use an if/else clause to add different checklists associated with different custom field values.
Add a Checklist Based on a Custom Field Value
When you make changes to the checklist via the Checklist Text field, the tooltip for each item in the checklist will be stamped as the time that change was made.
-
Ensure the Sync checklists to Custom Fields global setting is enabled, and that the Jira space has the Checklist Text field.
-
Navigate to Space Settings > Automation (or Jira Settings > System > Automation rules).
-
Click Create rule.
-
Select the Work item created trigger and click Next.
-
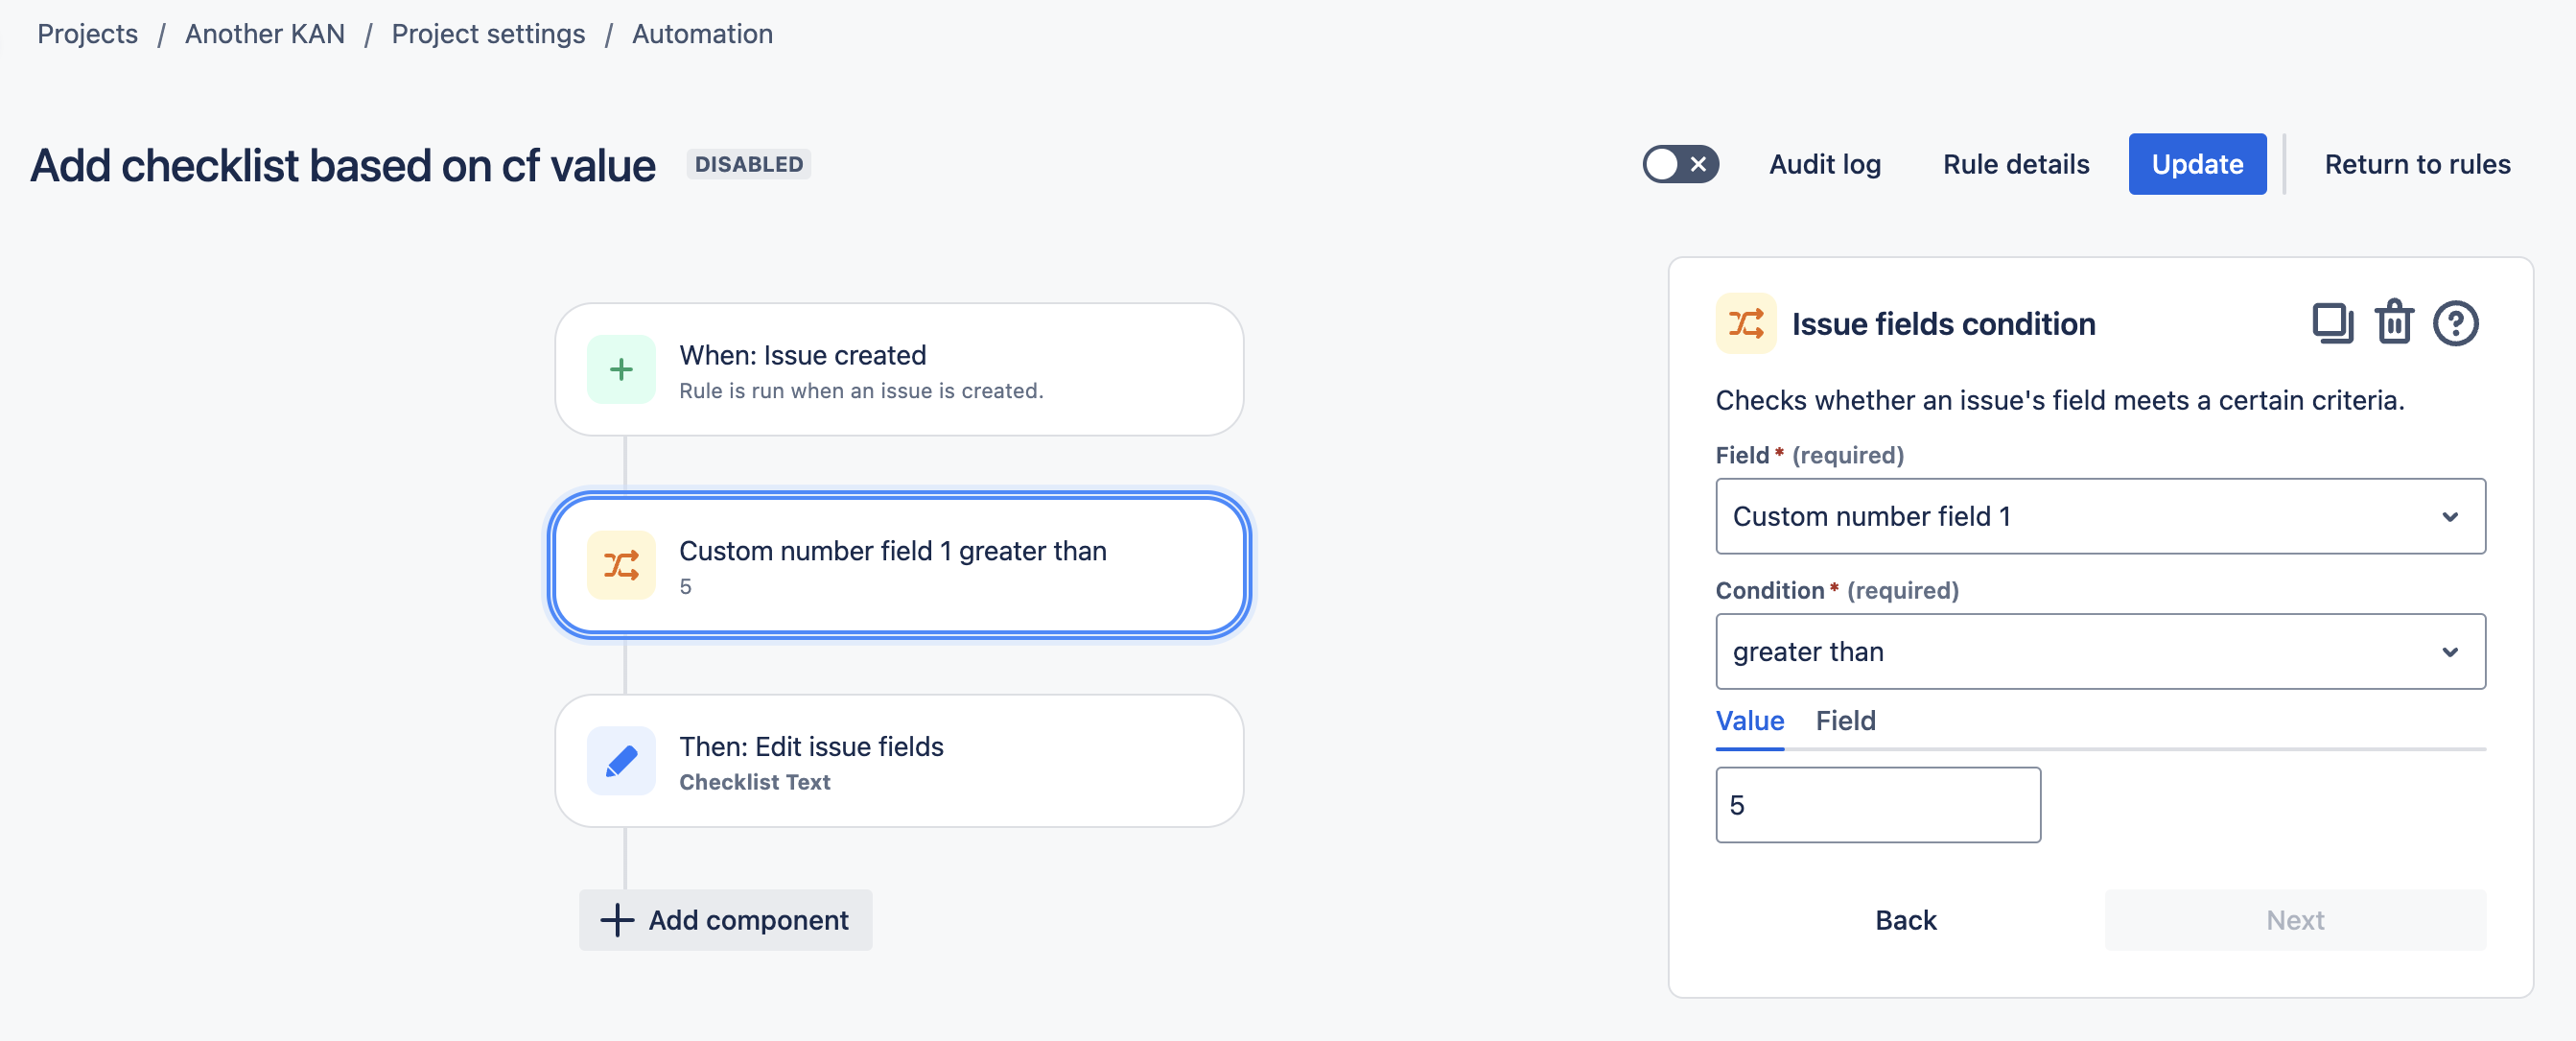
Click New component and select New condition.
-
Select Work item fields condition.
-
Select the desired field and the value required to add checklist. Click Next.
-
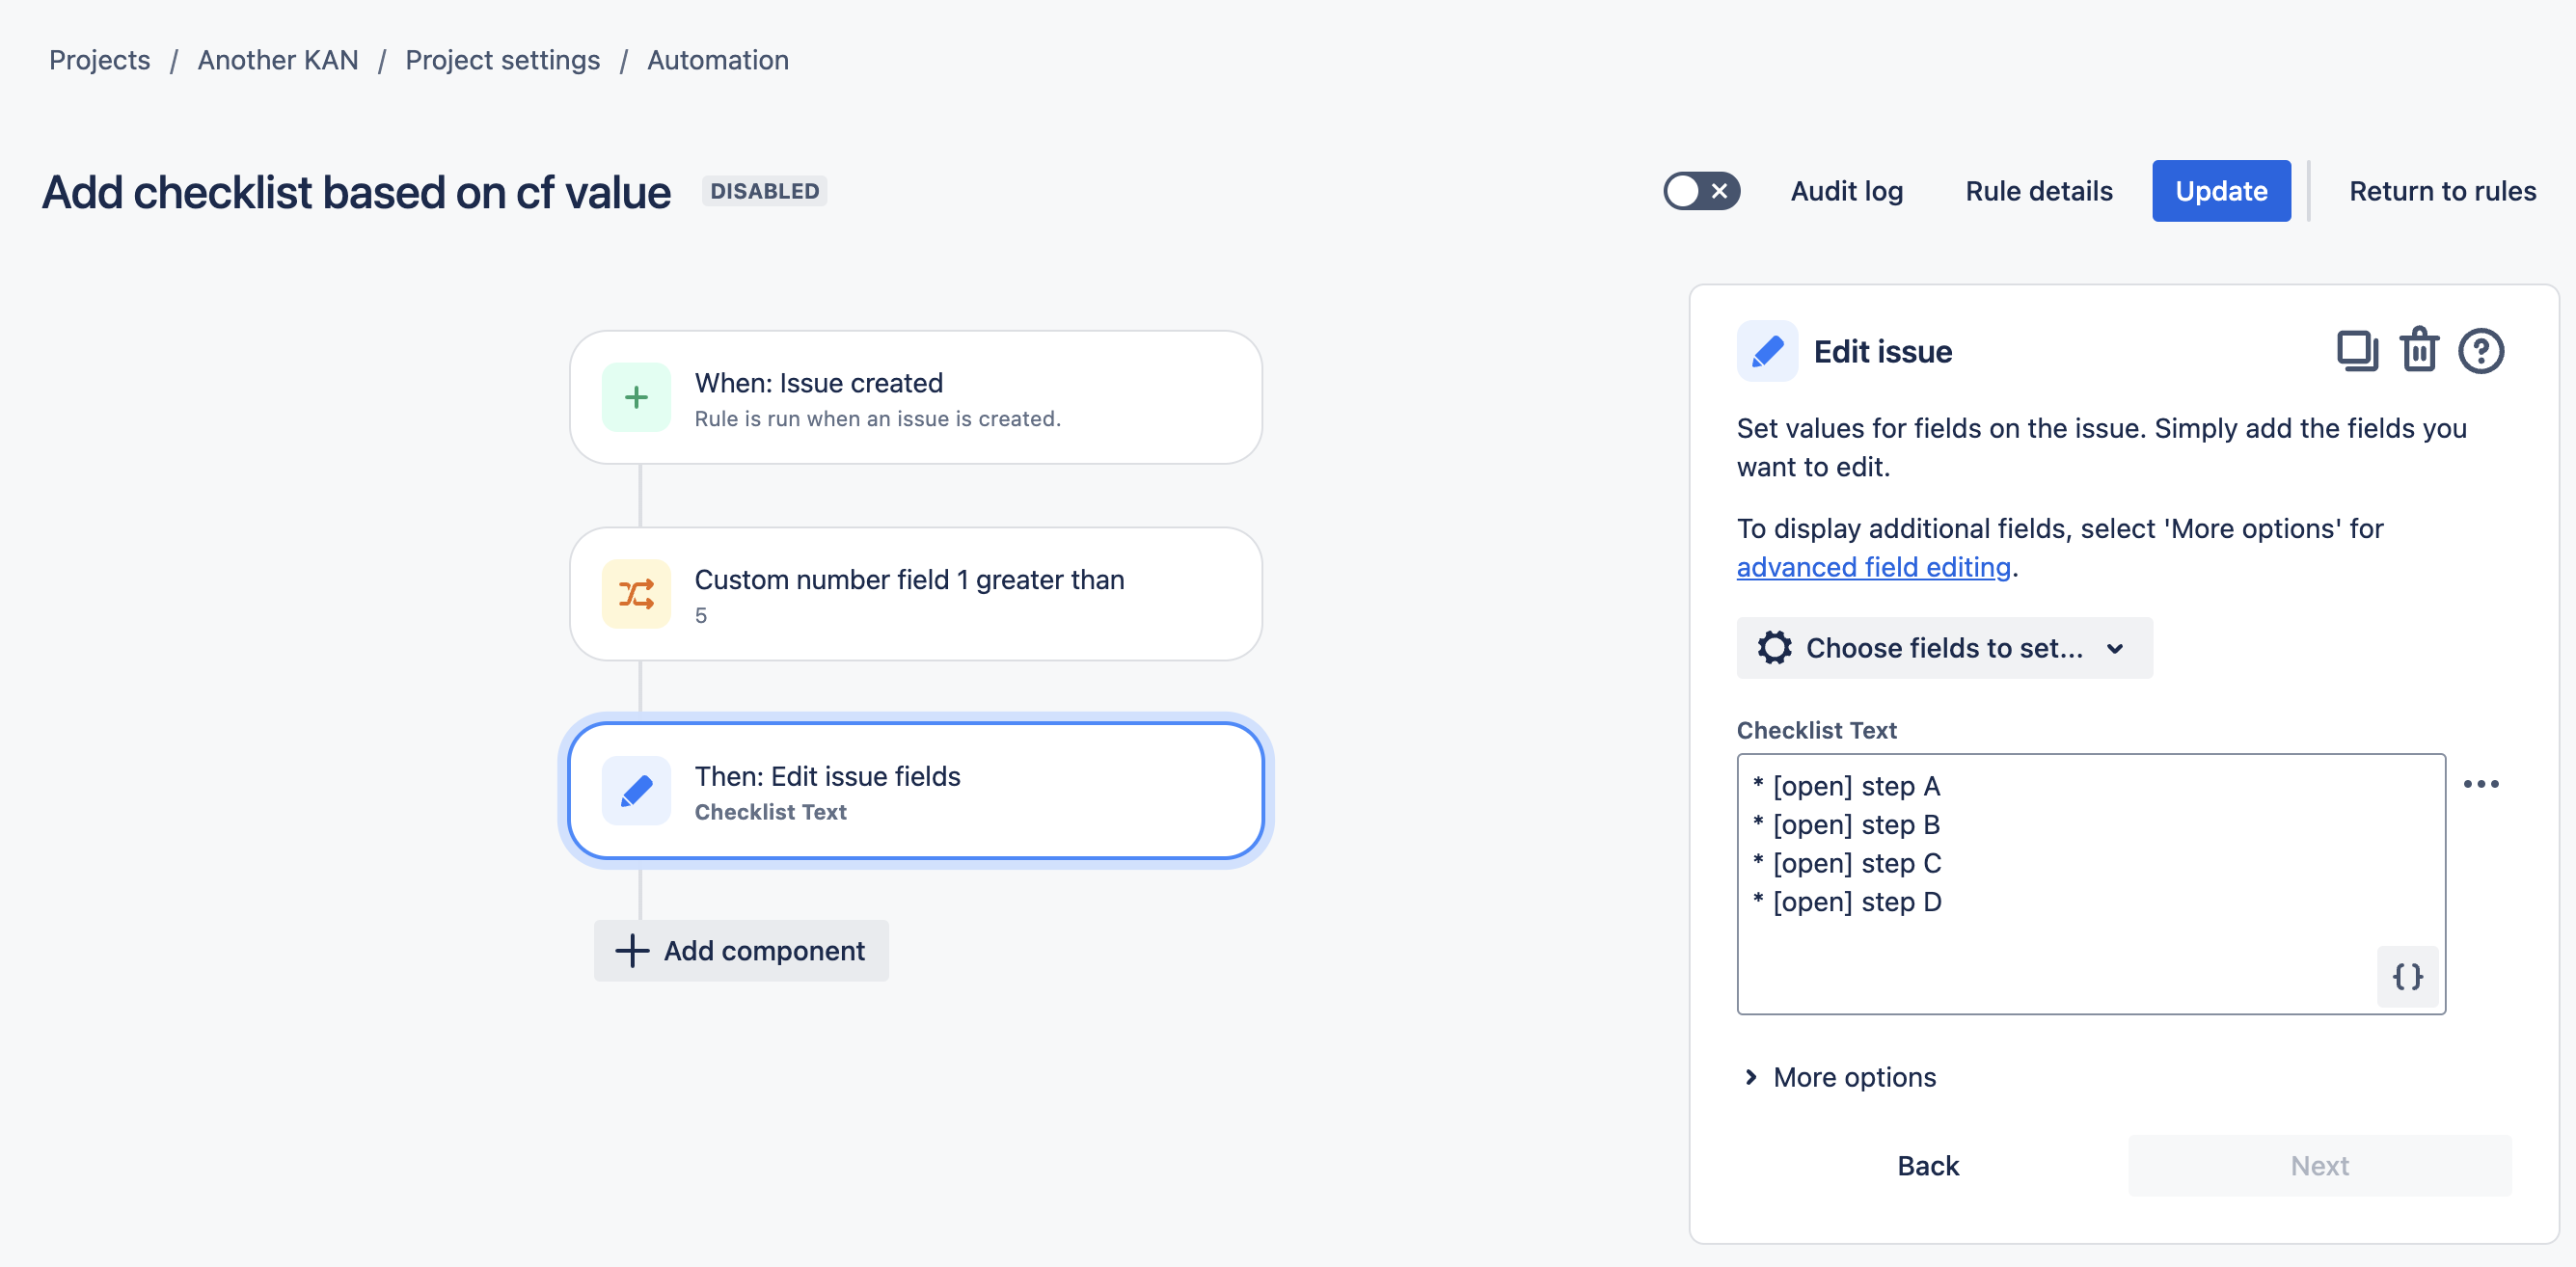
Click New component and select New action.
-
Select Edit work item.
-
Select Checklist Text custom field in the dropdown. Type or paste in your formatted checklist. Click Save.
-
Name the rule and click Turn it on.
Apply Checklist Template Based on Custom Field Value
-
Ensure the Apply checklist templates via labels global setting is enabled.
-
Navigate to Space Settings > Automation (or Jira Settings > System > Automation rules).
-
Click Create rule.
-
Select the Work item created trigger and click Next.
-
Click New component and select New condition.
-
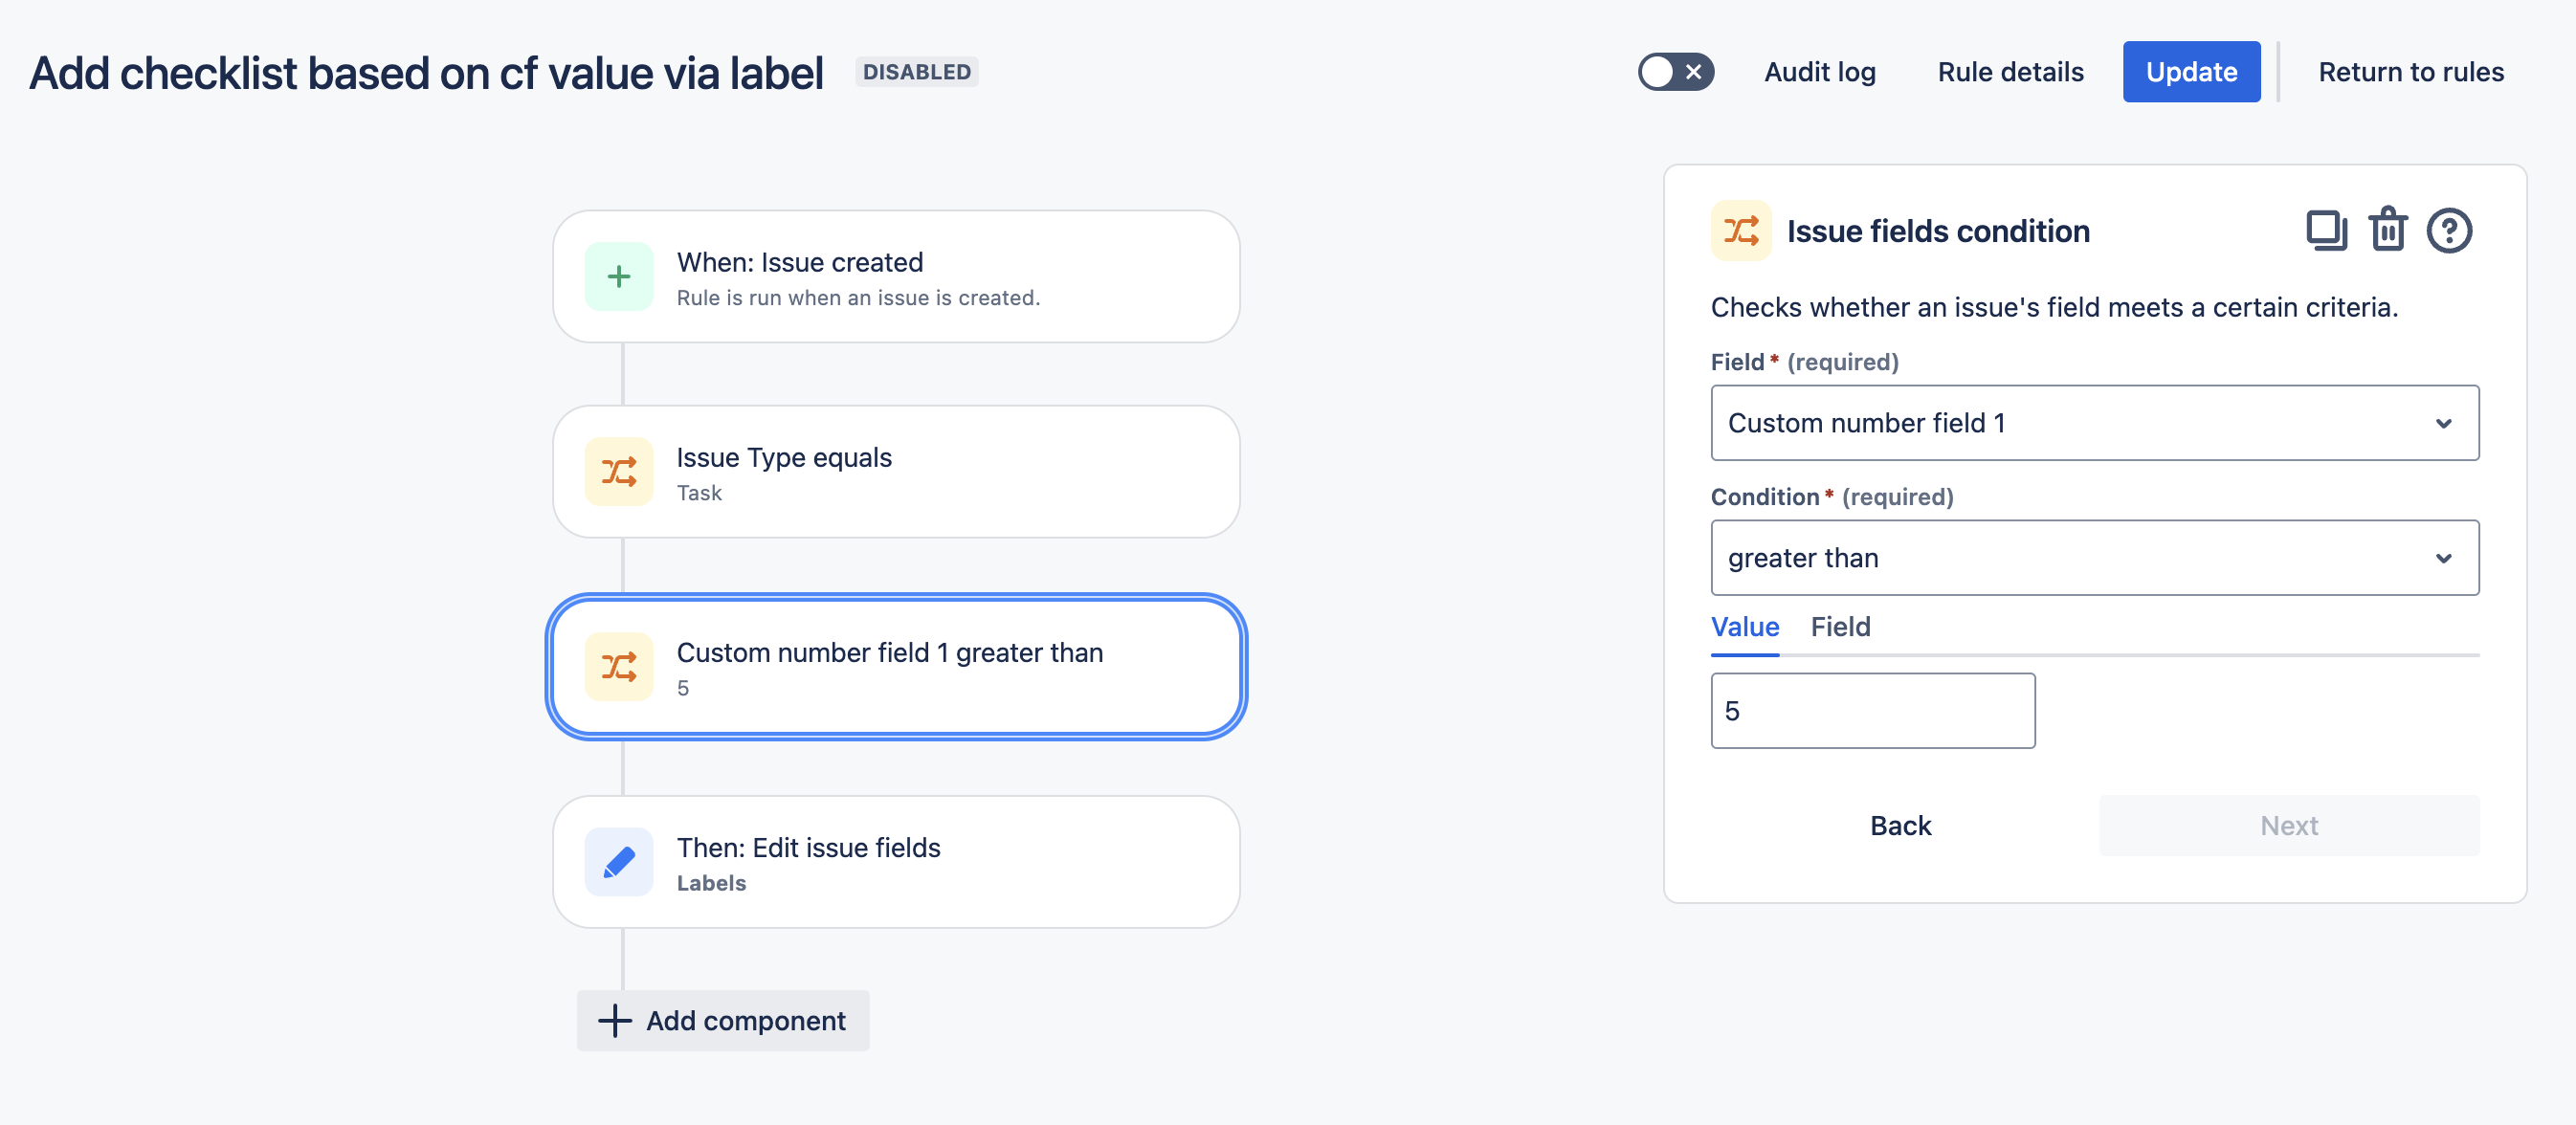
Select Work item fields condition.
-
Select the desired field and the value required to add the template. Click Next.
-
Click New component and select New action.
-
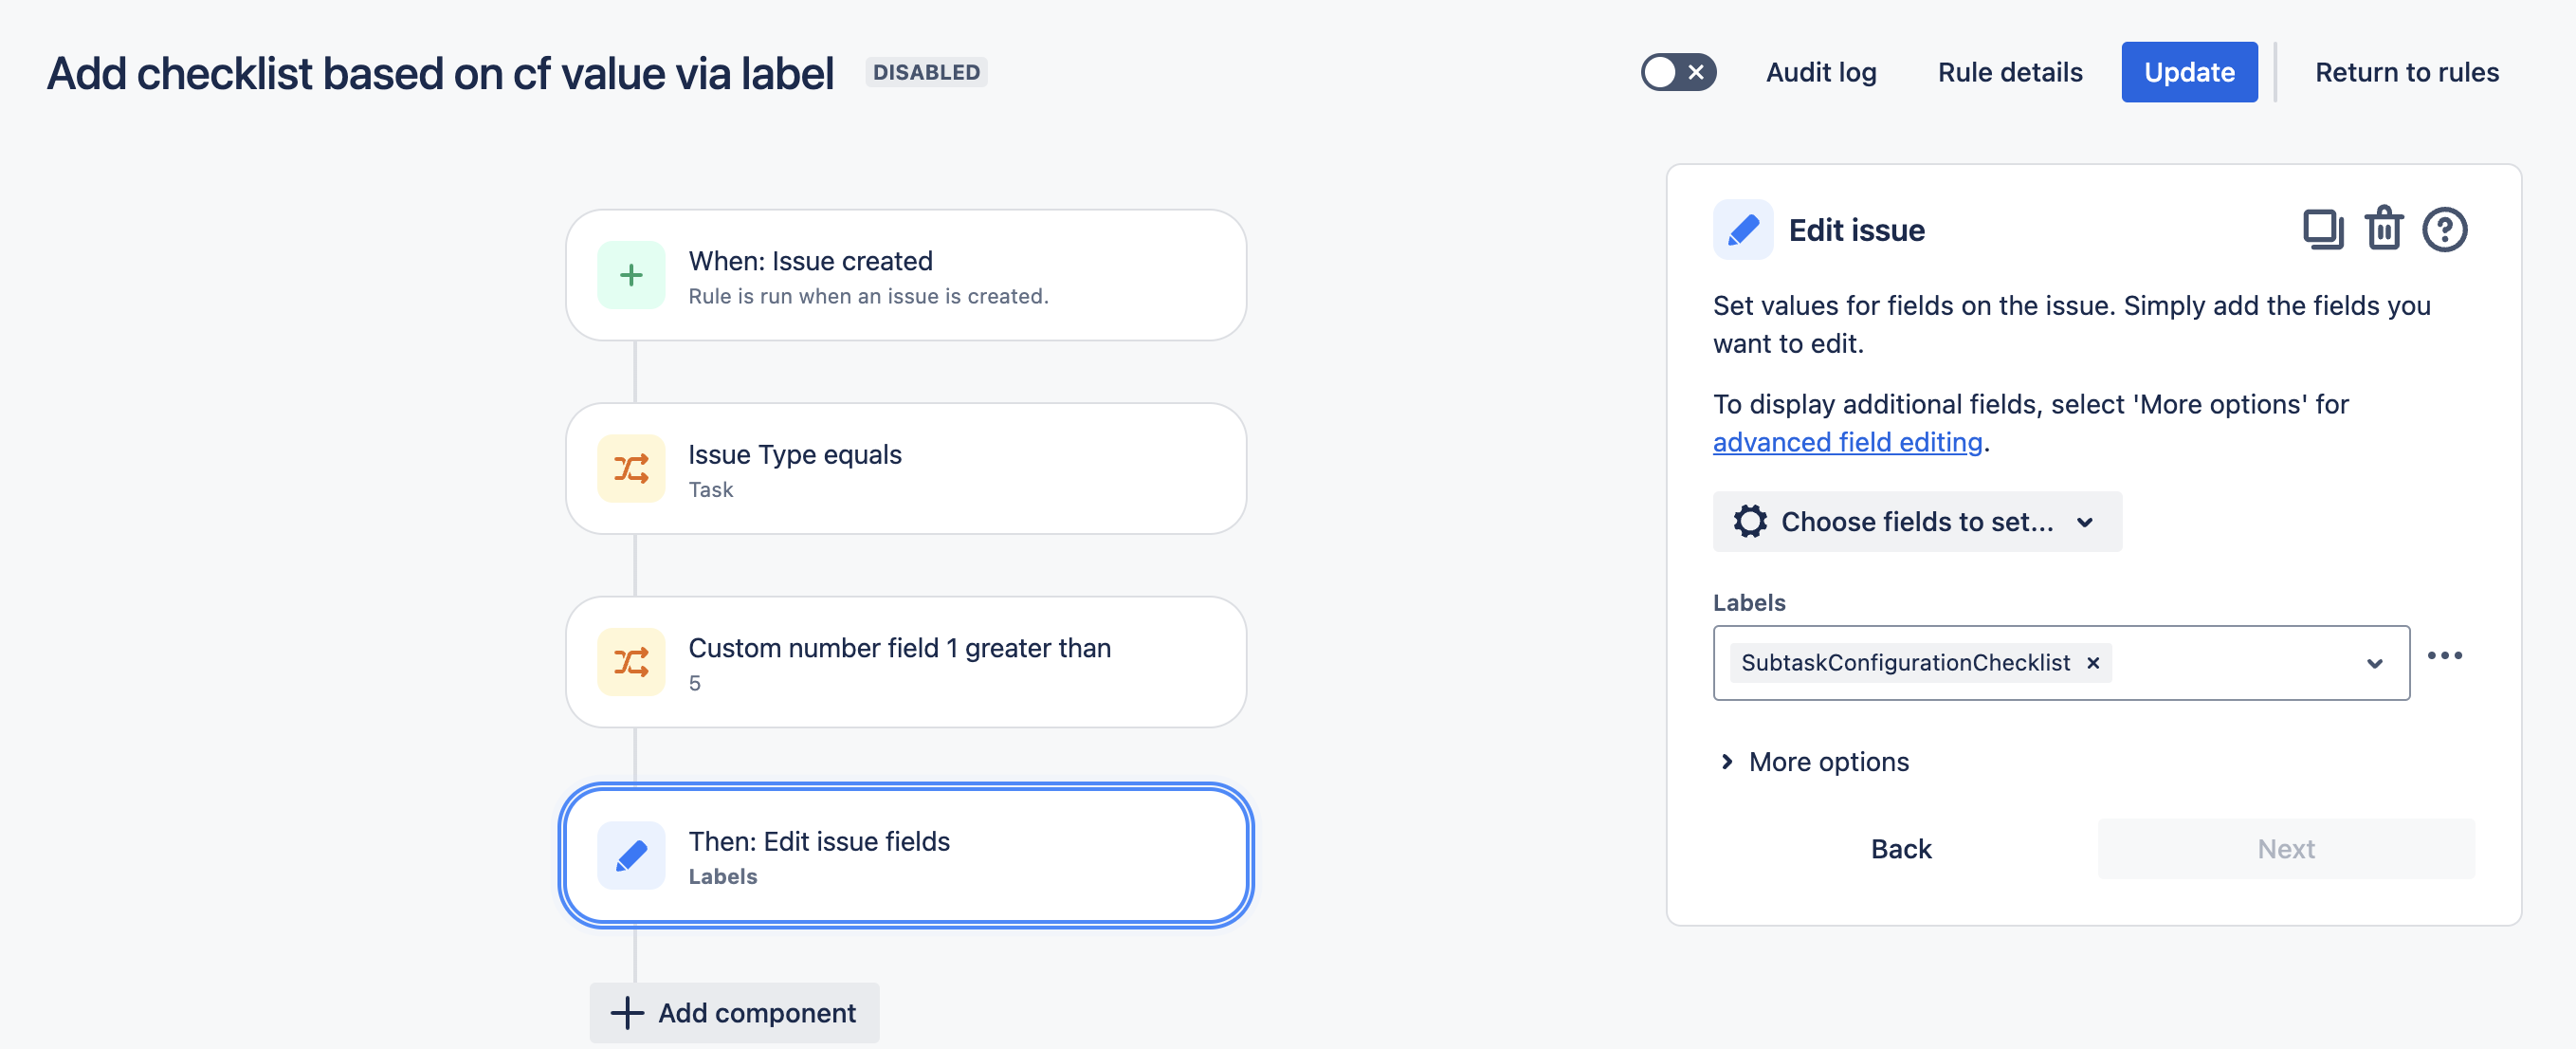
Select Edit work item.
-
Select Labels as the field to be edited, and enter the name of the template. Click Next.
-
Name the rule and click Turn it on.
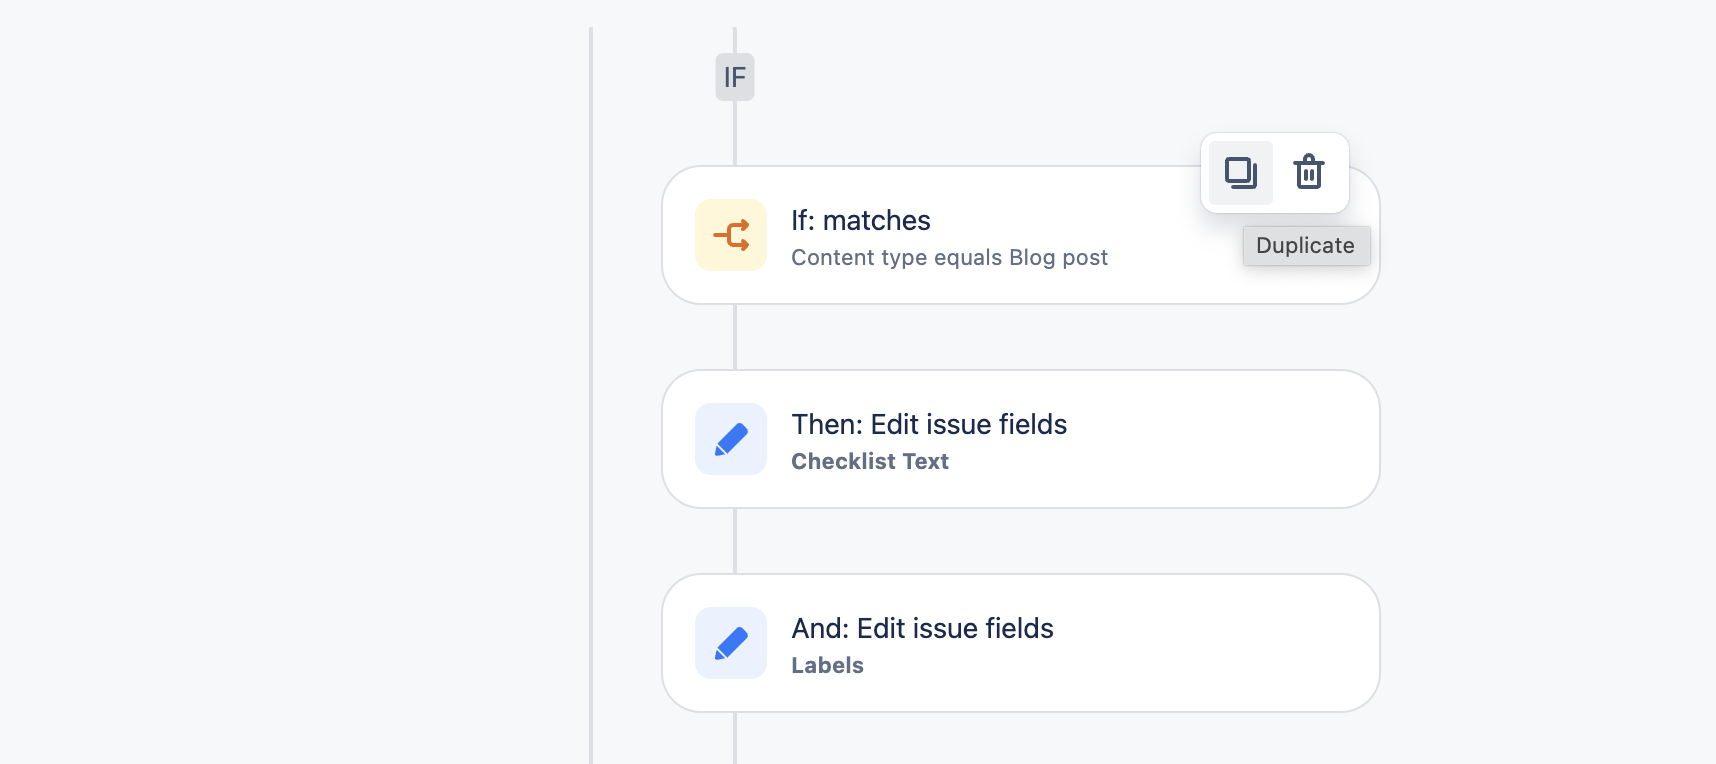
Apply Checklist Template Based on Custom Field Value – If/Else Example
-
Ensure that the Apply checklist templates via labels global setting is enabled.
-
Navigate to Space Settings > Automation (or Jira Settings > System > Automation rules).
-
Click Create rule.
-
Select the Work item created trigger.
-
Click New condition and select If / else block.
-
Click Add conditions and select Work item fields condition.
-
Select the desired field and the value required to add the template. Click Next.
-
Click New Action and select Edit work item.
-
Select Checklist Text as the field and leave the content empty. This will clear any previous local checklists from the work item. Click Next.
-
Click New Action and select Edit work item.
-
Select Labels as the field to be edited, and select or add the label that corresponds to the appropriate template. Click Next.
-
Click on the first step in the if block to duplicate it.
-
Update the new block with the correct value and the appropriate template.
-
Repeat steps 12 and 13 for for each option.
-
Name the rule and click Turn it on.