
Repeated Imports
The import is a gradual process. Checklists data will become available in the database and visible in the UI as it’s imported.
If you need to cancel and restart your import, be sure to enable the Clear previously imported data in Checklists for Jira Enterprise toggle.
If you are importing more than once, it is recommended that you enable the Clear previously imported data toggle. This means that current import will replace any
-
Global Checklists
-
Checklist items in Jira work items (global and local)
-
Checklist item statuses
created by the previous import.
Existing checklist items created in the destination instance, before the initial import, will not be impacted. They will be kept as part of a local checklist, separate from any imported local checklists.
We recommend waiting to work on checklists until the import is finalized. In case of doubts, please contact our support.
Validating Imports
-
Look to see if the checklist UI is shown on the imported work items. If the UI is not shown, follow the instructions here.
-
If the checklist UI is visible, but not populated with the checklist data, follow the instructions here to see if the checklist data imported correctly.
-
If the checklist data imported correctly (populates the Checklist Text custom field), but is not populating the checklist UI, follow the instructions here.
No Checklist UI on Imported work items
If Checklists is installed on the target instance, but the Checklist UI is not shown on imported work items:
-
Navigate to Jira Settings > Marketplace apps and select Global Settings for Checklist.
-
Toggle the Show empty checklist panel in work items setting off and on again. This will trigger Jira to update work item entity properties and show the checklist.
-
Return to an imported work item and refresh. The checklist UI should be visible.
Unpopulated Checklist UI
If the checklist UI is visible but unpopulated on imported work items, verify that the checklist data was successfully imported:
-
Temporarily add the Checklist Text field to the work item screen.
-
Go to Space settings > Screens.
-
Click on the pencil icon for the appropriate work item type.
-
Click on the name of the screen.
-
Use the search bar at the bottom of the field list to add the Checklist Text field.
-
Drag the field to the desired location.
-
-
Verify that the Checklist Text field is populated on imported work items. If the Checklist Text field is not populated, then it means that the import process was not able to read it from the source file. Adjust the source file and repeat the import process.
-
If the Checklist Text field is populated, navigate to Jira Settings > Marketplace apps and select Global Settings for work item Checklist ensure that the Sync checklists to Custom Fields global setting is enabled, and refresh the work item. The checklist UI should be visible and populated.
-
If the checklist UI is not populated, use the automation rule below to re-sync the Checklist Text field with Checklist UI.
Populated Checklist Text Field Not Syncing with Checklist on the UI
If the Checklist Text field is populated, but checklist items are not appearing in the Jira UI, then the import did not notify Checklists for Jira that an update occurred. In this case, an automation rule can be used to update the work items and trigger Checklists to re-sync with the Checklist Text field:
-
Ensure that the Sync checklists to Custom Fields global setting is enabled.
-
Find and note the custom field ID of the Checklist Text field.
-
Go to Space settings > Automation and click Create rule.
-
Create an automation rule:
-
Trigger: Select Scheduled.(The scheduled time does not matter – the rule will be manually ran once and then disabled.) Check the Run a JQL search and execute actions for each work item in the query checkbox and enter an expression that returns the imported work items (ex:
project = AK AND key > AK-10 AND key < AK-24). -
Action – Edit work items, select Checklist Text as the field to be updated and enter (where 10039 is the custom field ID of the Checklist Text field.
{{work item.customfield_10039}} --- -
Save and Run the rule.
-
After confirming that the work items were updated, Disable the rule.
-
Duplicate Checklist Text Fields
If both the source and target Jira instances use Checklists for Jira, then migrating data may create a second Checklist Text field which is not synced with Checklists installation on the target Jira instance. An automation rule can be used to copy data from the imported Checklist Text field to the original (target) Checklist Text field:
-
Ensure the Sync checklists to Custom Fields global setting is enabled.
-
Change the name of the un-synced (imported) Checklist Text field so that you can easily distinguish between the two fields. To determine which Checklist Text field is the synced one:
-
Add one of the fields to the View work item screen.
-
Open a work item and add a new item to the checklist.
-
Refresh the work item. If the content of the Checklist Text field updates to include the newly added checklist item, then it’s the field that synced that to Checklists.
-
-
Note the custom field IDs of the both the synced Checklist Text field and the renamed Checklist Text field created by the import.
-
Go to Space settings > Automation and click Create rule. Create the following rule.
-
Trigger: Select Scheduled. (The scheduled time does not matter – the rule will be manually ran once and then disabled.) Check the Run a JQL search and execute actions for each work item in the query checkbox and enter an expression that returns the imported work items (ex:
project = AK AND key > AK-10 AND key < AK-24). -
Action – Edit work items, select Checklist Text as the field to be updated and enter (where 10042 is the custom field ID of the renamed/imported Checklist Text field):
{{work item.customfield_10042}} -
Save and Run the rule.
-
After confirming that the work items were updated, Disable the rule.
-
You may want to hide or delete the duplicate/imported Checklist Text field.
-
Adding Checklists Custom Fields to a Team-managed Space
In team-managed spaces, you need to add the Checklists custom fields to the space before you can reference those field in automation rules, exports, etc.. To add the fields to a space:
-
Navigate to Space settings > Fields.
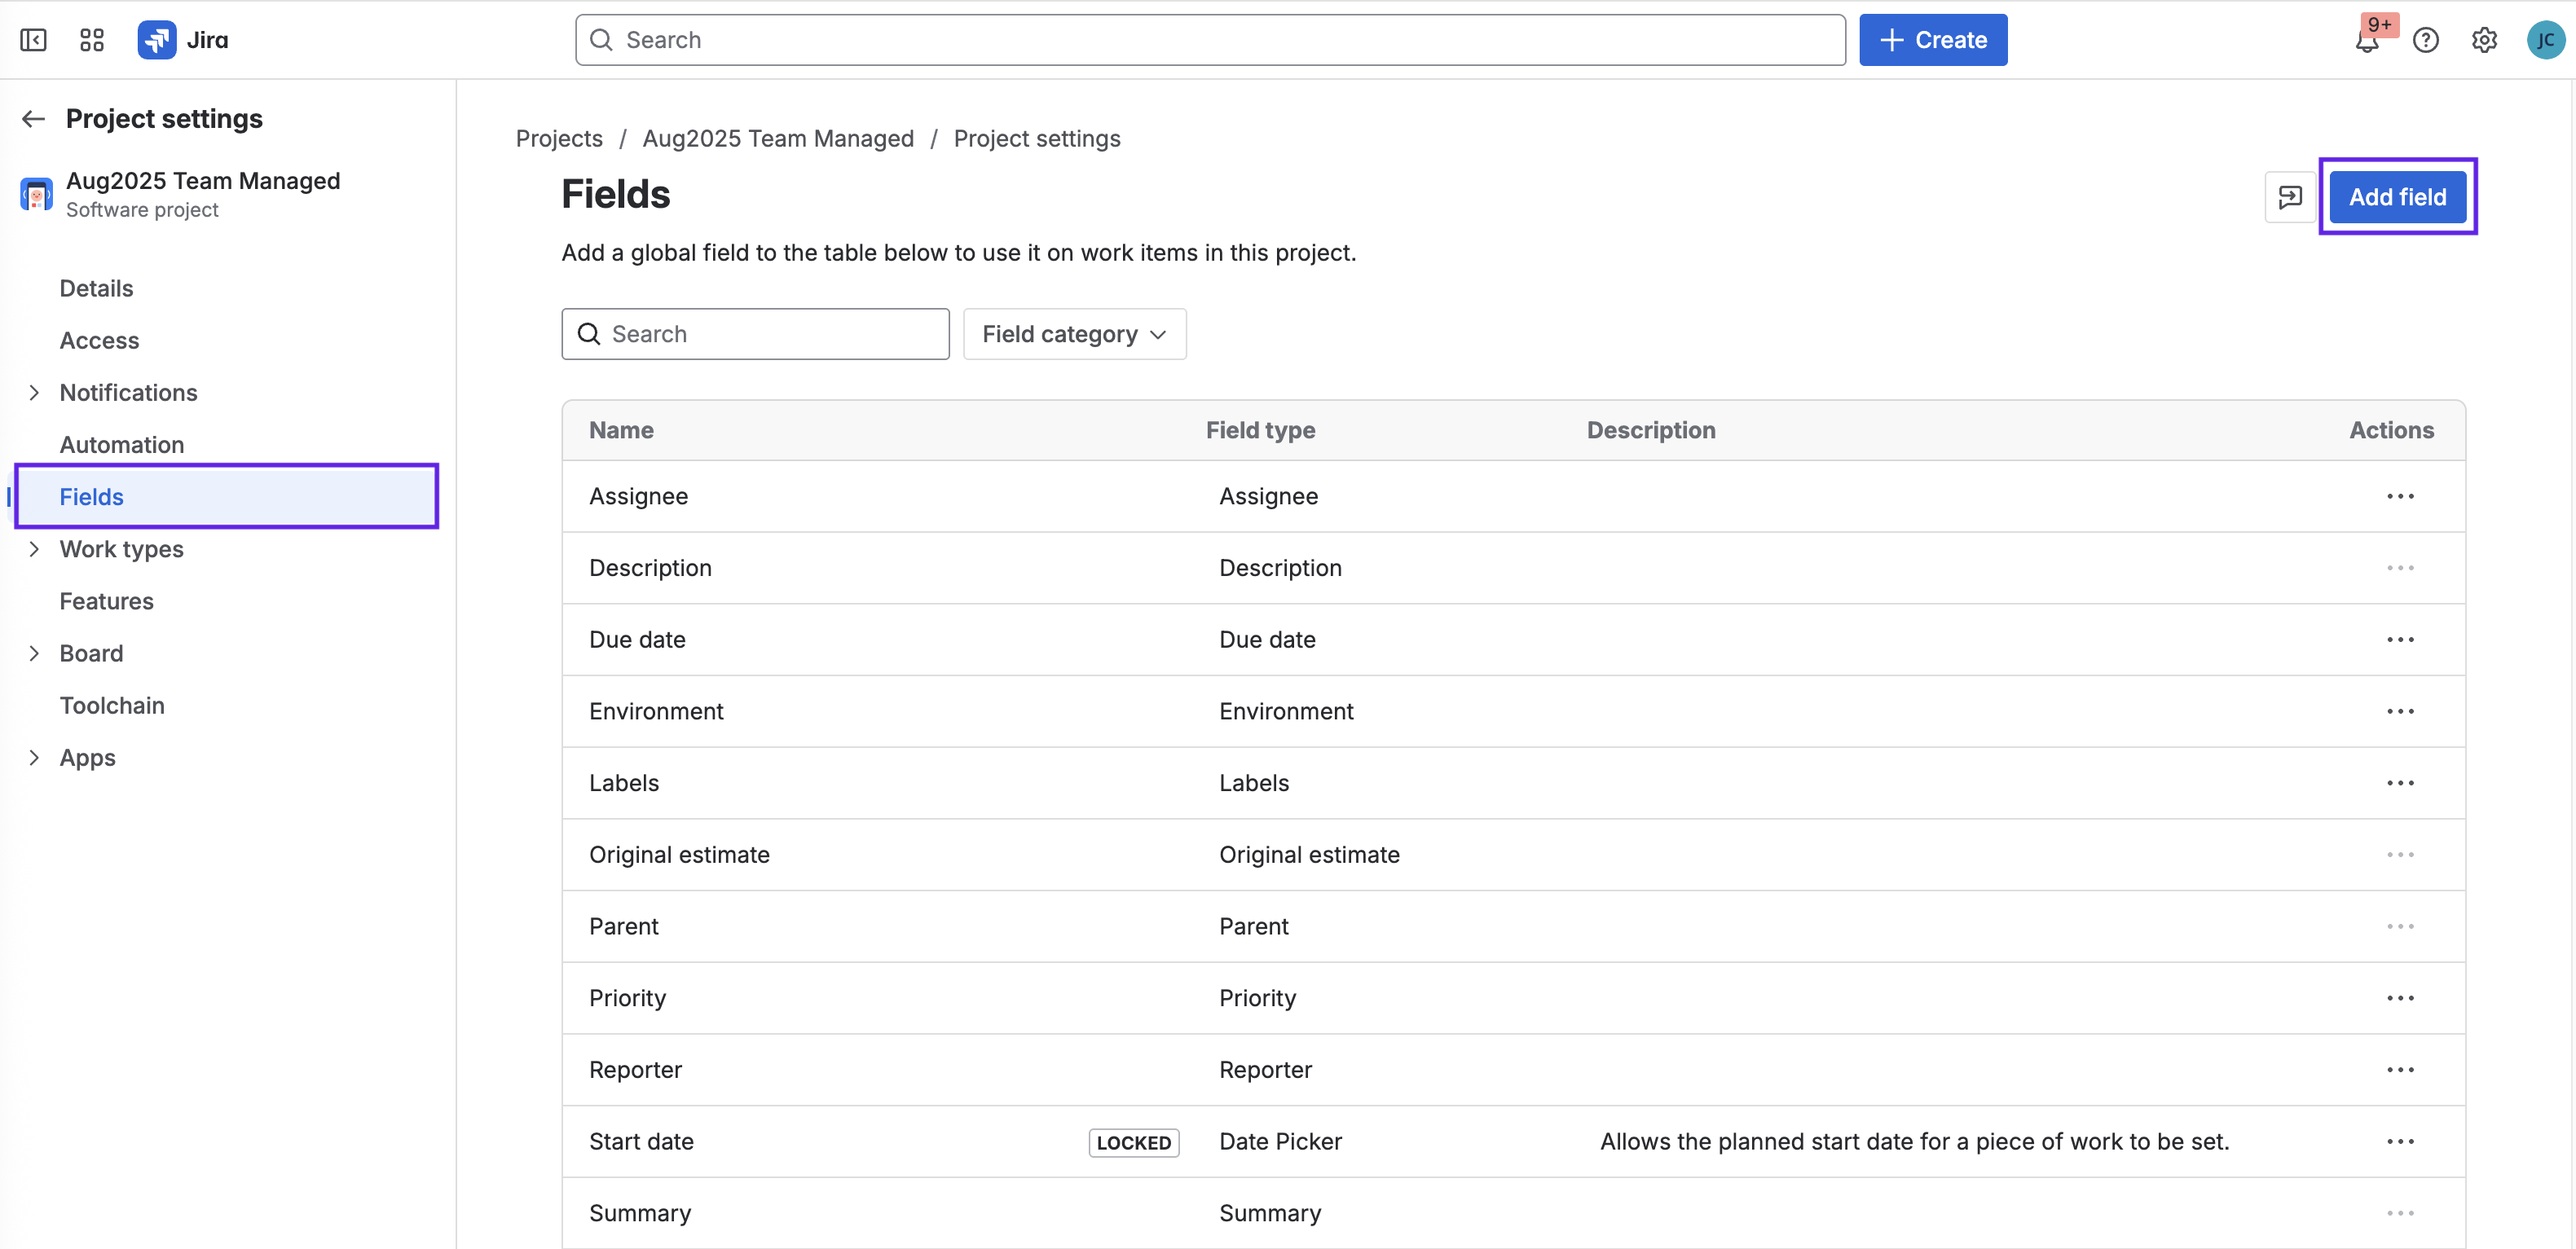
-
Click Add field.
-
Type checklist in the search box and use the check boxes to select the fields. It is recommended that you add the Checklist Completed, Checklist Progress, Checklist Progress % and Checklist Text fields to the space. (The Checklist Content YAML field and the Checklist Template field have been deprecated.)
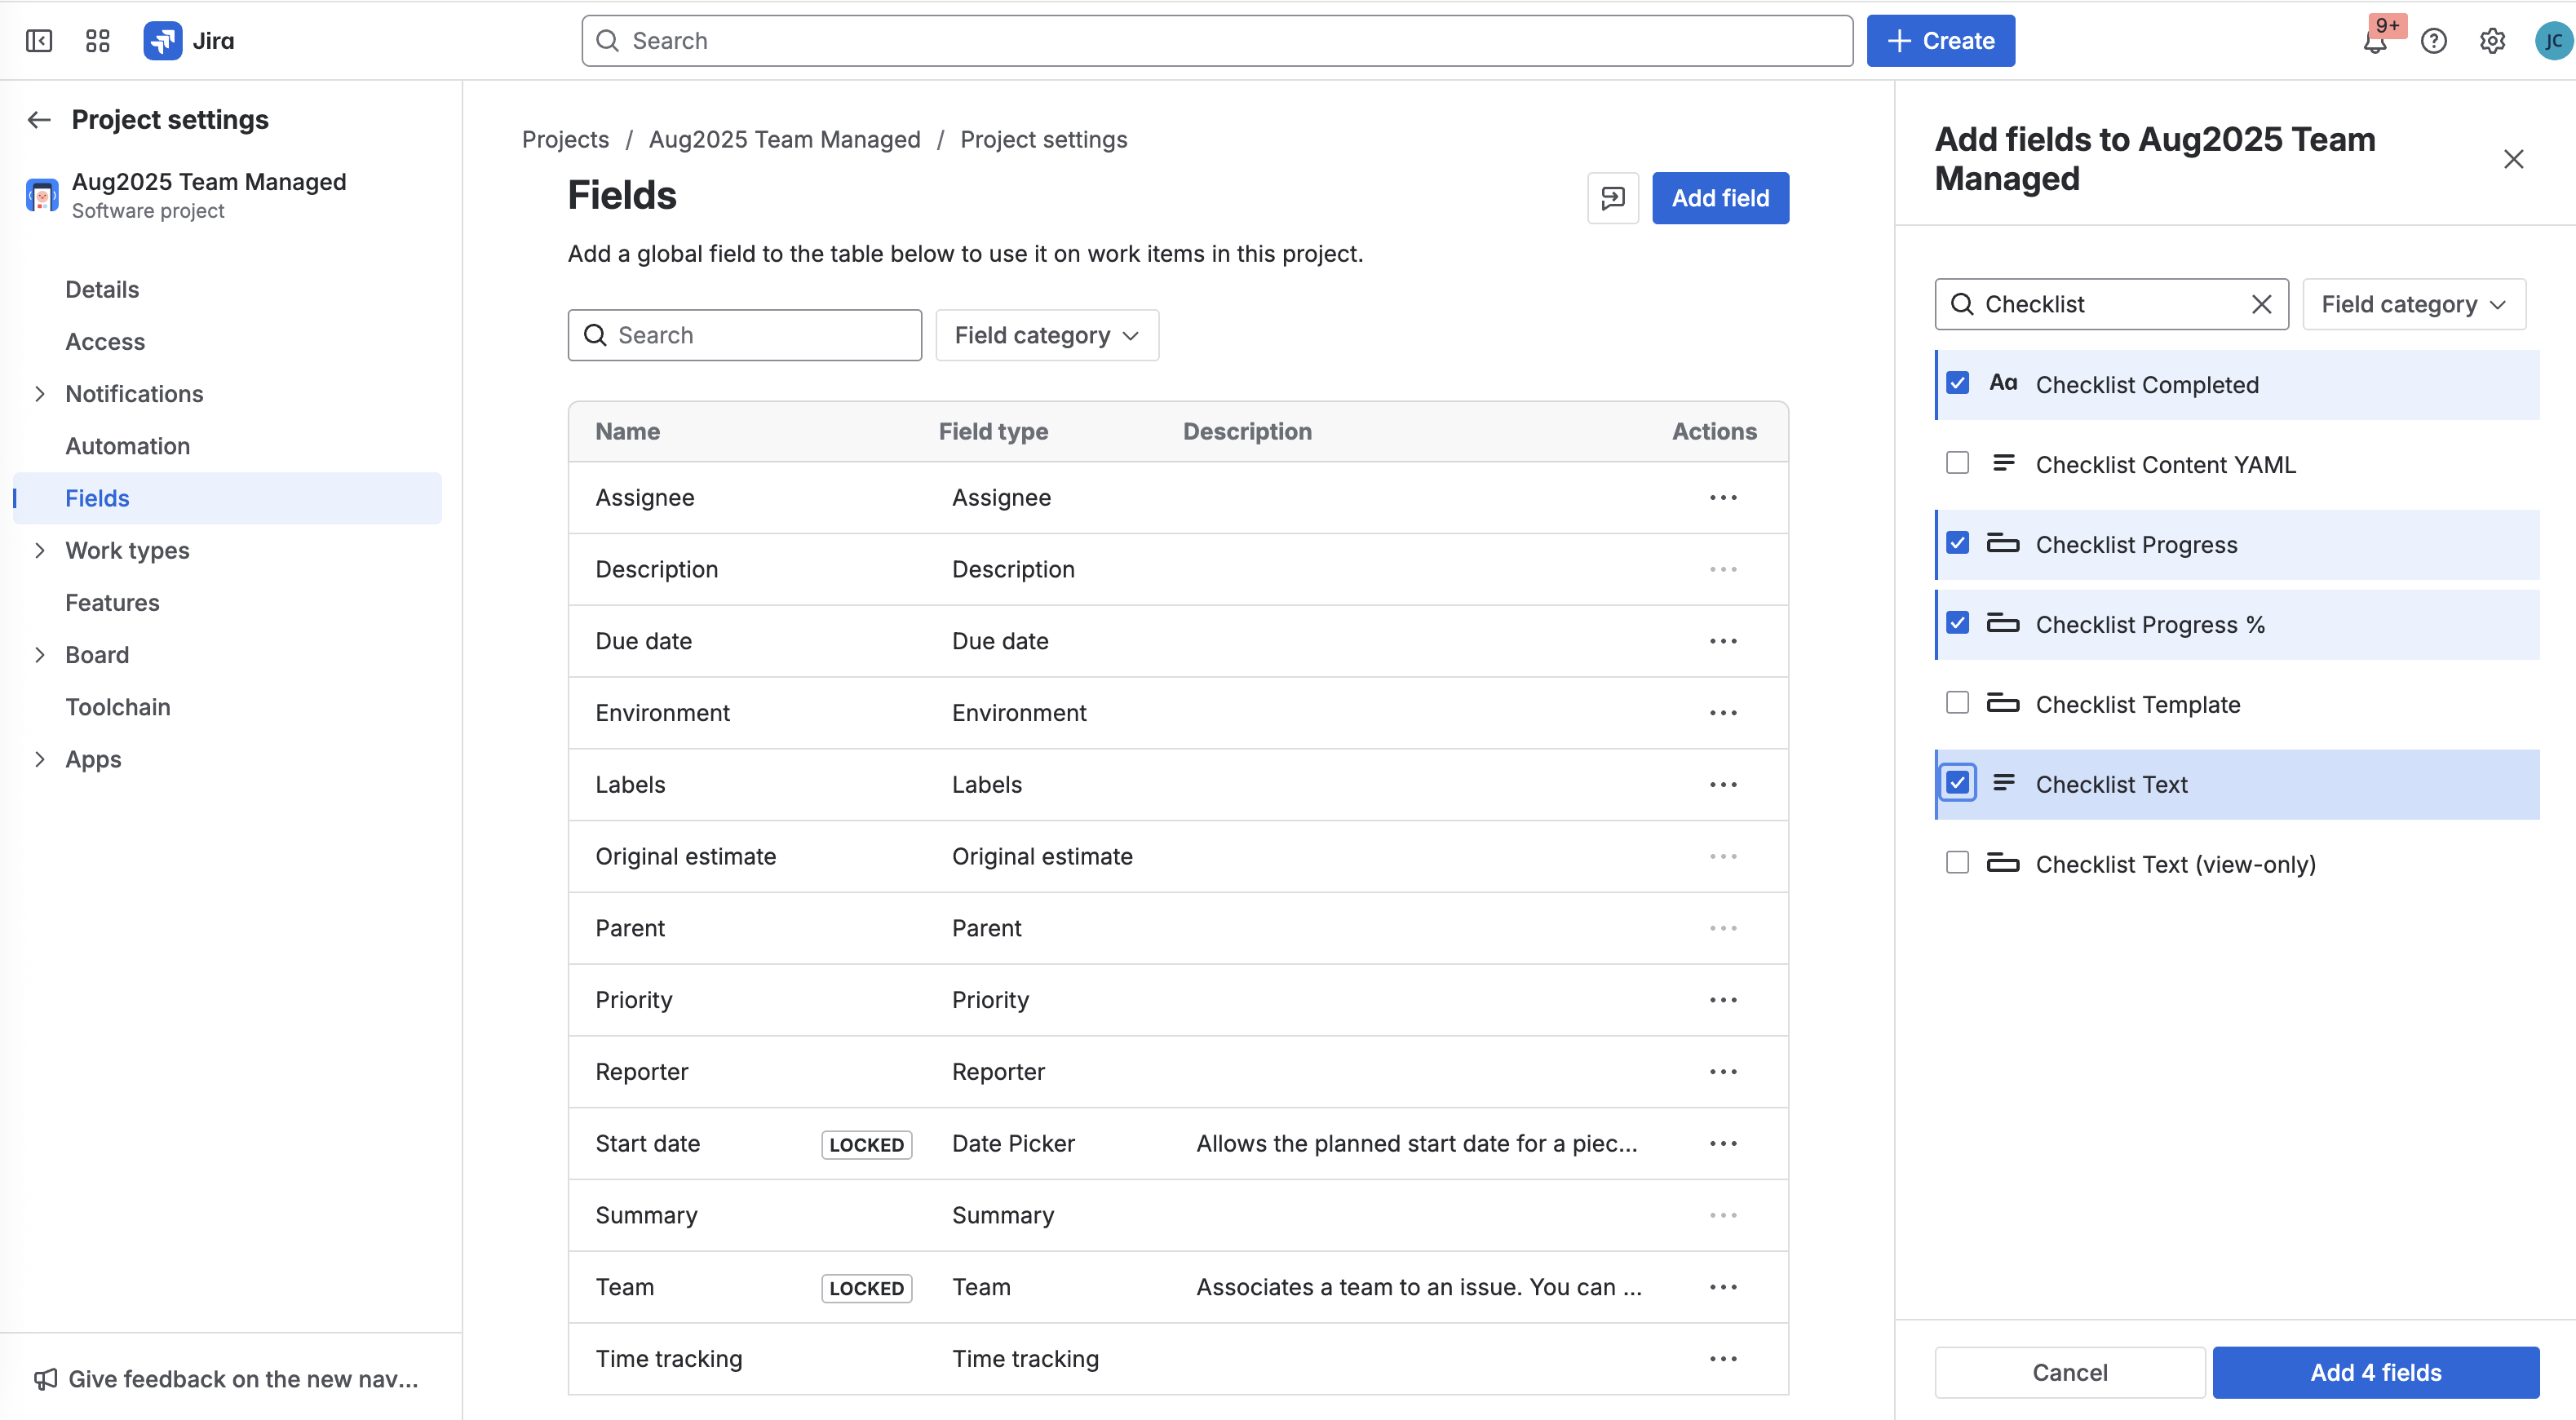
-
Click Add 4 fields.
Finding Custom Field IDs
To find the ID of the custom field:
-
Log in as a Jira Administrator.
-
Go to Jira Settings > Work items > Custom fields.
-
Search for the indicated custom field.
-
Click the More menu (…) and select Edit Details.
-
Copy the URL of the page. The URL will end with the ID number of the custom field.
.jpg?cb=a53c90a490703e65edeef48fc40c20bf)
Custom fields can be duplicated by some errors or rare scenarios. If you are experiencing issues with accessing custom fields, make sure you are referencing the custom field that is currently used by Checklists for Jira.
Support
Contact our support team for further assistance.