Jira does not allow to show third-party elements on the Work item Create and Transition screens, but you can work-around this using the Checklist Text custom field.
Uses & Limitations
When the Checklist Text custom field is present on a Create/Transition screen, you can add checklist items in text format and later use the final checklist on the Work Item View screen.
Note that:
-
The Sync checklists to Custom Fields global setting must be enabled.
-
As an alternative to adding the Checklist in text format on the Creation screen, you can set a template to automatically be added when issues of a given type are created in a project.
-
If you show the Checklist Text custom field on a transition screen and want to block the transition depending on the field value, you will need to use a Regular Expression validator. The built-in validators will not work in this case because of the order of operations.
-
Adding the Checklist Text field to create and transition screens can only be done in Company-managed projects
Adding a Field to a Screen
-
Click on the … menu for the project and select Project Settings.

-
Select Screens from the Work items menu.
-
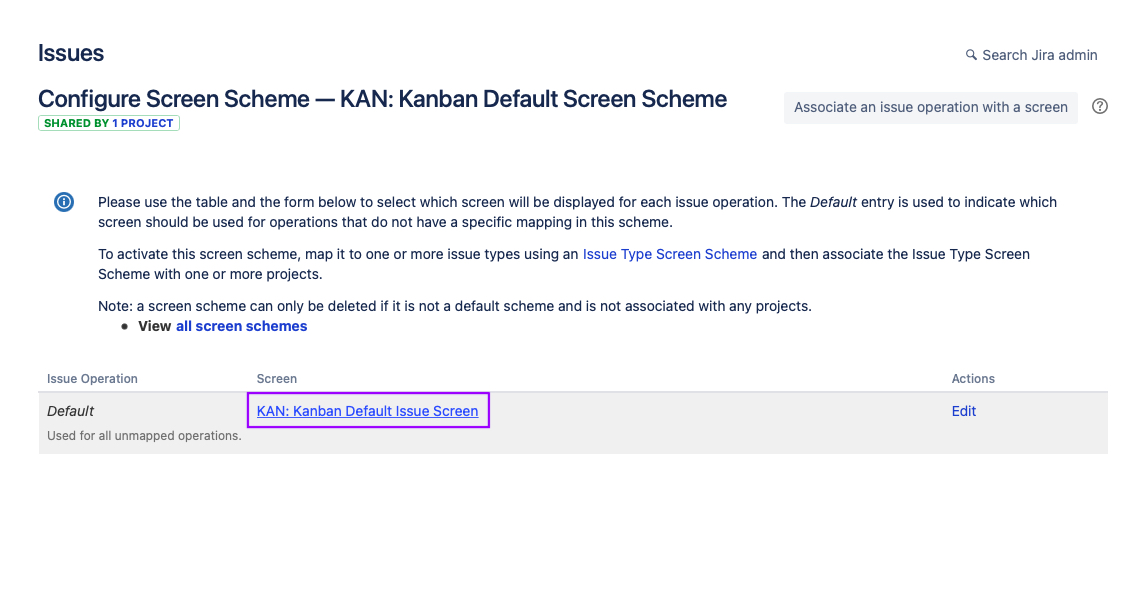
Click on the pencil icon to the right of the appropriate screen configuration as noted by the wrk item type.

-
Click a name of a screen that you want to configure, as noted by the operation (Create, View, Transition, etc.). You can see a list of all available screens going to Jira Settings > Work items > Screens.
-
Use the dropdown at the bottom of the list of fields to select the field you want to add to the screen.
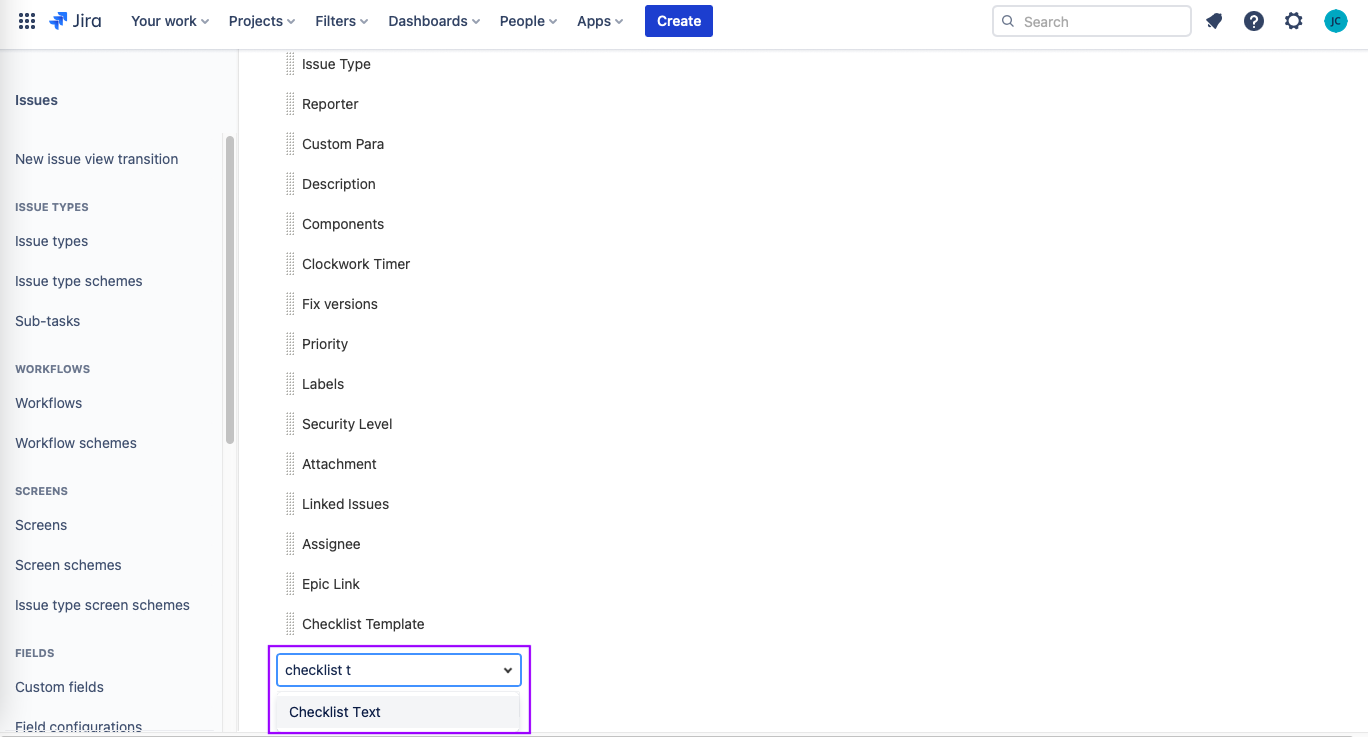
-
Drag the field to the position in the list that corresponds with where you want to see the field on the work item.
Completing the Checklist Text Field
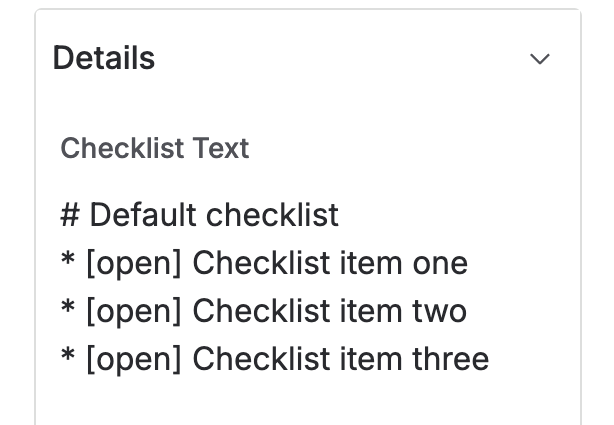
When filling out the Checklist text field, simply enter a new line for each checklist item. Checklists for Jira will format the list when the field is saved.
Enter text
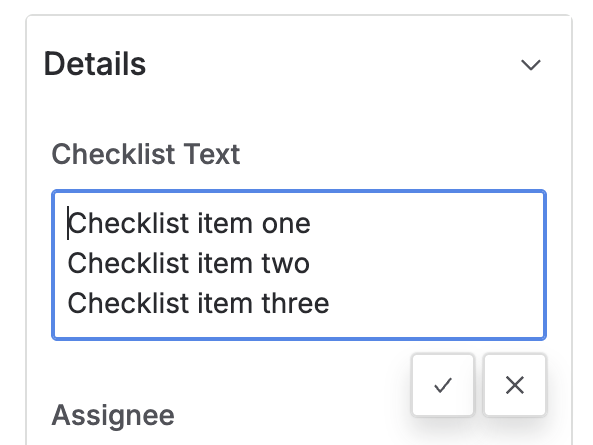
Saved
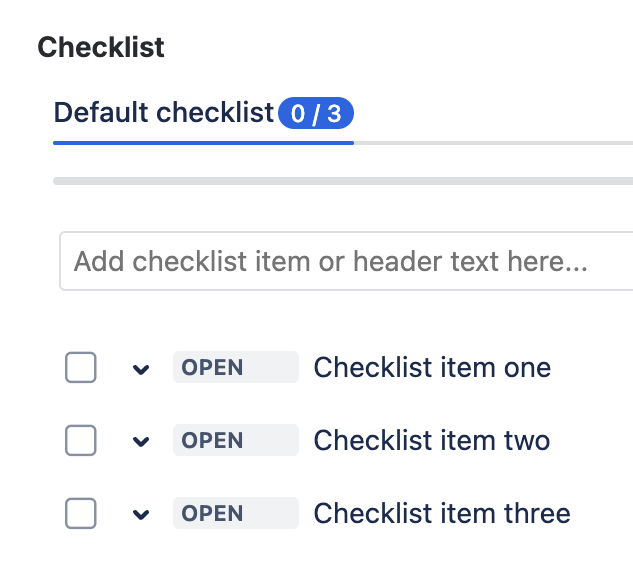
Checklists UI