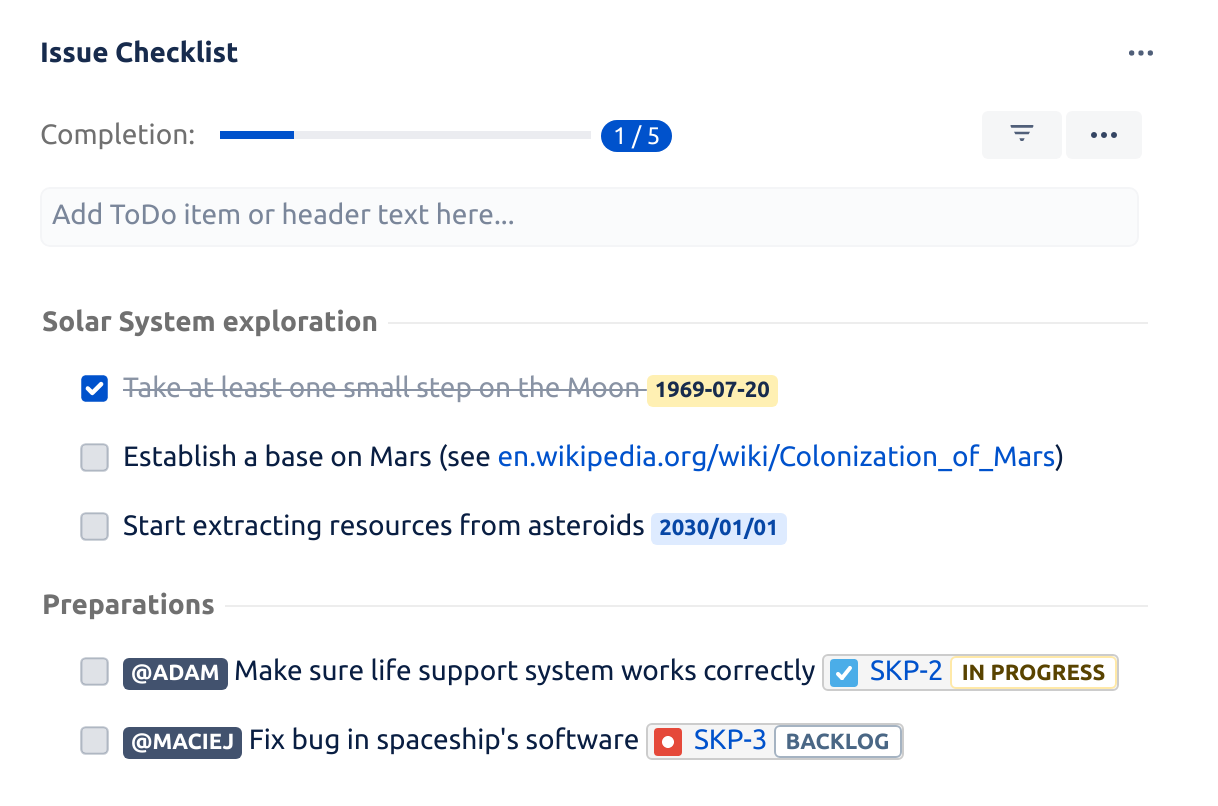
Individual checklist items have their own functionality and can be enhanced by adding rich text formatting, work item links, user mentions, due dates, etc.
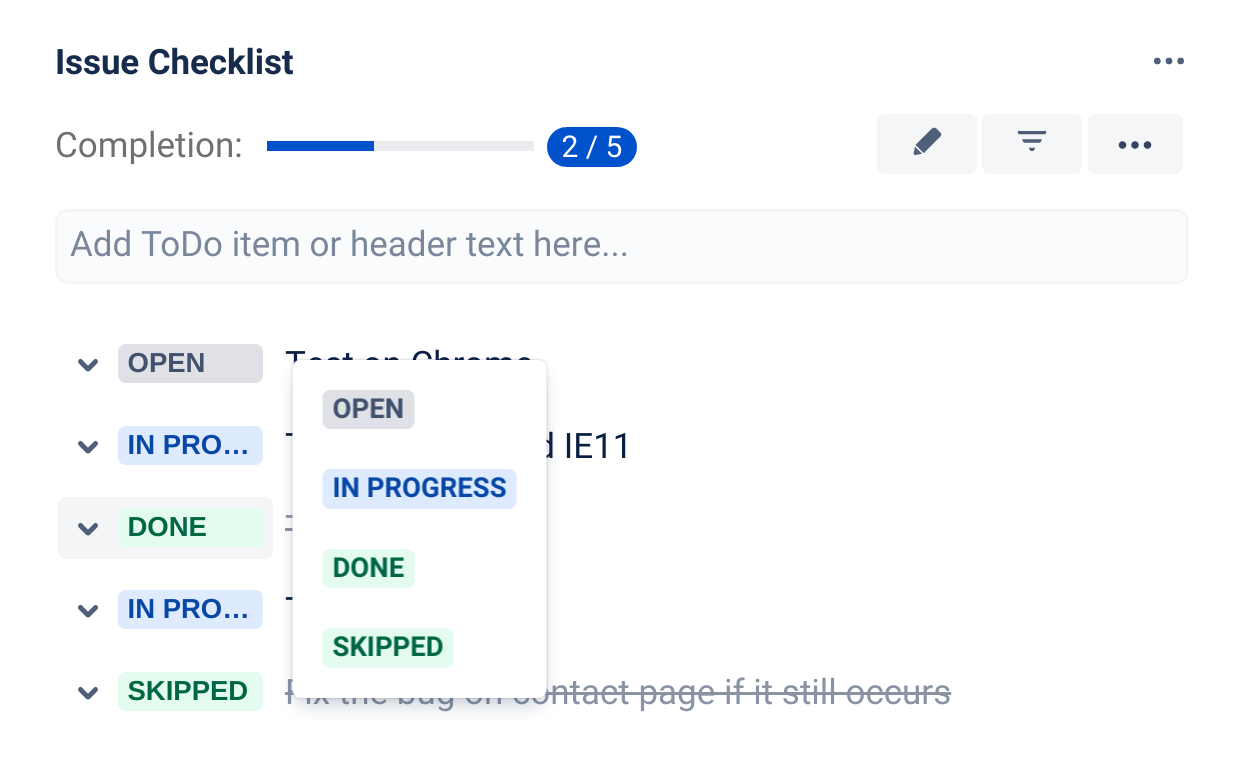
Checkbox vs Status
Checklists can be configured to display simple checkboxes, statues or both. Statuses can be enabled on globally or per space.
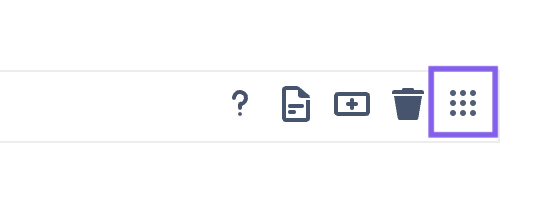
Checklist Item Toolbar
Hovering over a checklist item will display the checklist toolbar. The Checklist item toolbar allows you to perform operations on individual checklist items.
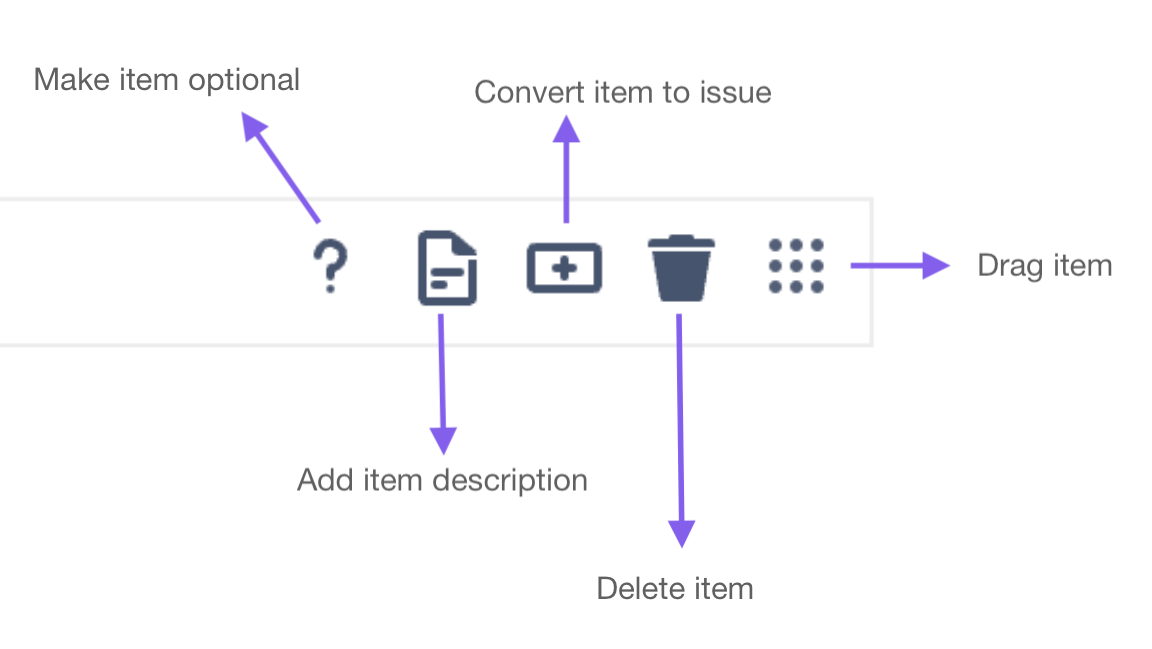
Make Item Optional/Mandatory
Checklist items can be set as optional or mandatory. Mandatory items can be used in automation (through entity properties) and with workflow validators (to block work item transition).
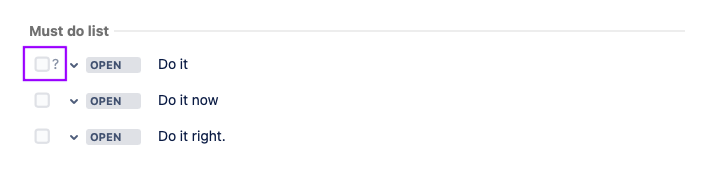
Checklist items are mandatory by default, but can be changed via the UI, Editor, or through the Checklist Text custom field. To make a checklist item optional, click on the question mark icon in the toolbar. A question mark next to checkbox indicates that an item is optional.
Convert item to Jira work item
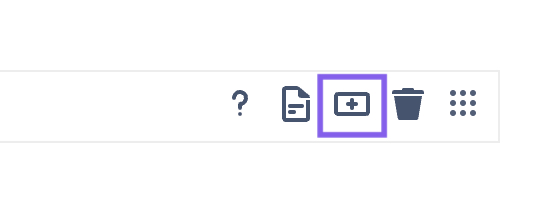
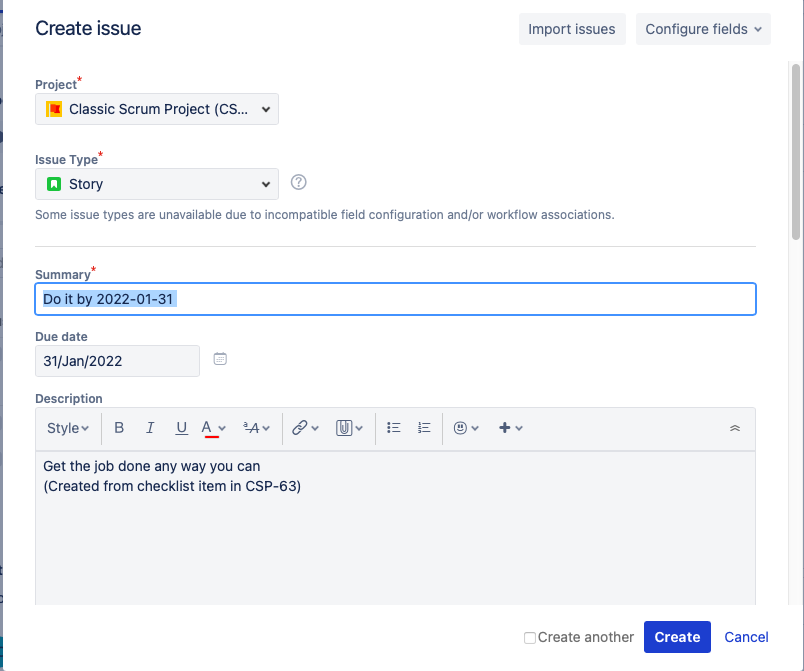
Clicking on the Convert work item icon will open the Jira Create work item dialogue box:
-
The Space field will be populated with the current space
-
The Summary field will be populated with the text of the checklist item
-
If the checklist item included a description, then the item description will be used to populate the Jira work item Description field
-
If the Create screen includes the Due date field, it will be populated with the first valid date from the checklist item
-
When the new work item is created, the checklist item will be marked as complete on the original work item.
-
The new work item will be linked to the original work item by relates to link.
Delete Item
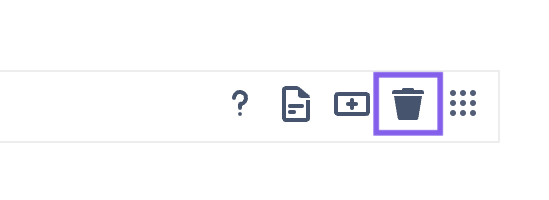
Click on the trash icon to delete the item from the list.
Reorder Items
You can drag and drop items to reorder the list. Click on the grid icon to drag the item to the new position.
Move Items Between Checklists
If there are multiple checklists in the work item, you can use drag and drop feature to move items between the checklists, just like reordering items.
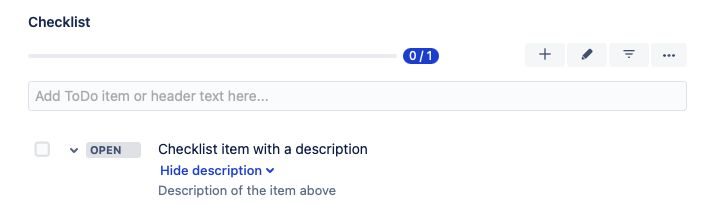
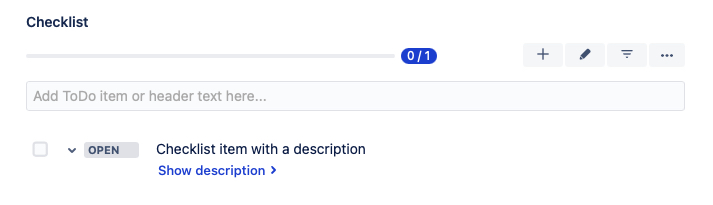
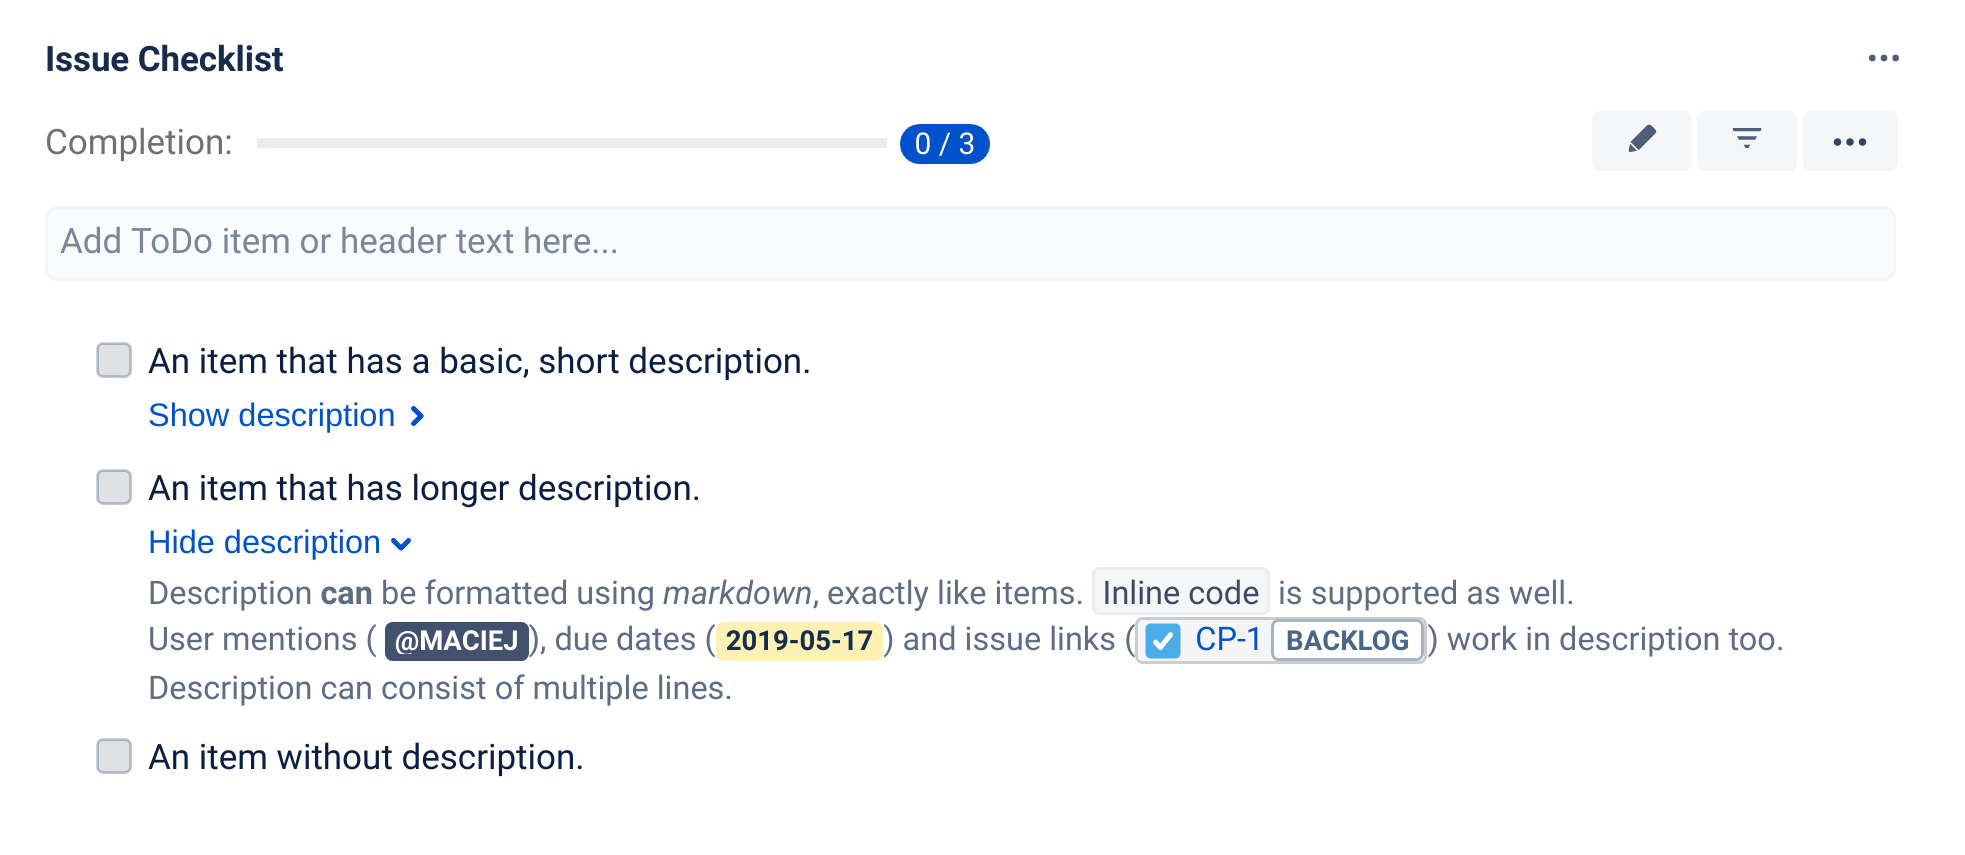
Item Descriptions
Descriptions allow you to include additional, multiline text on checklist items. Descriptions can be shown (read-only) or hidden (and expanded) when the checklist is viewed in Jira. Descriptions can be added/edited via the Description button on the item toolbar, the Checklist Text custom field or the Editor.
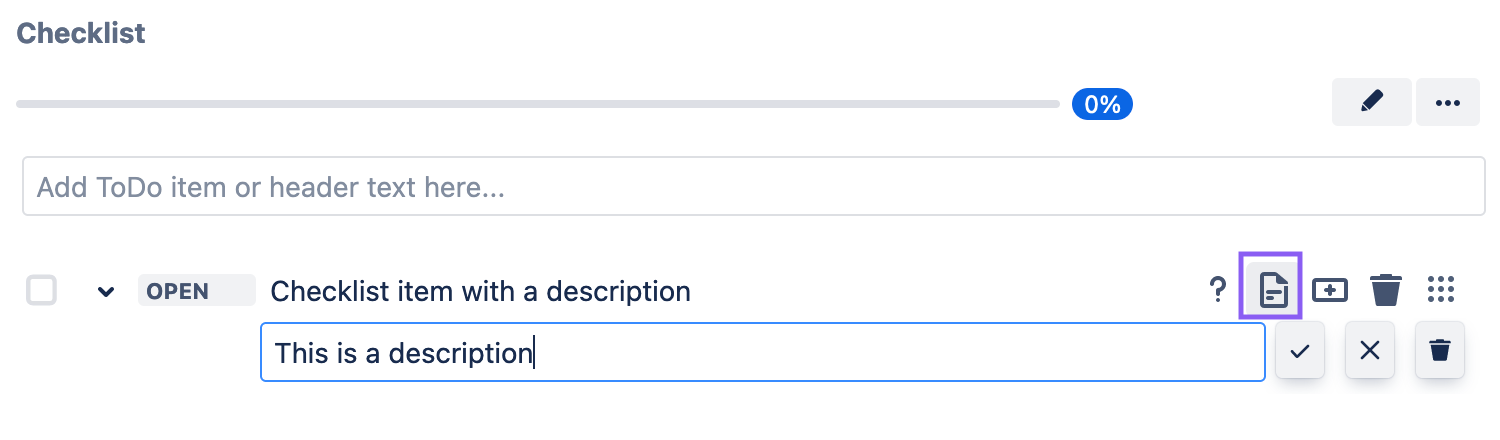
Adding a Description via the Add Description button
-
Hover above the item you want to add a description to display the tools at the right side of the text
-
Click on the paper icon to open a text box below the item
-
Type the description, click the checkmark button to save it, or click the X button to cancel adding the description. Clicking the trash icon will also cancel adding the description
Description can also be added to template items. Enterprise customers will have the ability to also add description to Global Checklists' items
Adding a Description via the Checklist Text Custom Field
-
Ensure the Checklist Text field is visible on the Edit work item screen.
-
Click into the Checklist Text field and type the description, proceeded by >> below the checklist item.

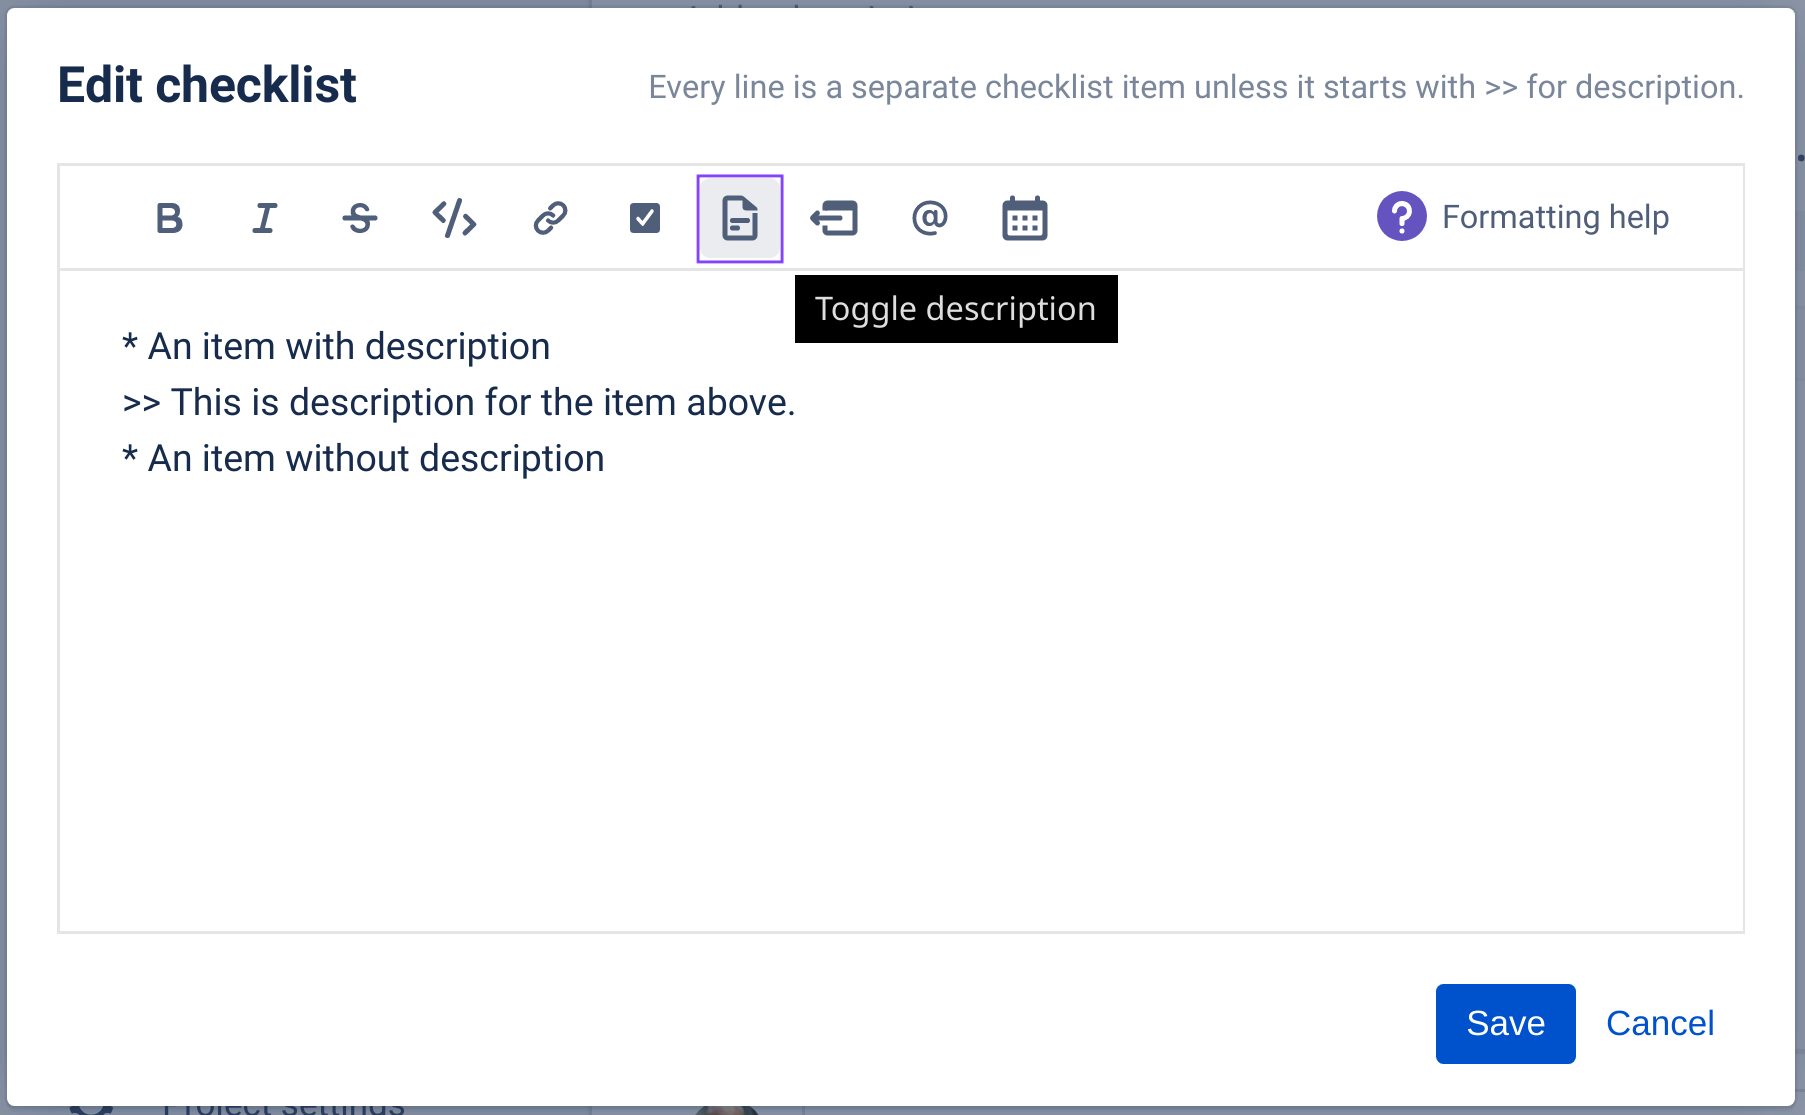
Adding a Description via the Editor:
-
Click pencil icon to open the checklist in the Editor.
-
Add description, proceeded by >> in the lines below the checklist item. Alternatively, use the Toggle description button to add the >> characters automatically.
Formatting Descriptions
Descriptions can include advanced formatting elements (markdown, inline code, user mentions, due dates and work item keys that will be automatically linked to work items, etc.):
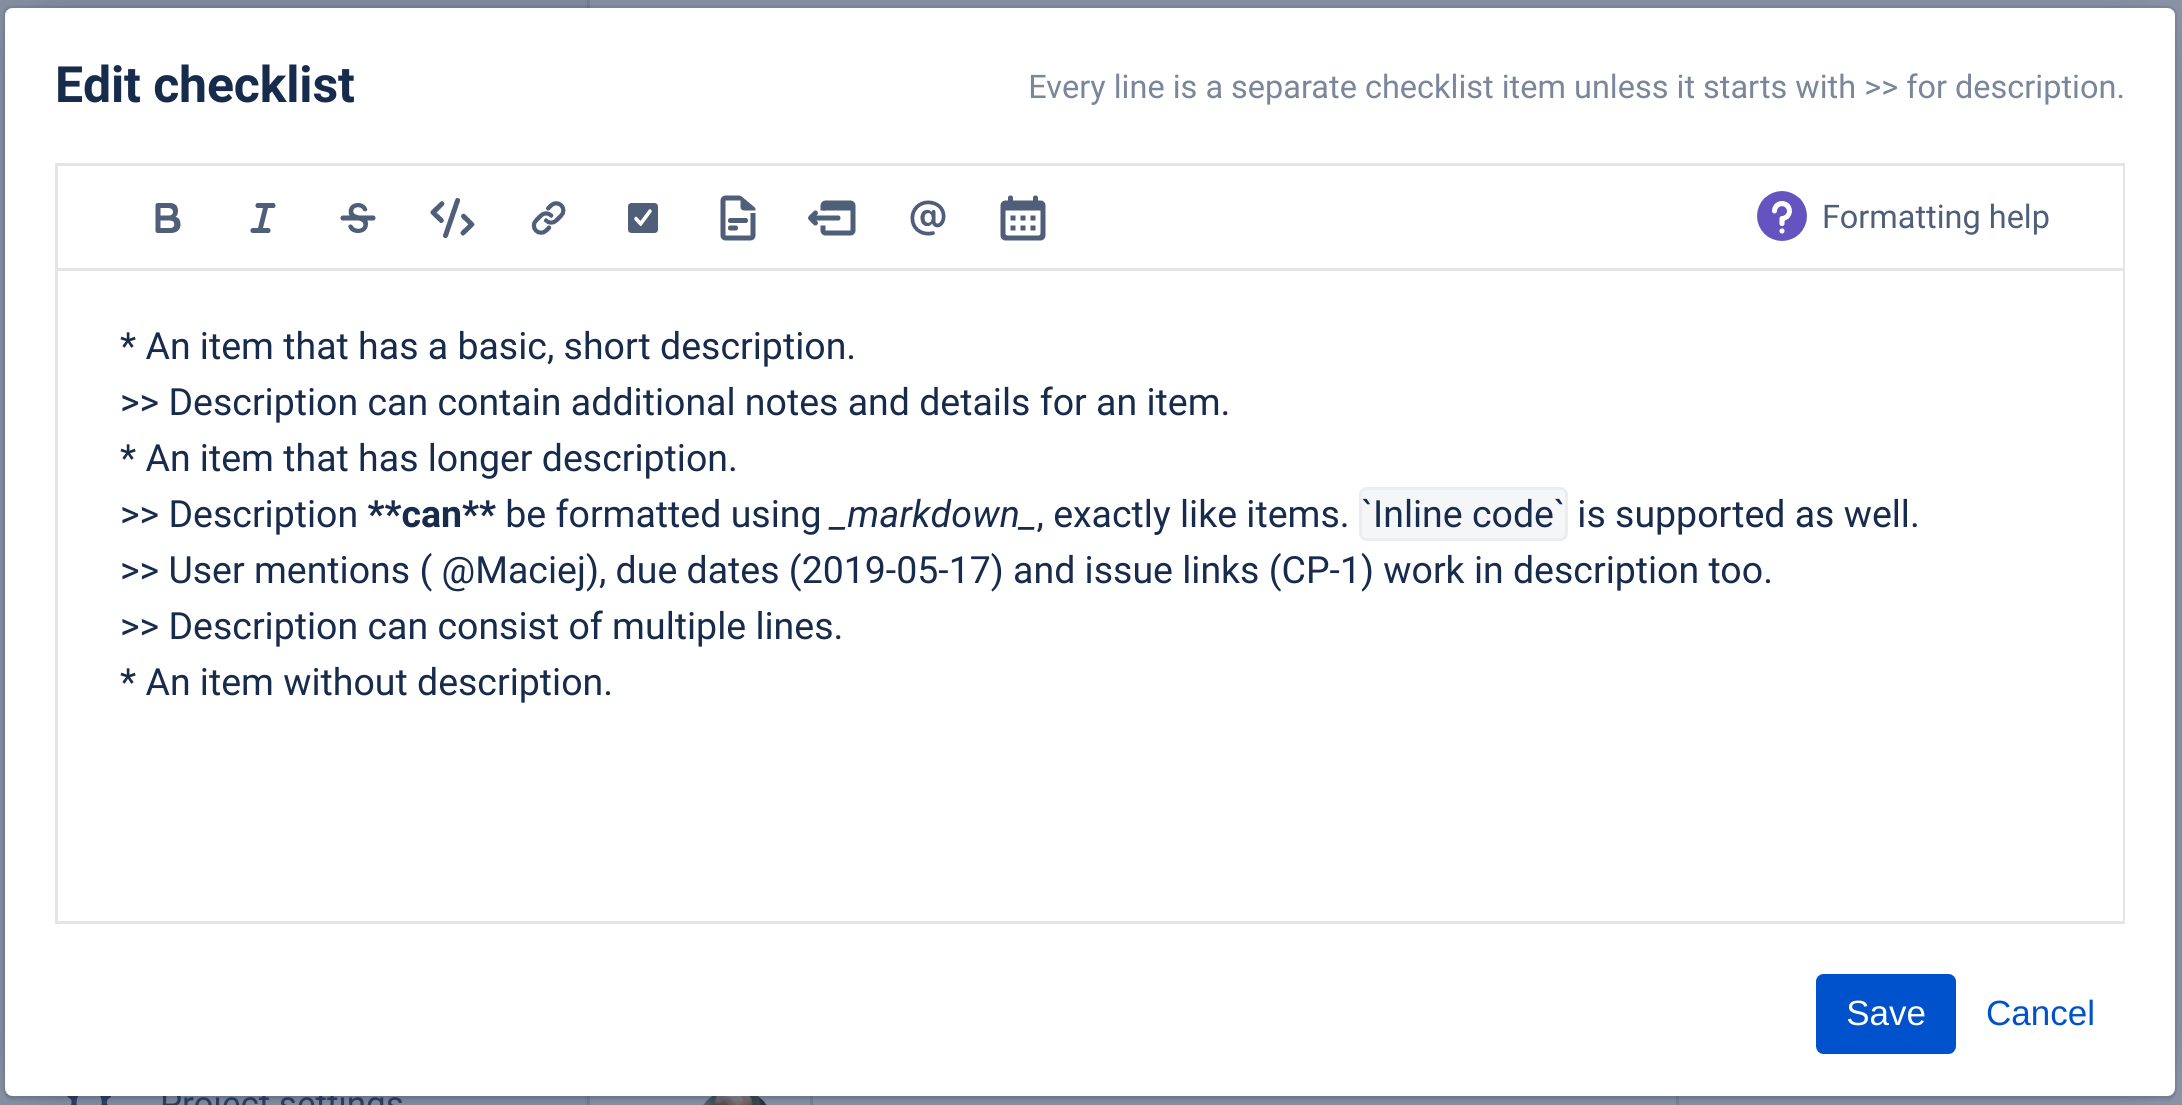
Description can contain checkbox Emojis like ☑️ or ☑, but it is not possible to add a working checkbox that you can toggle on/off to a description.
Bullet Points in Descriptions
To add/copy a bullet list into a description, proceed each bullet item with >>
* [done] First response
* [skipped] Questions if any
* [done] Solution
>> • first bullet point
>> • second bullet point
>> • third bullet point
Text Formatting
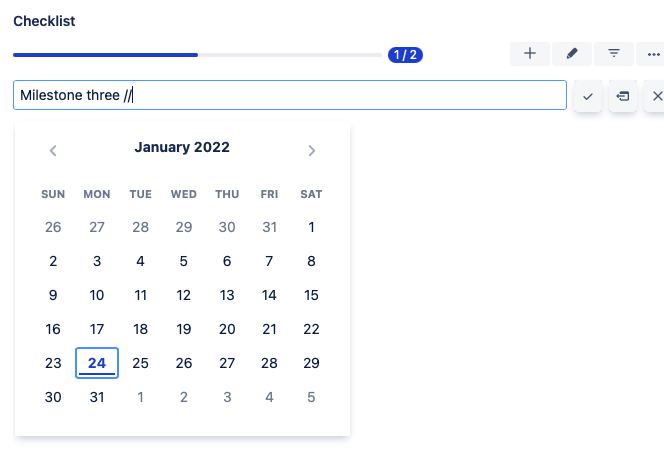
Dates
To assign a date to an item, type // (double slash). A calendar picker will open. Select the appropriate date.
You can also include date directly in the item's content (supported formats: YYYY-MM-DD, YYYY/MM/DD, DD-MM-YYYY, DD/MM/YYYY).
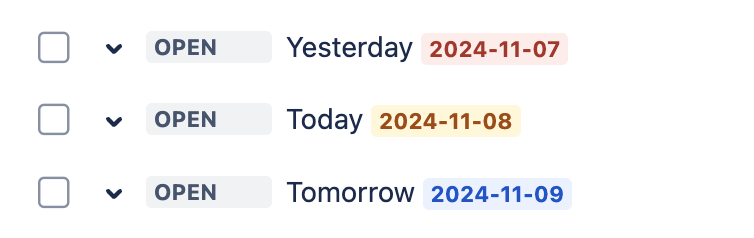
Date lozenges are color coded:
-
Red for past dates
-
Yellow for today
-
Blue for future dates
Emojis
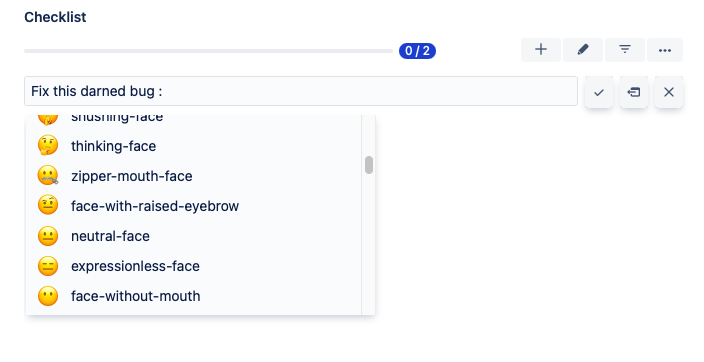
To include emojis in checklist items, type : (colon) to open the emoji picker and select the appropriate emoji.
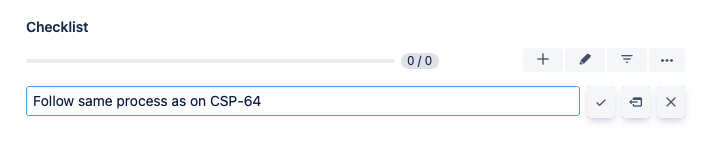
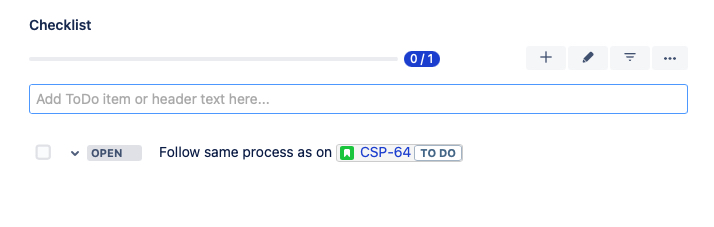
Work Item Keys
To include a link to another work item, simply type in the work item key. The work item key will then display as a clickable link.
If you don't have permission to view a work item, or the work item does not exist, then the key will be rendered as plain text.
URLs
Valid URLs and email addresses will be automatically displayed as links. See the Markdown instructions if you want to use named links.


User Mentions
Checklists for Jira stores the non-PII cryptic text Atlassian account ID rather than the user name.
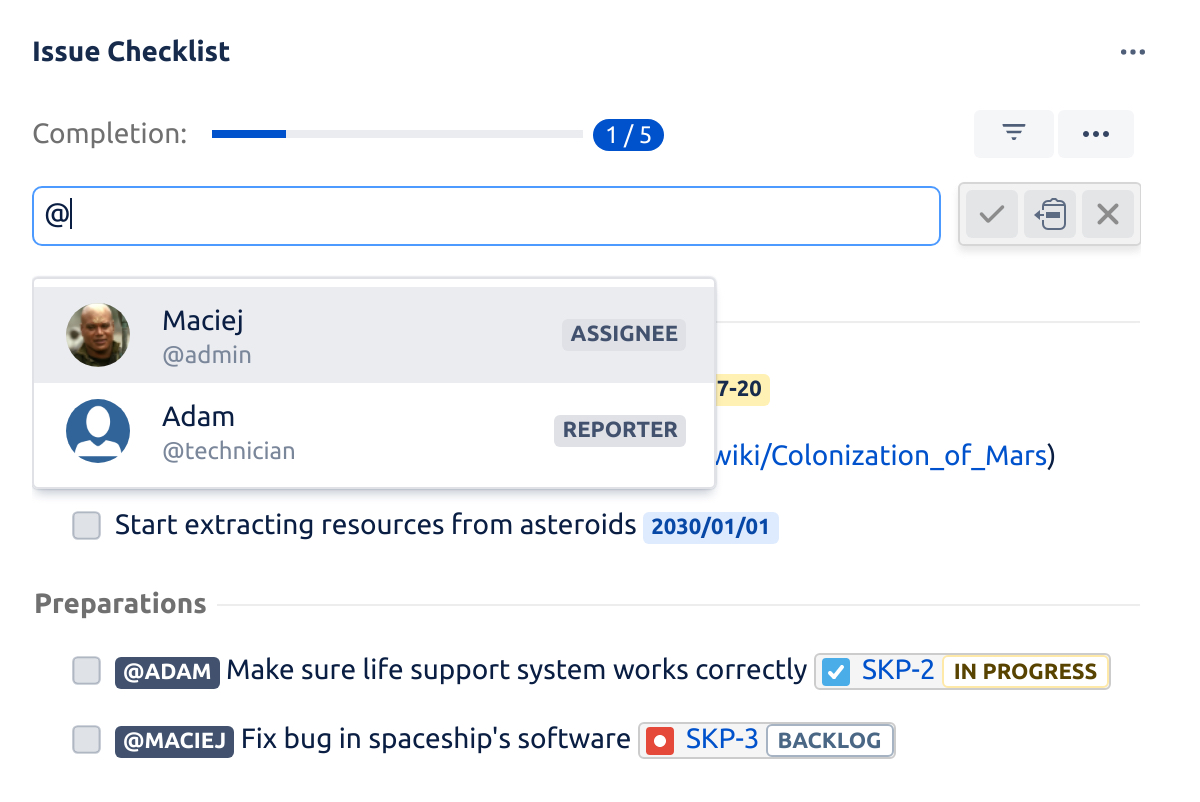
To mention users, type @ followed by part of the user's display name or username. A popup will show all matching users . Click on the appropriate user.
Typing only the @ character will generate a popup that shows the assignee and reporter of the work item, if they are set. You can also select the aliases assignee and reporter to find and mention corresponding users.

Mentions of non-existing (not found) users are displayed as plain text.
Mention by Email
You can also mention users by email addresses. The search will match partial emails for users who have made their email address public in their profile. Otherwise a full email address must be provided.
Mentioning by email can yield unexpected results. Searching with incomplete email addresses may show no user due to Jira limitations.
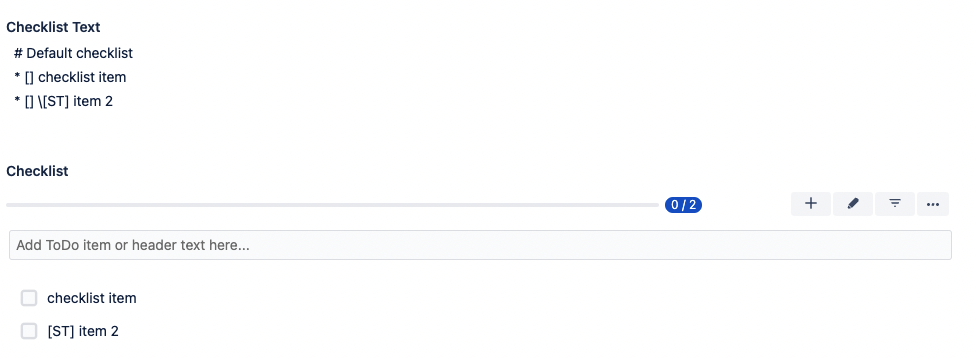
Square Brackets (i.e. [ )
In brief: You can use the \ escape character to add [] to the start of your checklist items.
Checklists uses square brackets to represent the state of an item in the text format. This text format is used in the Checklist Text custom field.
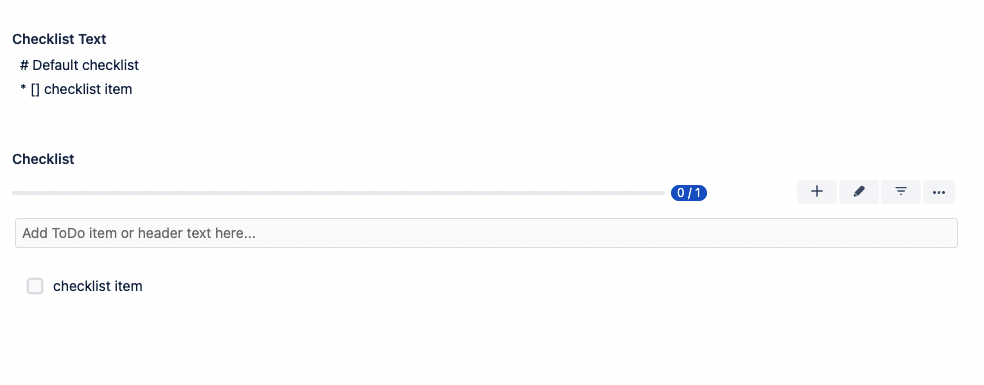
A side effect is that when you put square brackets at the beginning of a checklist item, the square brackets are removed.
So when you add a new item like this:
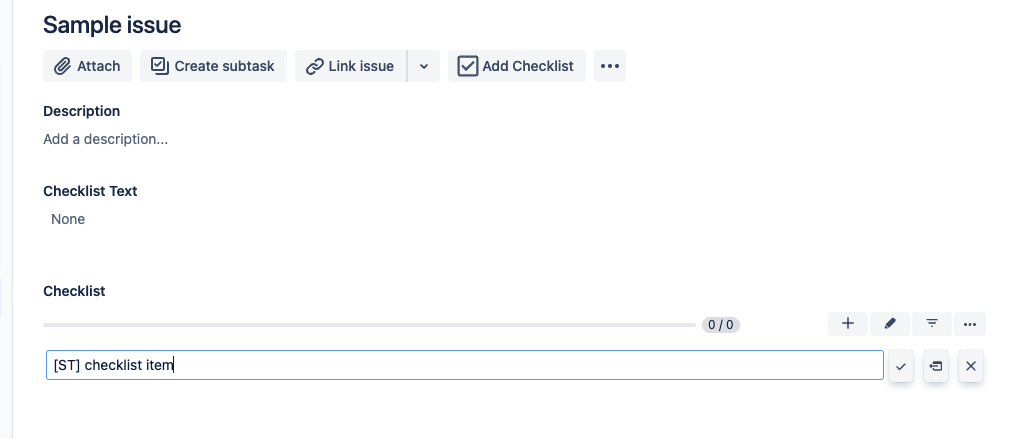
The items will look like this:
To avoid having the square brackets are removed, use the \ character at the beginning of the item text:
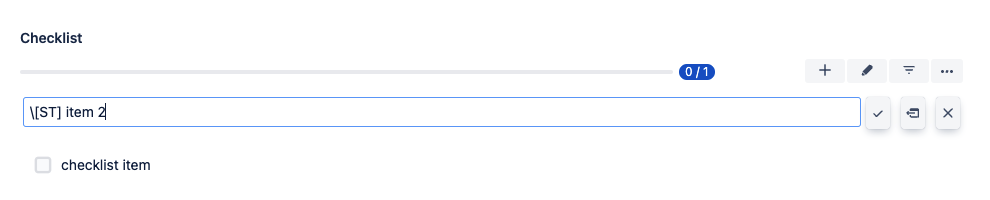
The allows the square brackets to be rendered: