
Keep in mind that in your Jira site, depending on the Global Settings, the Checklist panel may have a different title and name in the Apps menu, such as Definition of done.
How to Open the Main Checklist Panel
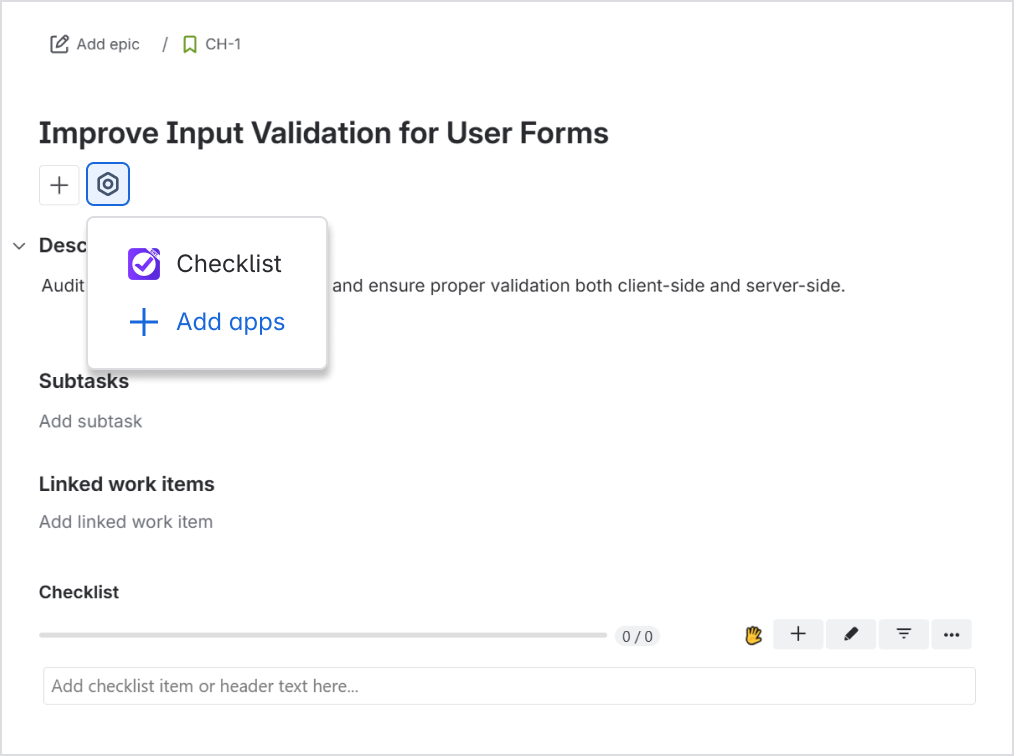
By default, Jira hides all currently inactive panels. To bring up the checklist panel and start adding items, click the Apps button at the top and then Checklists.
Note that you’ll need to pin the panel to make sure it stays visible for everyone.
Checklists in the Context Panel
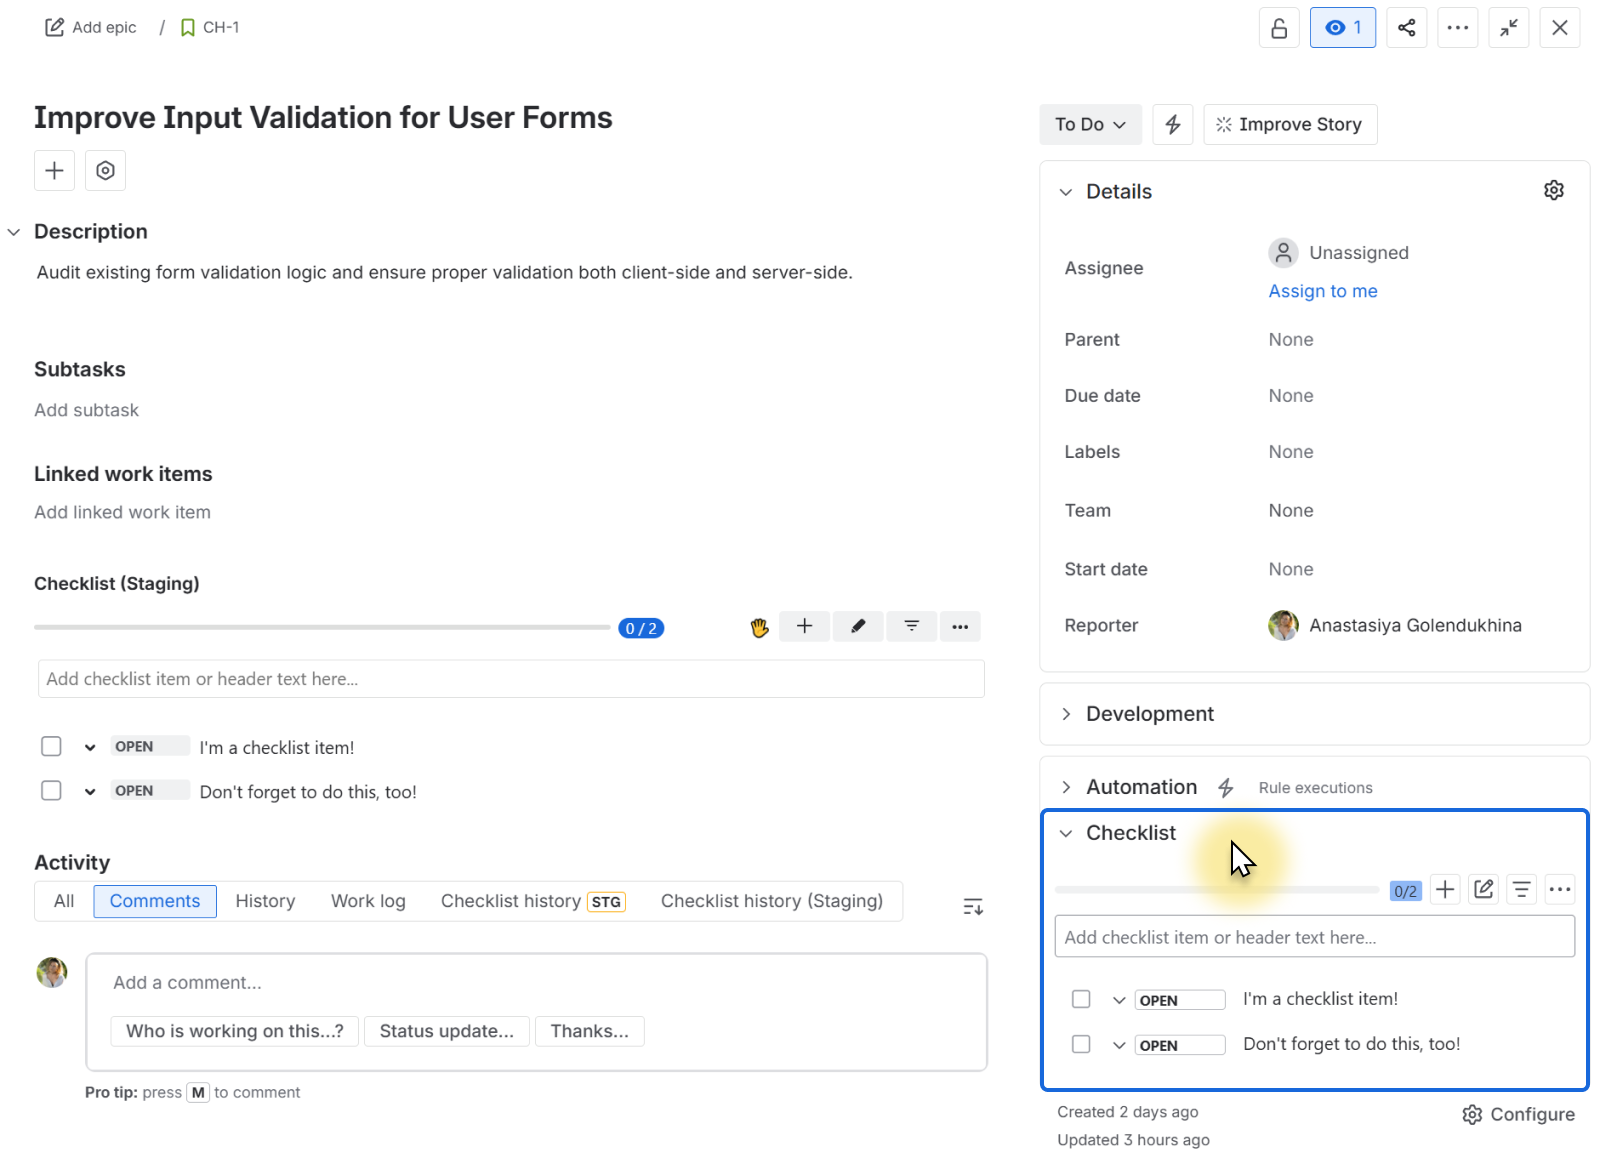
You can also see your checklists in the side panel where your context fields live. The first time you see it, it will likely be collapsed – simply click to expand it and see your checklists. This panel will always be present on your work items.
Pinning the Checklist Panel to Work Items
Pinning the Checklist panel requires at least Manage Project permissions.
To prevent Jira from hiding the Checklist panel, a space or site administrator can pin checklists to always show on work items.
-
The center panel will always be visible on the work item, even if there are no checklists added. This way you can quickly add acceptance criteria, for example.
-
The panel will be visible for all users.
-
Pinning the panel affects the entire project, but you will need to do this for each project individually.
To pin the panel:
-
Open the Checklist panel on any work item in the space.
-
Click the three dots icon right above the panel:

-
Clock Show for all work items
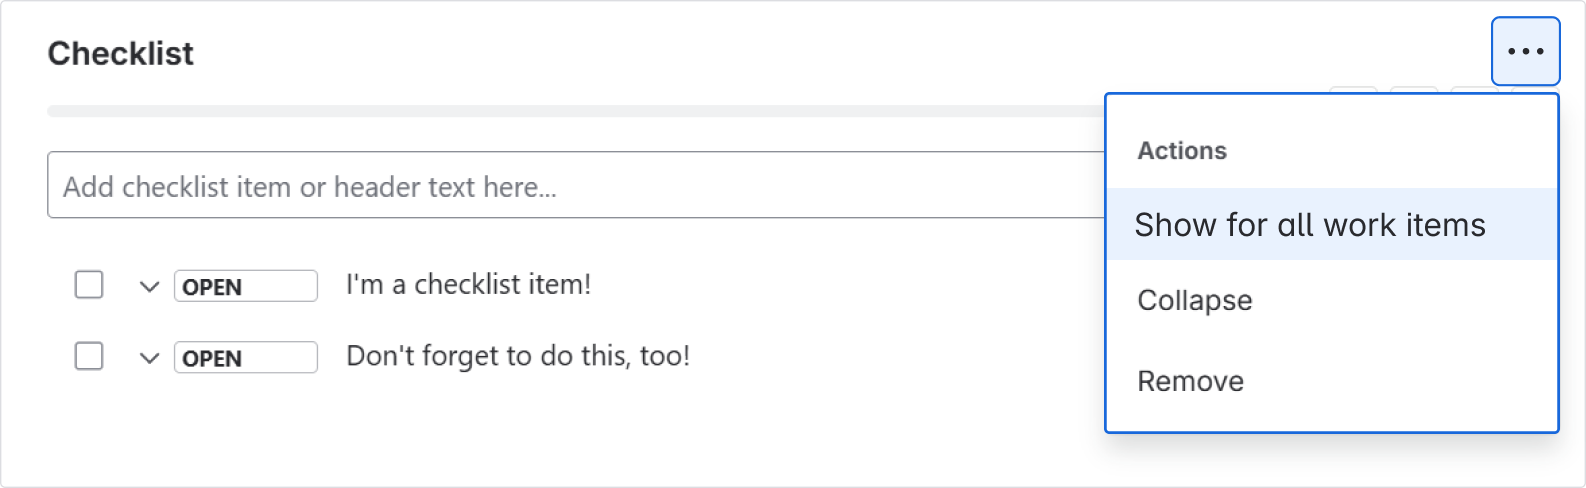
If you want to stop showing checklists for every single item, do the same and choose Hide for all work items. This will only affect the central panel: checklists will always be available in the Context panel on the right.