
When a work item is transitioned, you can require a specific checklist to be completed, or moved to any of the accepted statuses.
Use cases:
-
Your team uses checklists across multiple workflow stages. A developer has one checklist to follow, and there is a separate quality control checklist. Set up the workflow so that moving from In Development to Testing requires completing Checklist A, and moving from Testing to Done requires Checklist B.
-
Several assignees or teams use the same checklist throughout the workflow, but you want to require different statuses at each stage. E.g. for team A, the entire checklist should be “ready”, and then for team B, it should be “approved”.
-
Only one of the checklists must actually be completed, while others are mostly for reference.
Prerequisites:
This feature is Available for Checklists for Jira Enterprise only
Because Jira does not allow third-party app actions in Team-managed spaces, this can only be used for Company-managed spaces.
Before you start, be sure to first add the required checklist to the work item using automations or templates. The workflow rule will require the checklist only if it is added to the work item. If it is not added at all or has been deleted, the validation will pass without requiring the checklist. This is done to prevent completely blocking work by upstream settings.
How-to:
-
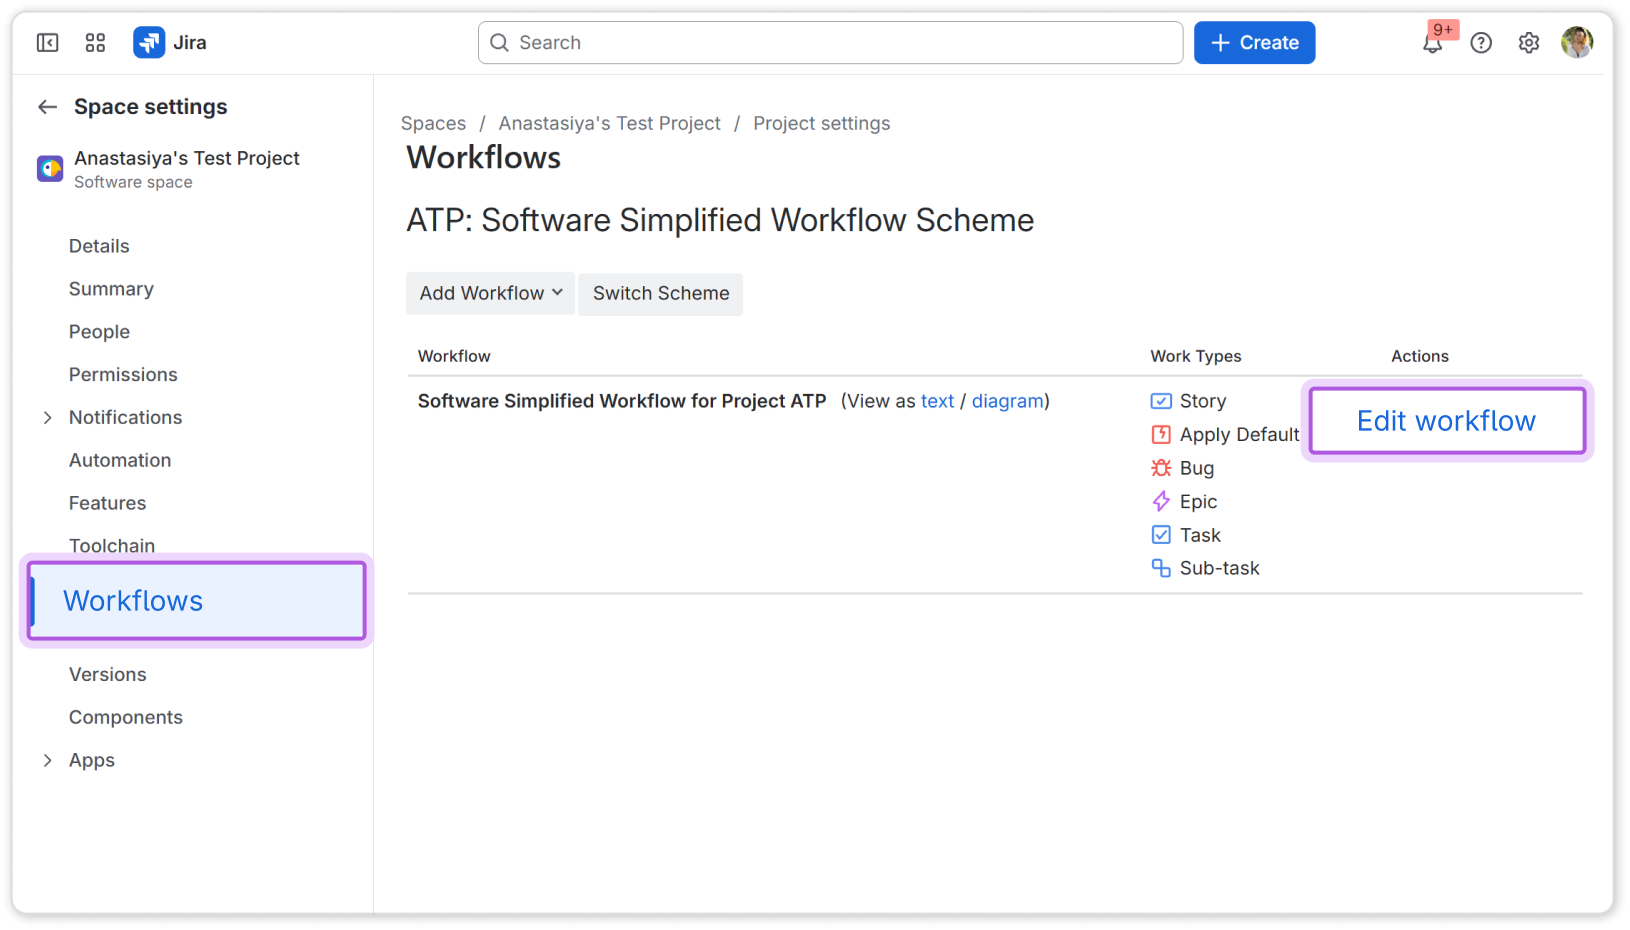
Open space settings and go to Workflows.
-
Click Edit workflow.
-
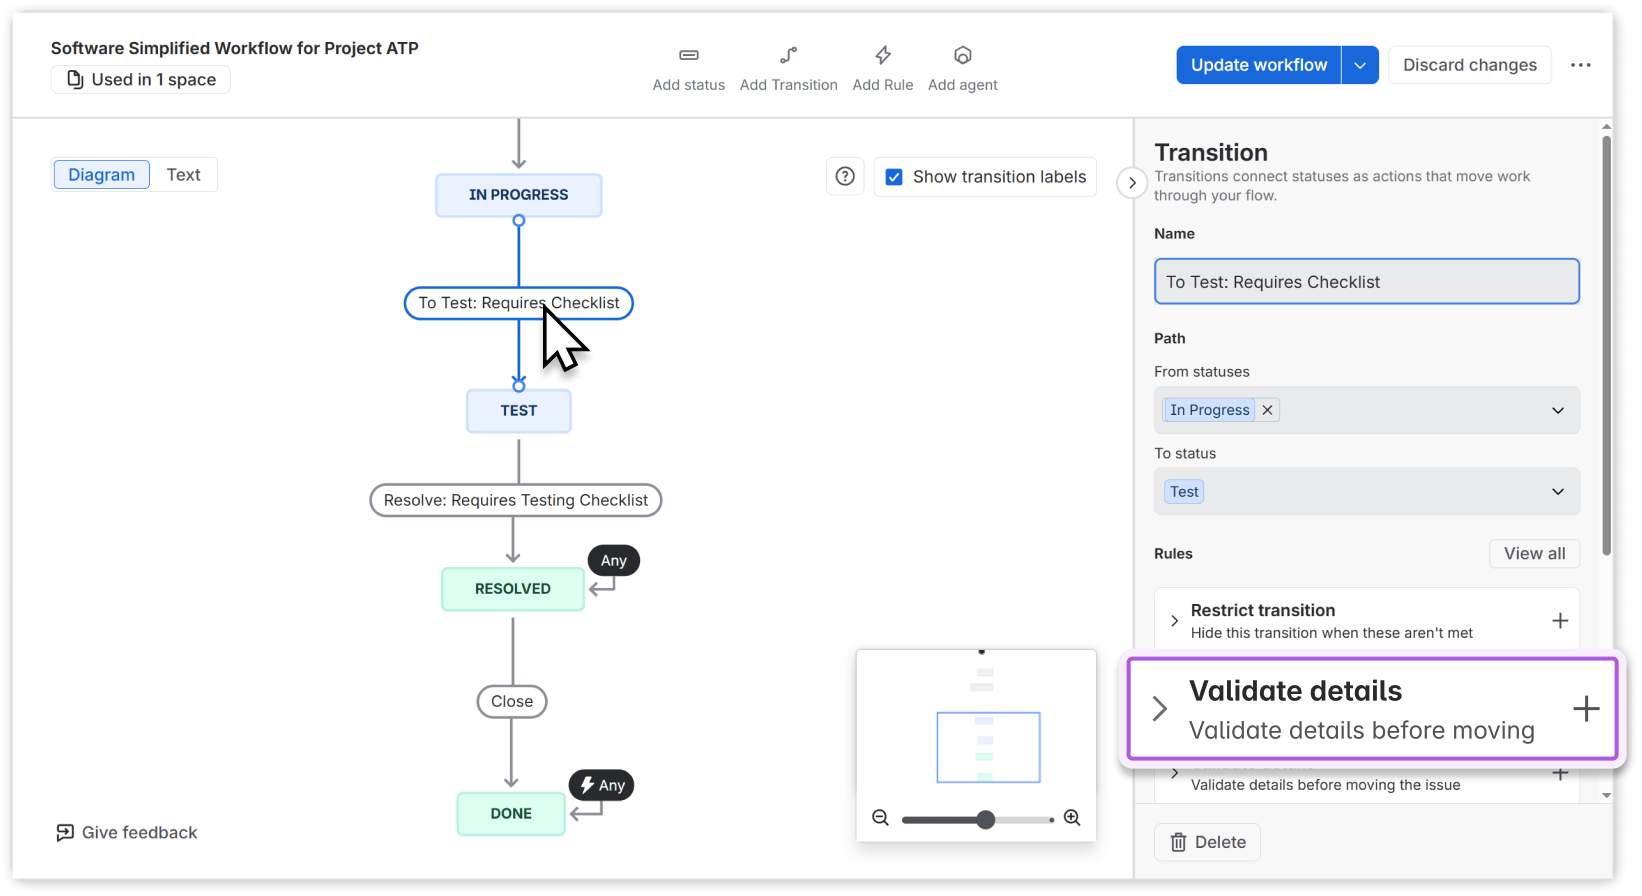
Click on the transition you want to validate.
-
In the right panel, click Validate details.
-
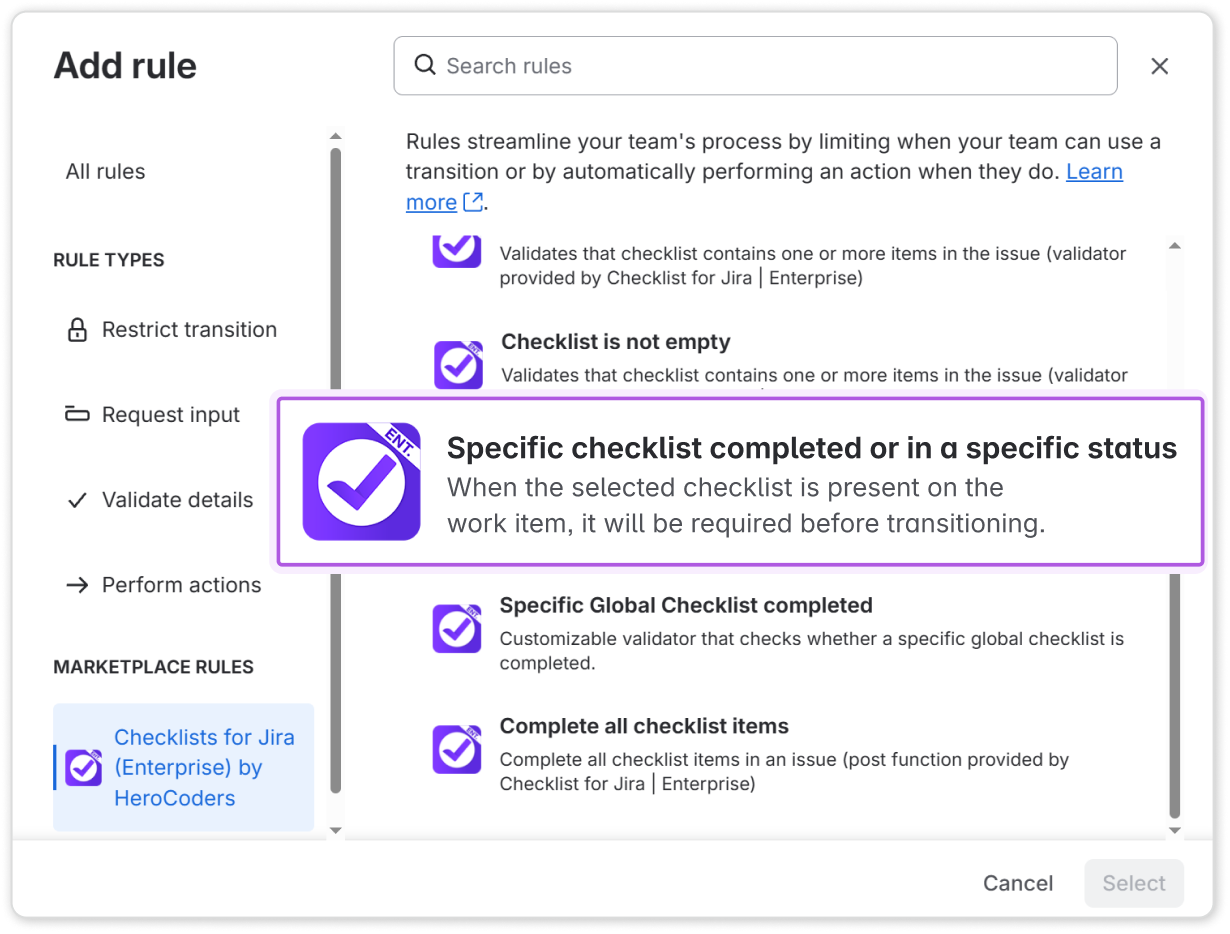
In the Add rule dialog, click the Checklists for Jira section in the bottom left to filter for checklist-related rules.
-
Choose Specific checklist completed or in a specific status and then click Select.
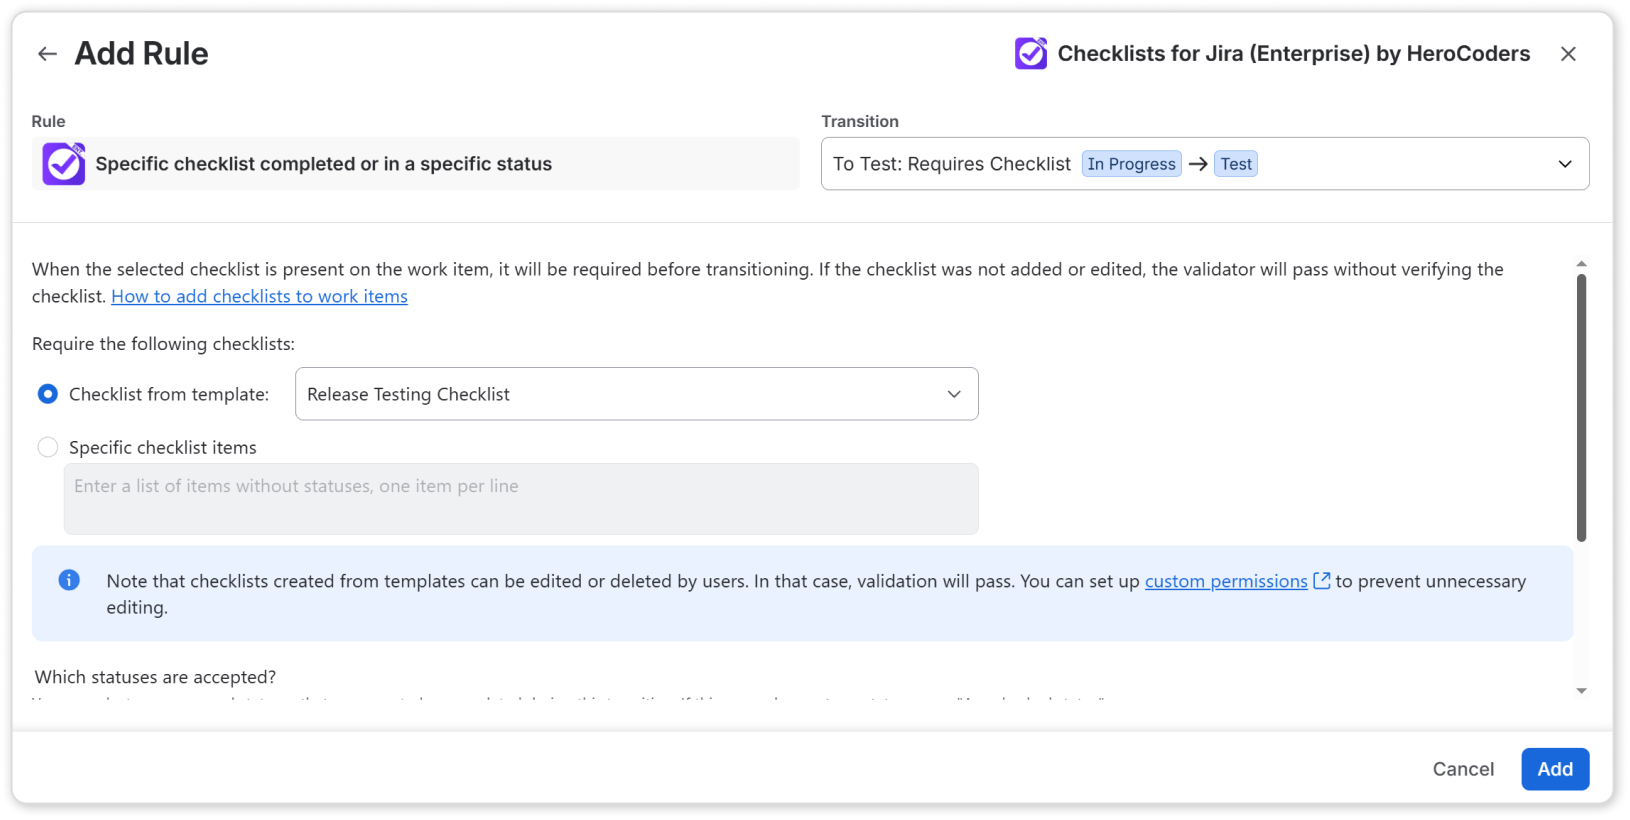
On the next screen, you can set up the workflow rule in detail.
-
Choose whether you want to check for an entire checklist template or for a list of specific items.
-
For templates, only the current template contents will be checked for. If any users modify the checklist in the meantime, the rule will be ignored. You can prevent this by setting up checklist permissions in the space.
-
If you want to check for specific items, enter them as plaintext items without statuses or bullet points, one item per line. They do not need to be in the same order as in the work item. Like so:
Walk the dog
Buy milk
-
-
Choose which statuses you want to allow through the rule. You can either require the entire checklist to be completed to any checked status, or choose specific ones like 'In progress”.
-
And finally, choose if you want to only verify items that are mandatory, or all checklist items, including those marked as optional (question mark icon).
-
Click Add to save the rule setup.
-
Don’t forget to click Update workflow to save the changes.